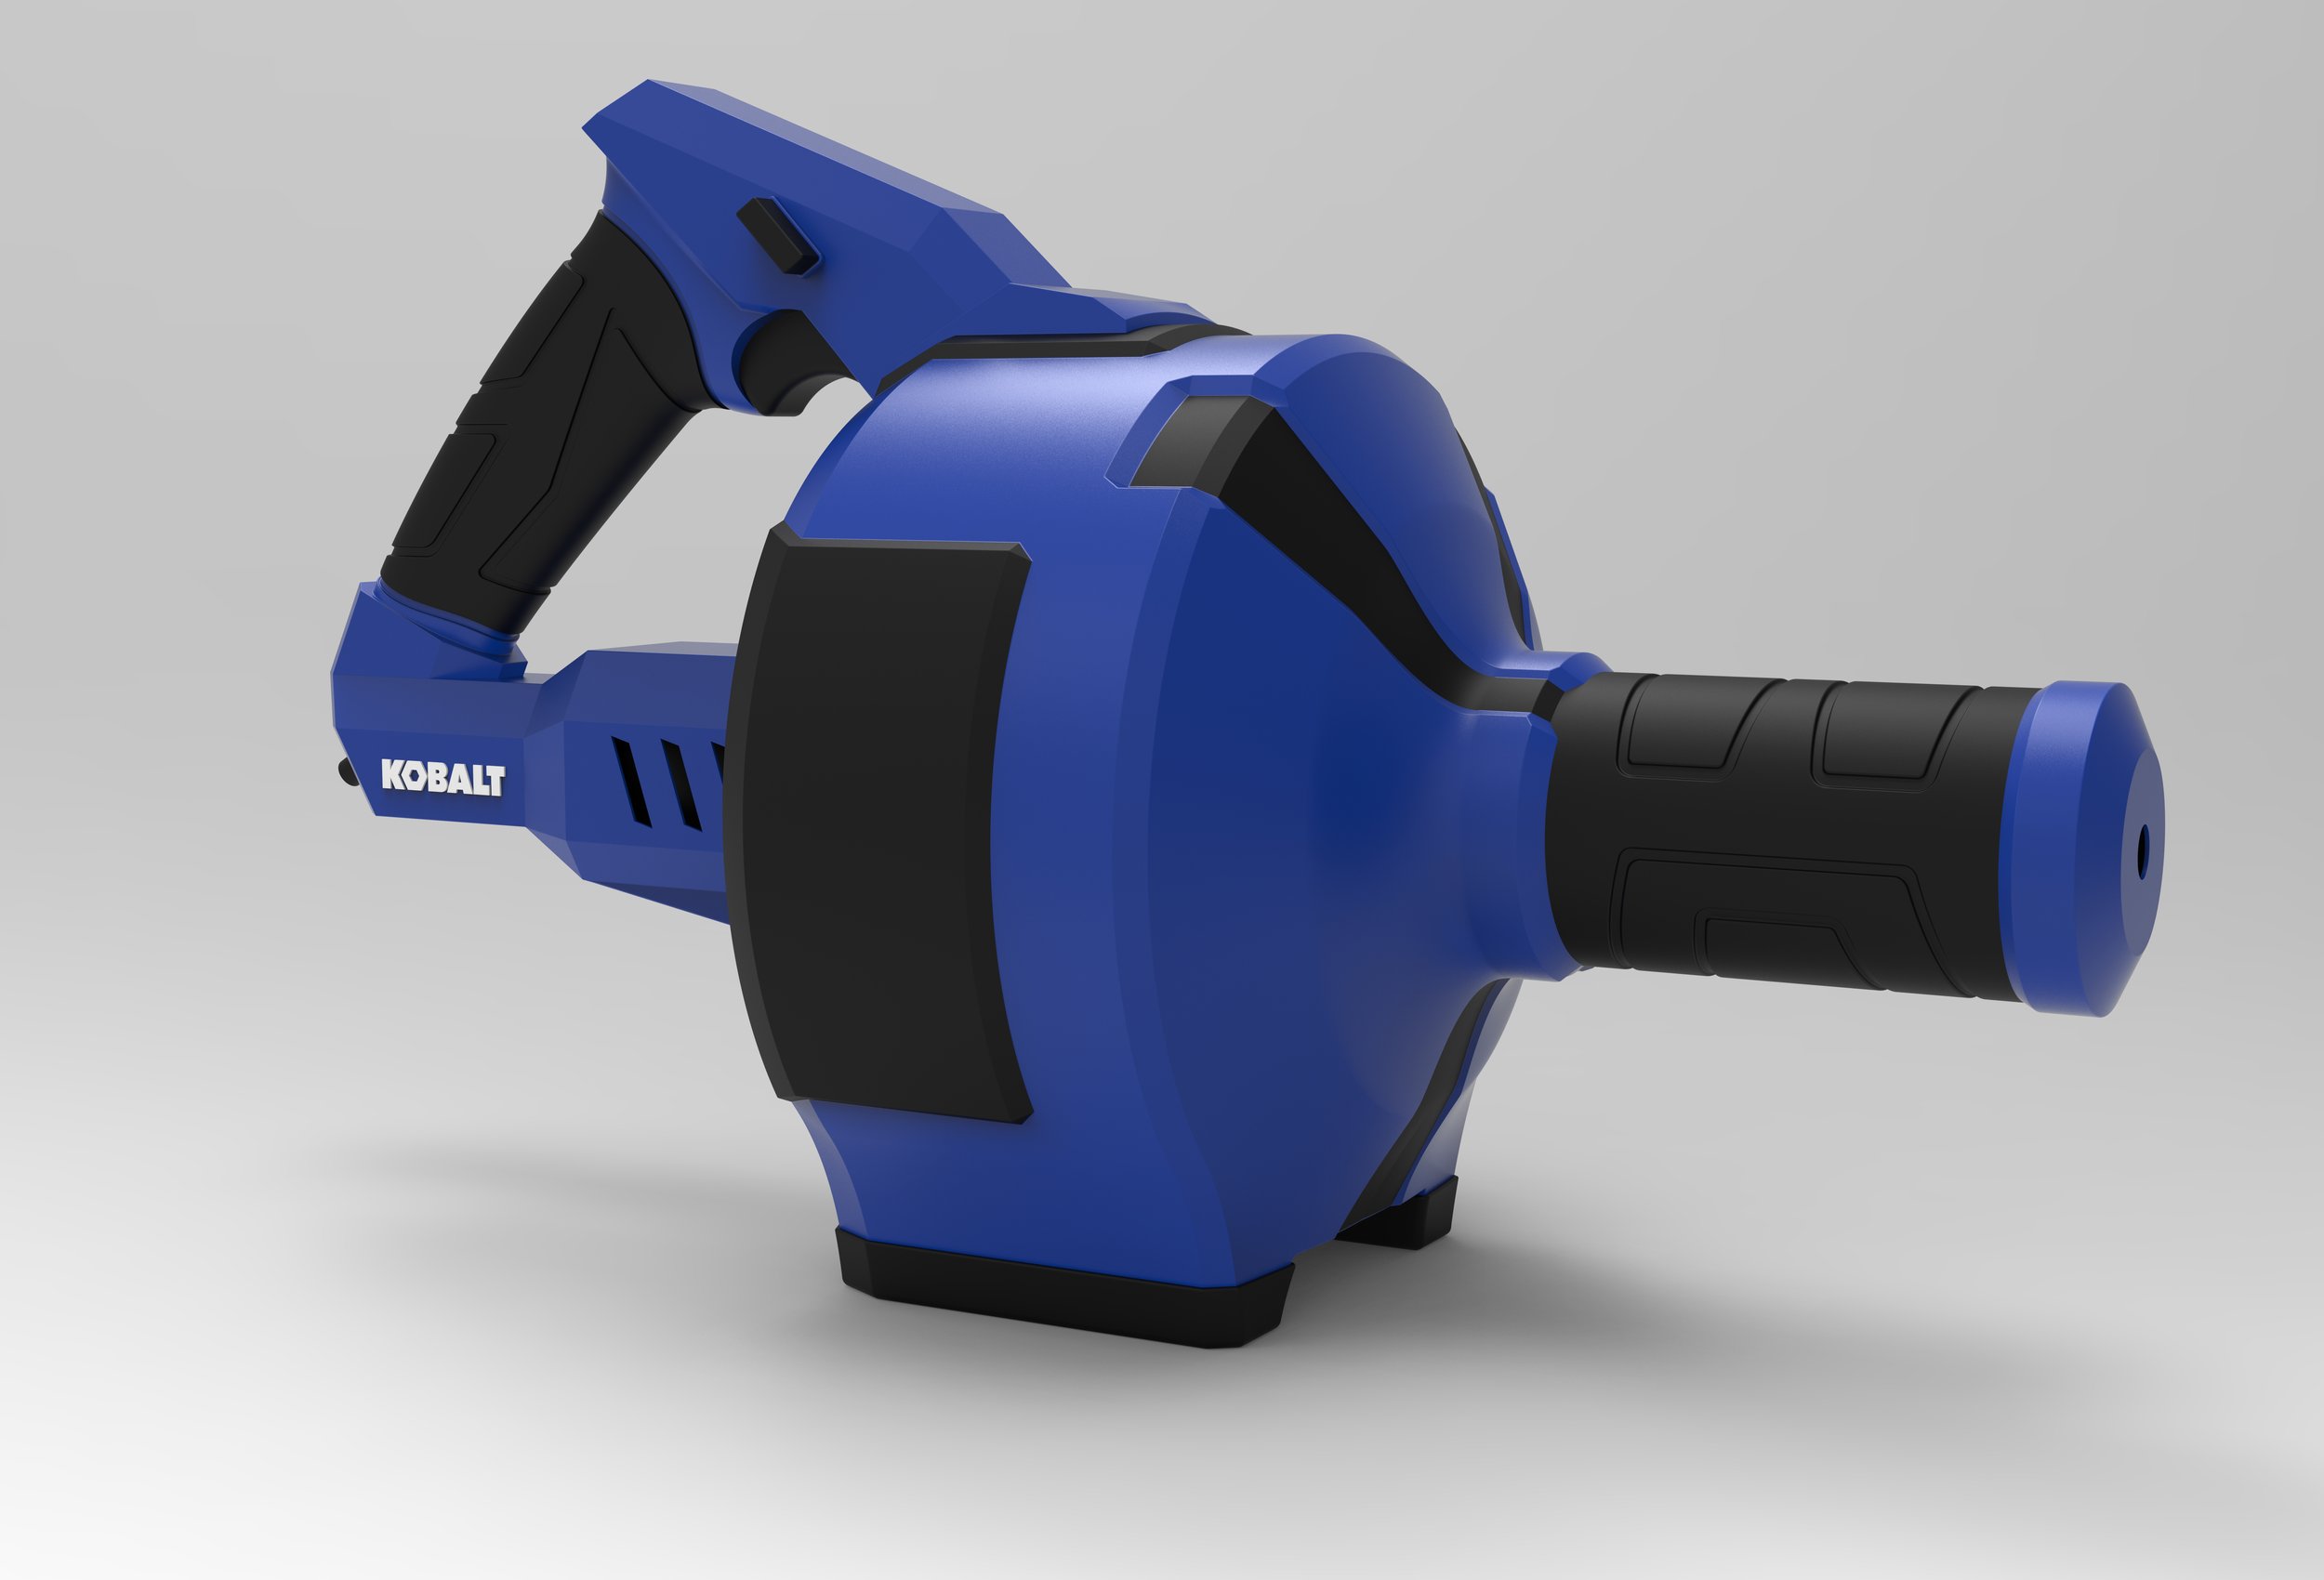
Power Auger
Semester Project - Spring 2026
The Problem
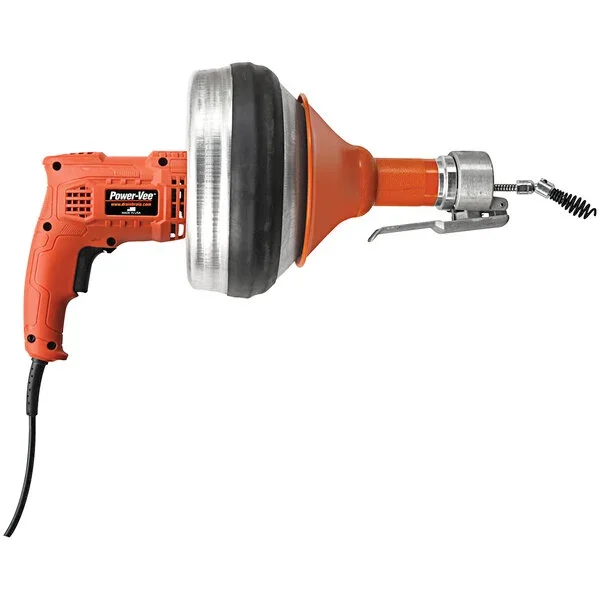
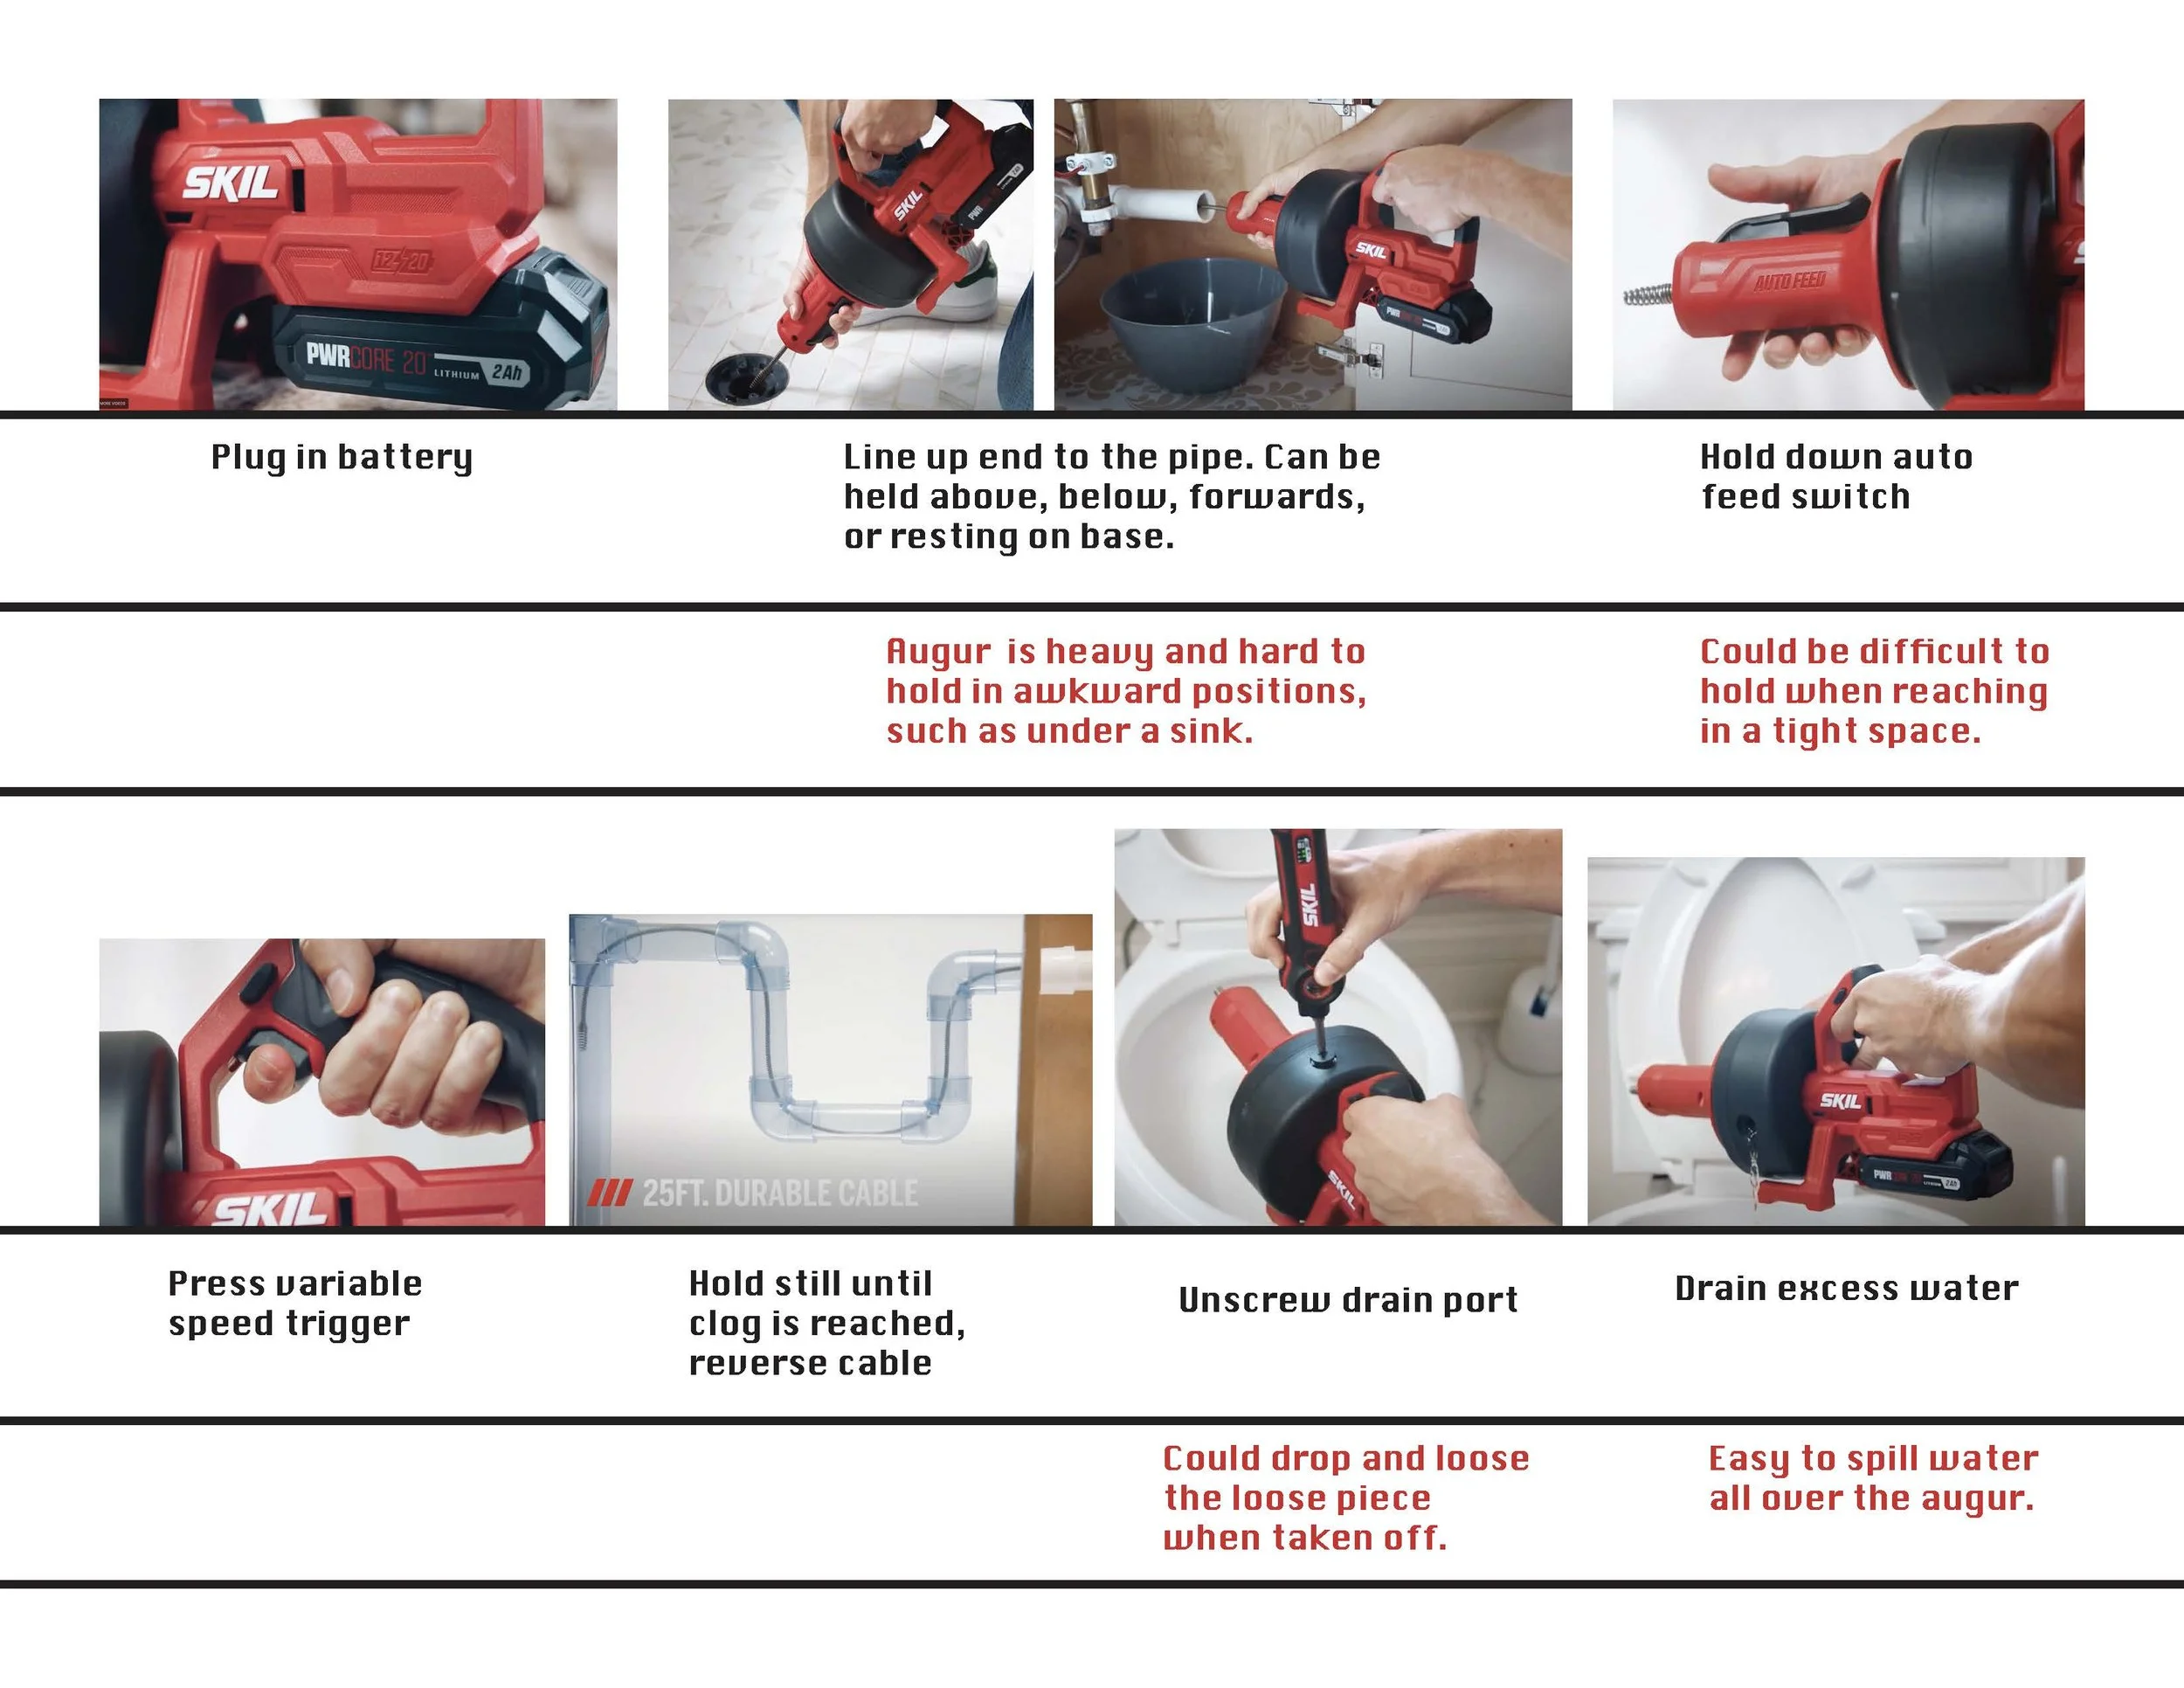
For this powertool design project, I interviewed local professionals to learn what tools need improvement.I decided to base my project on what I learned from Charlie, the Lead Technician at an apartment complex in Cincinnati.One of Charlie’s biggest complaints was his Power-Vee drain auger. He expressed difficulties with the tool’s weight and grip, which caused hand pain when holding the tool under a sink for an extended period of time.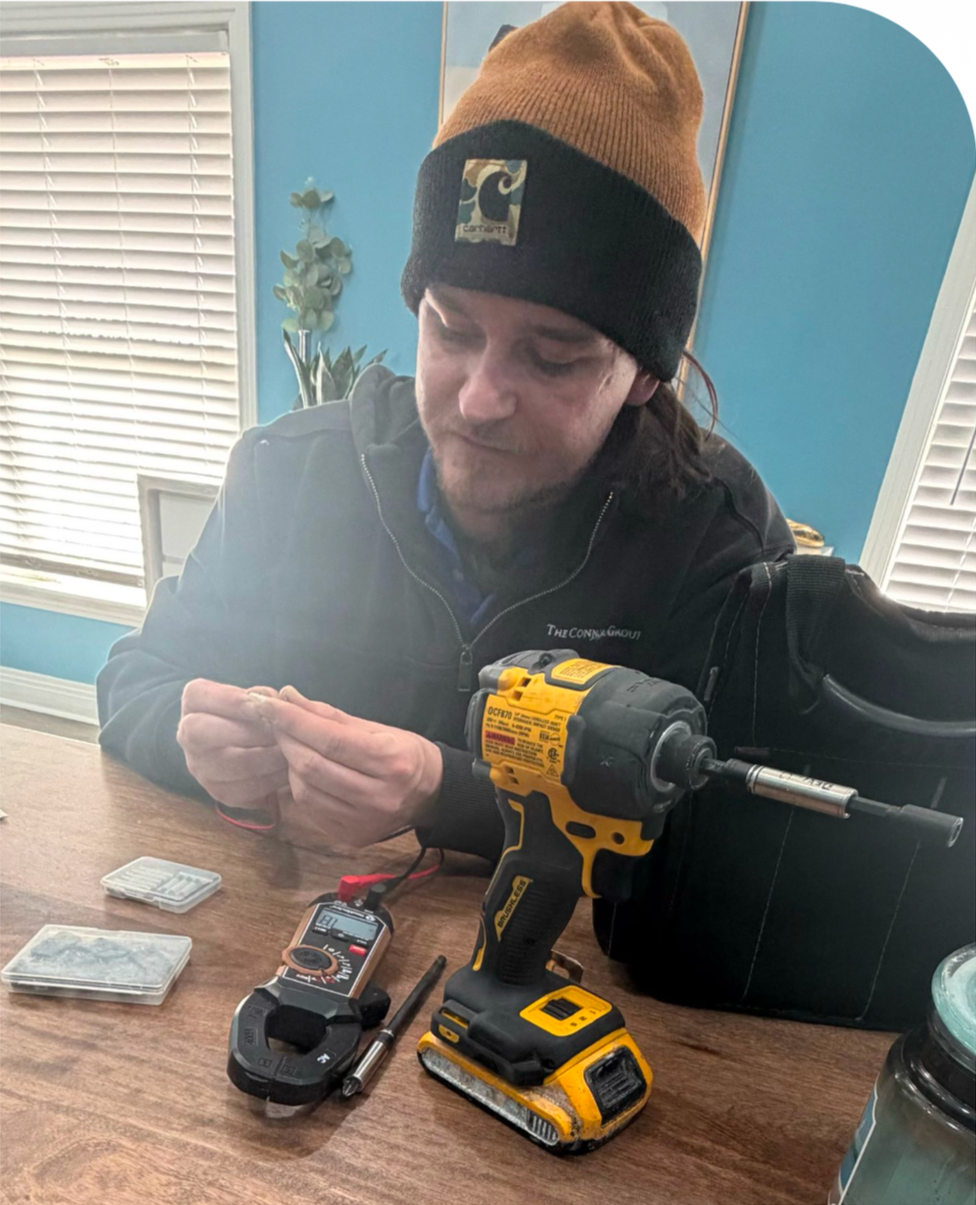
Task Analysis
Design Moodboard
I assembled a moodboard to inspire my design. I wanted to focus on smooth, continuous surfaces to make cleaning easier due to the messy nature of the tool. I decided to focus on visual elements that highlighted edges rather than traditional power tool grooves where material can get trapped.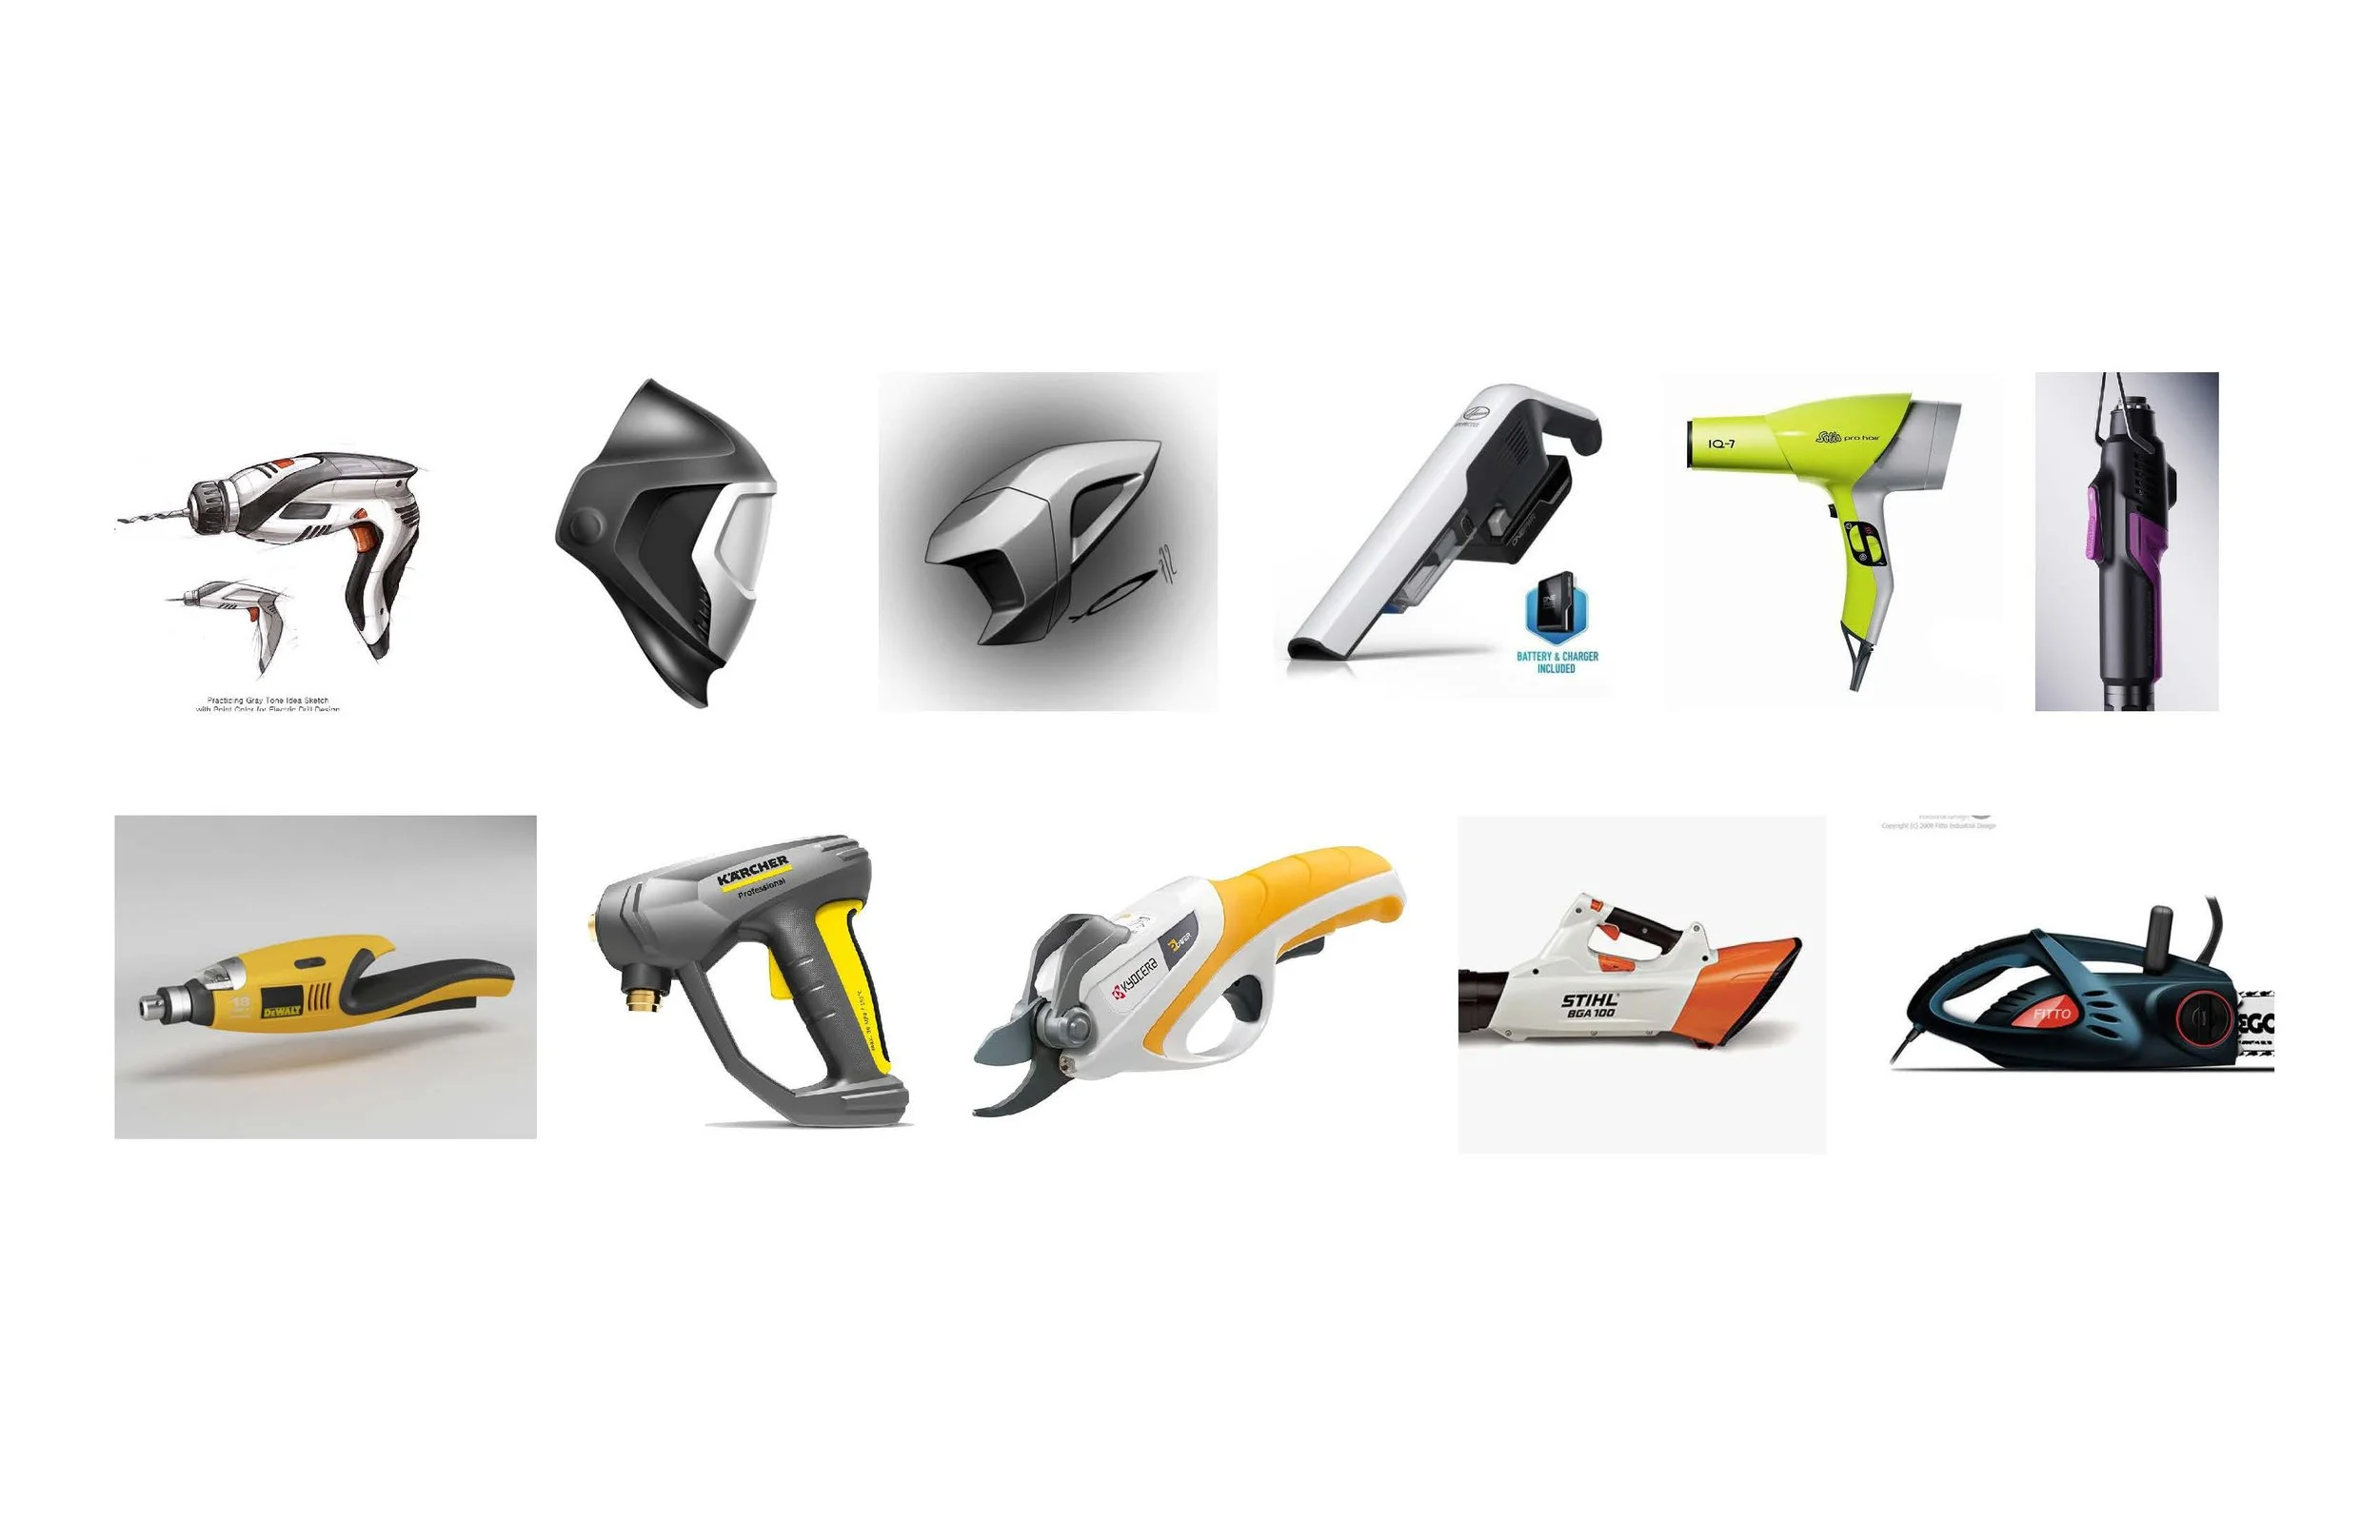
Product Teardown & Internal CAD
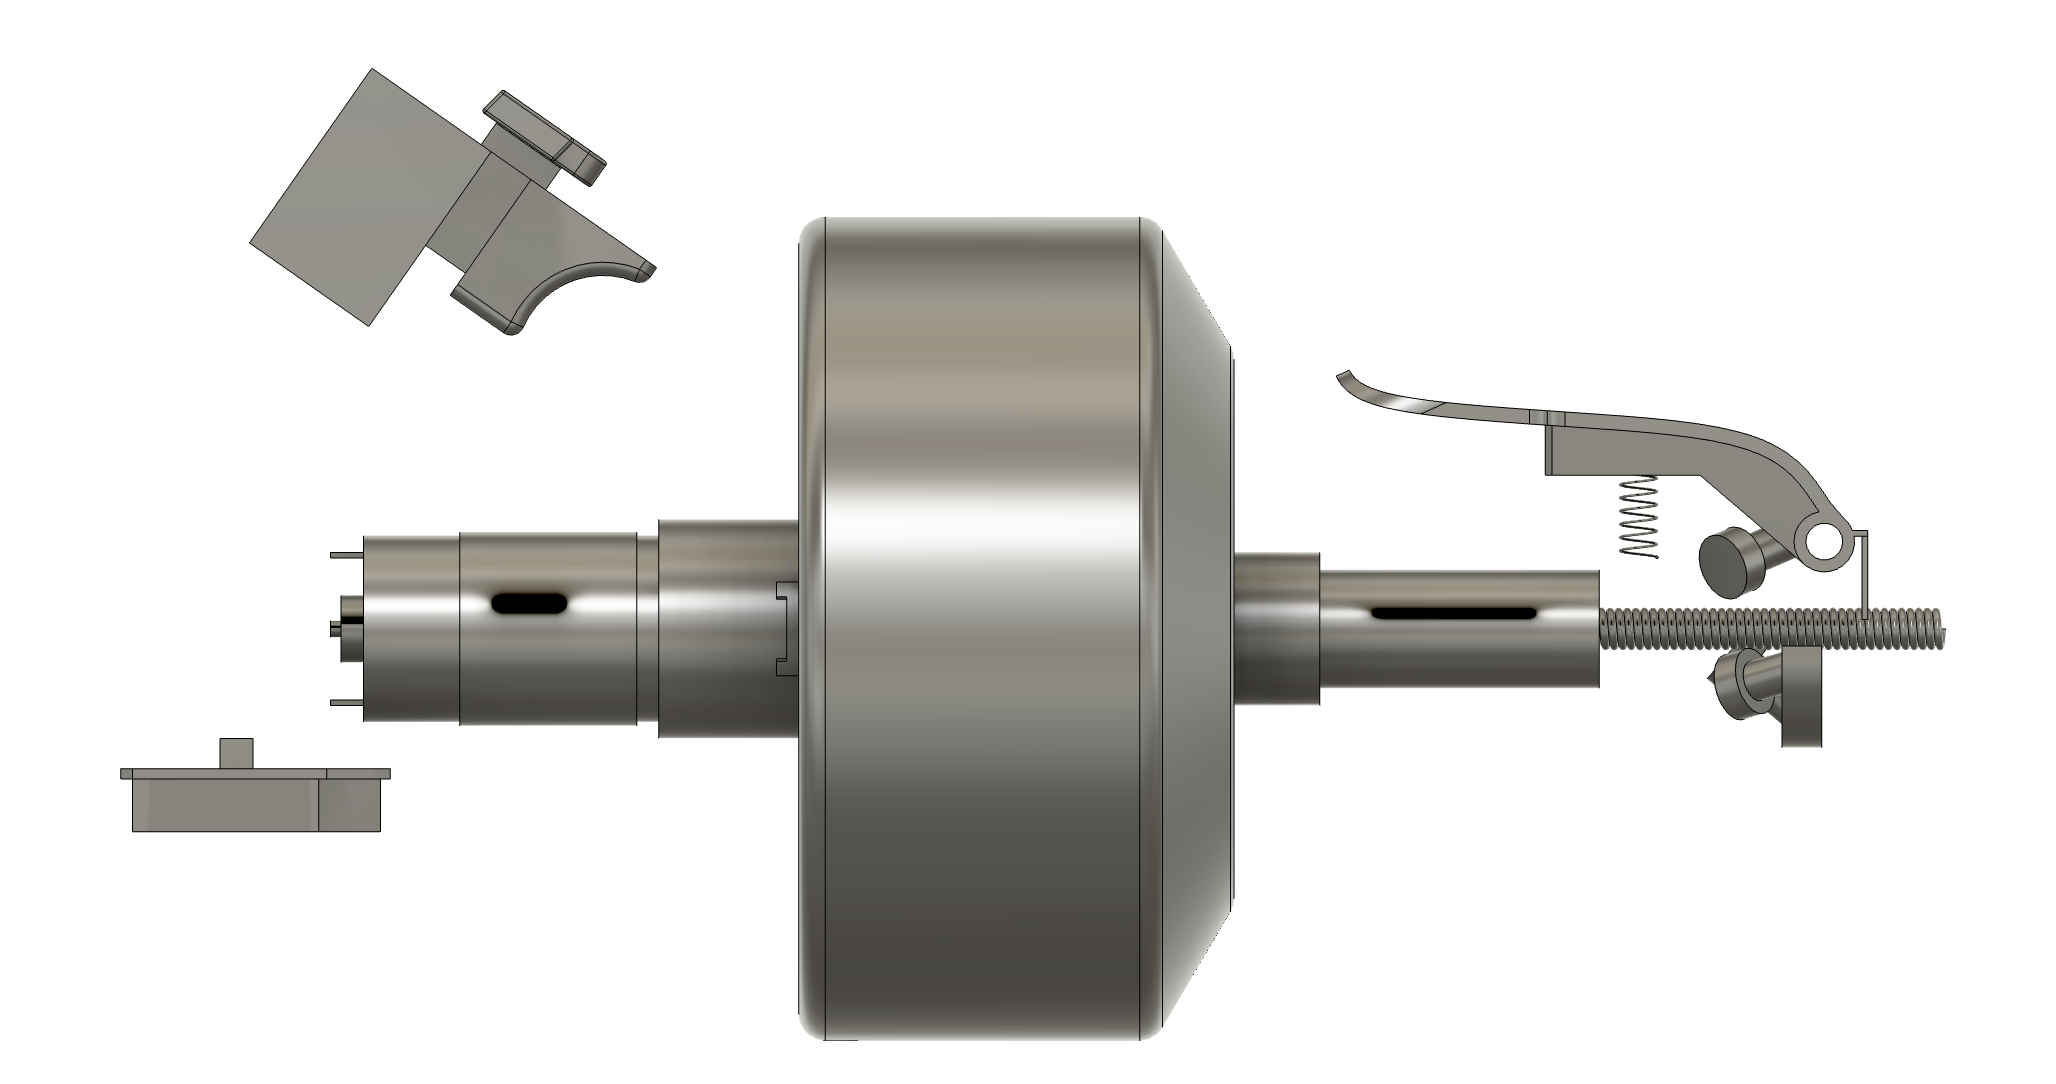
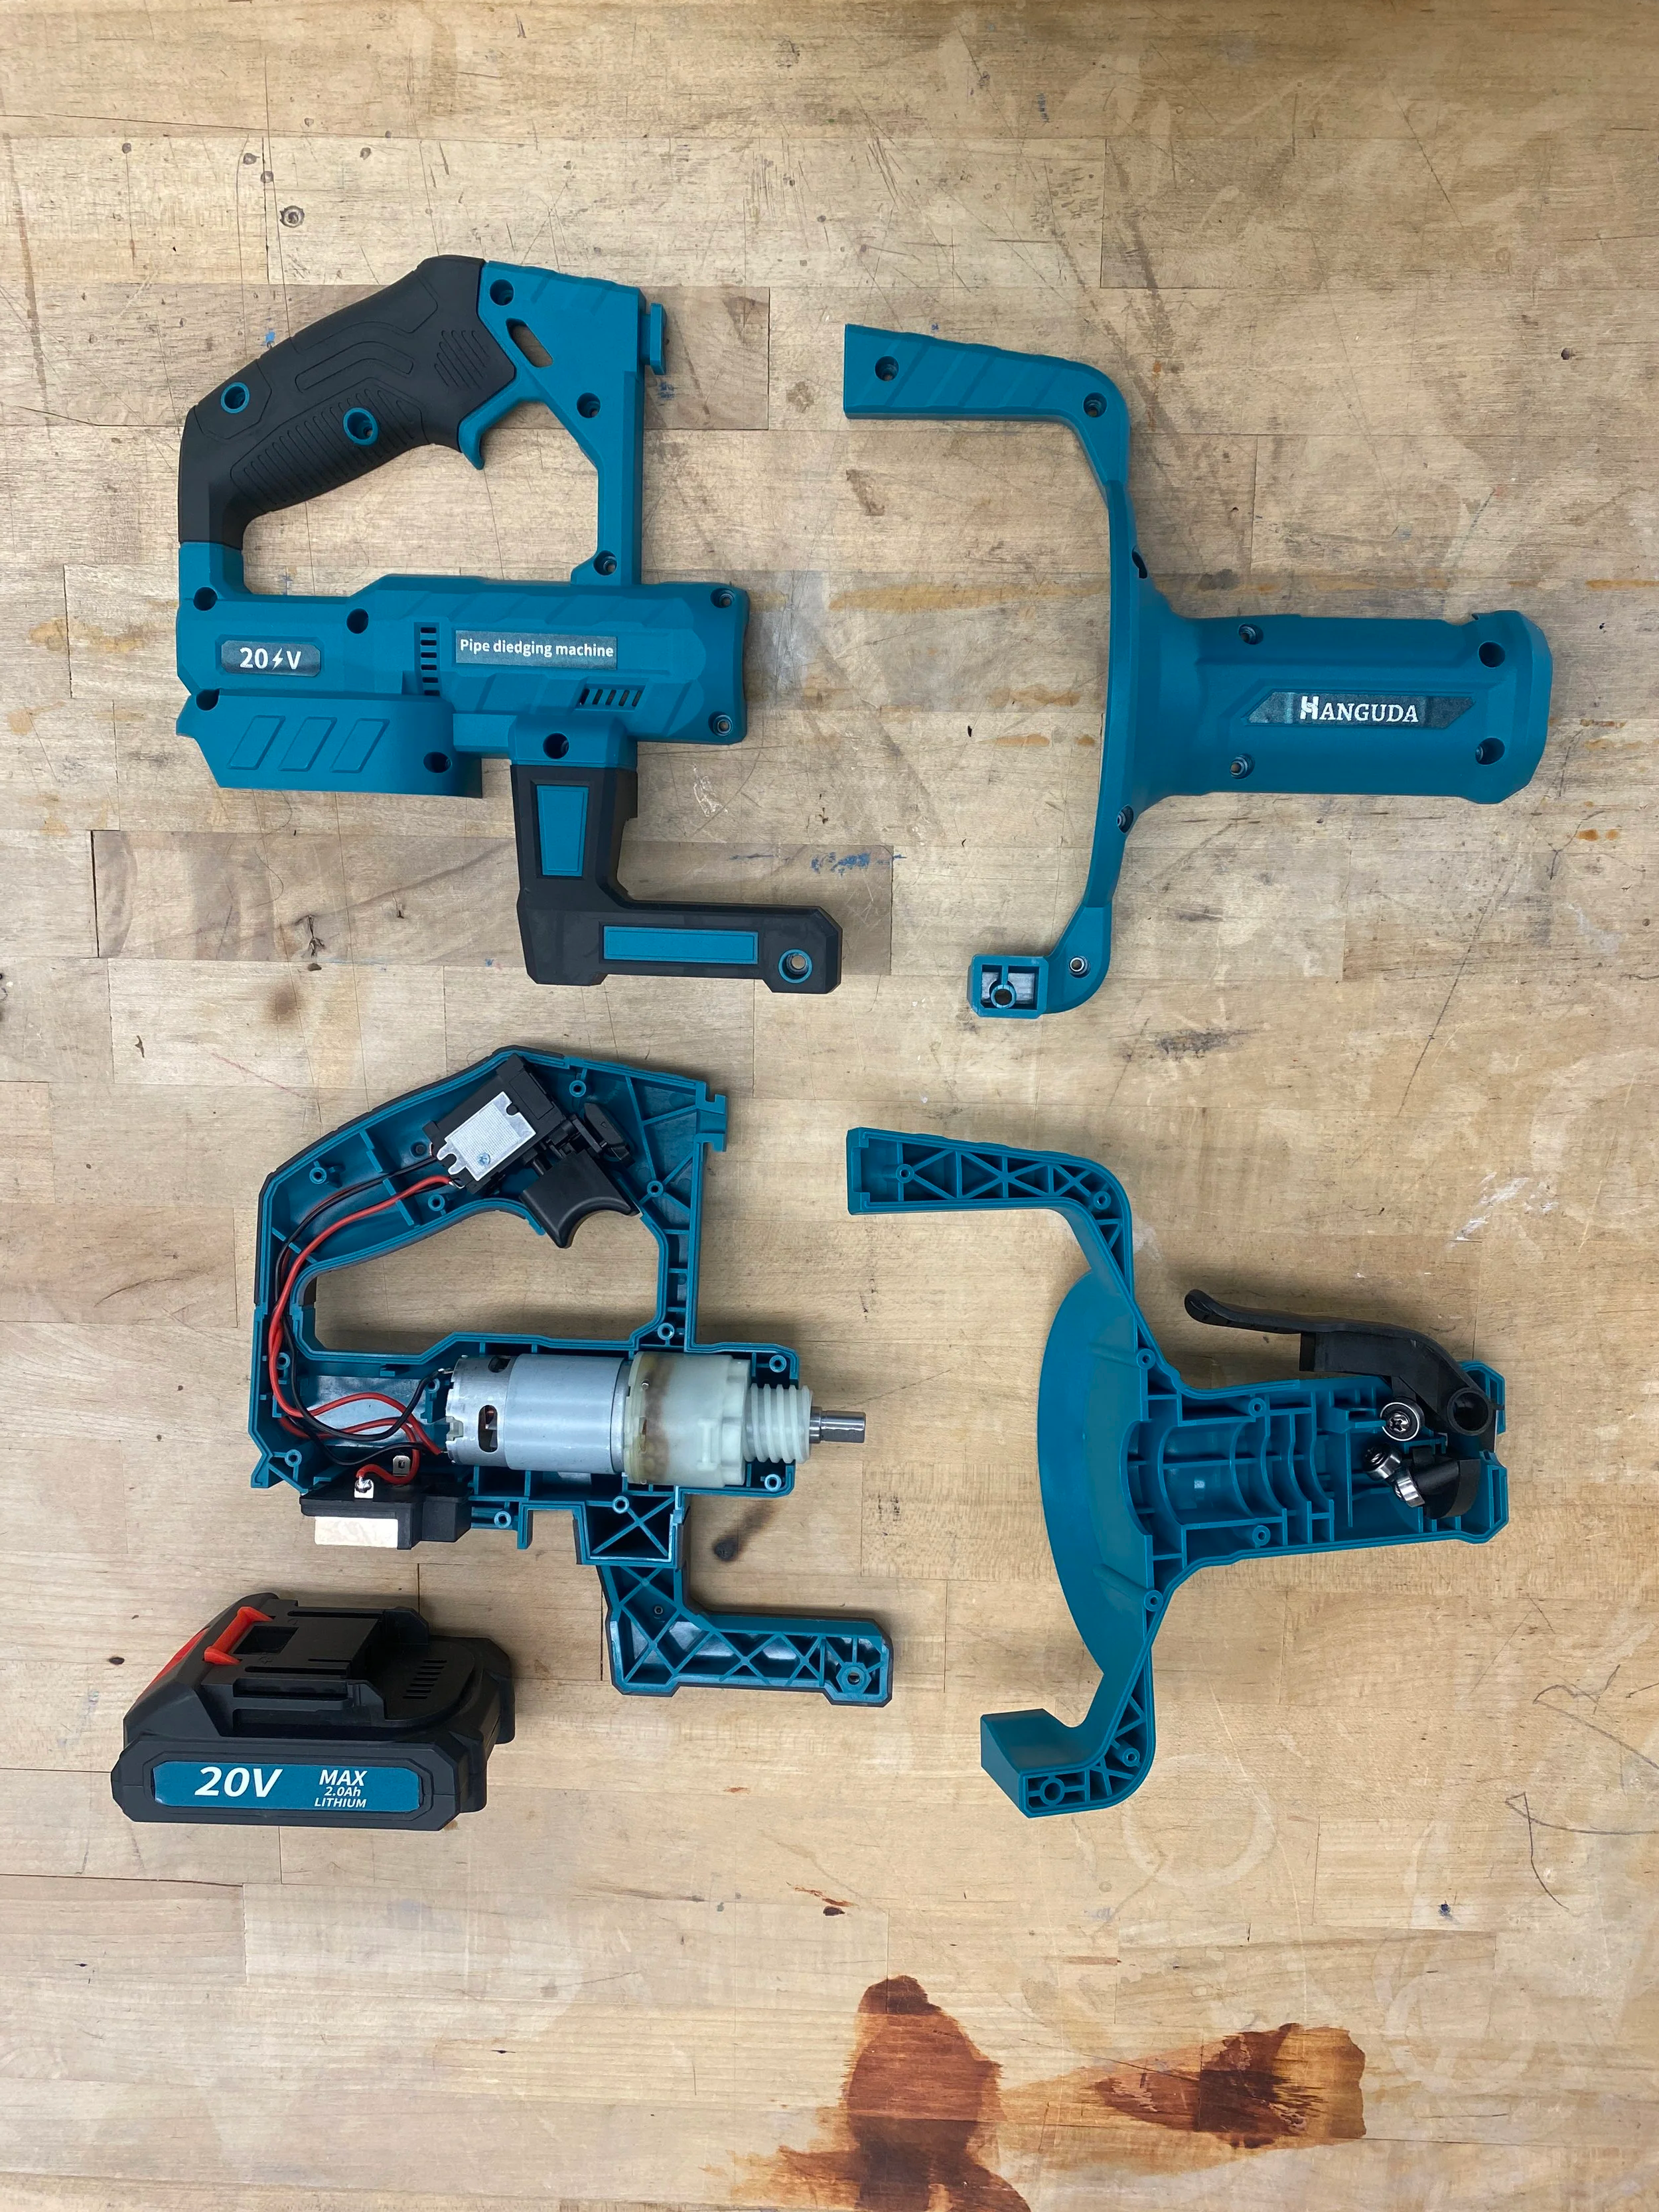
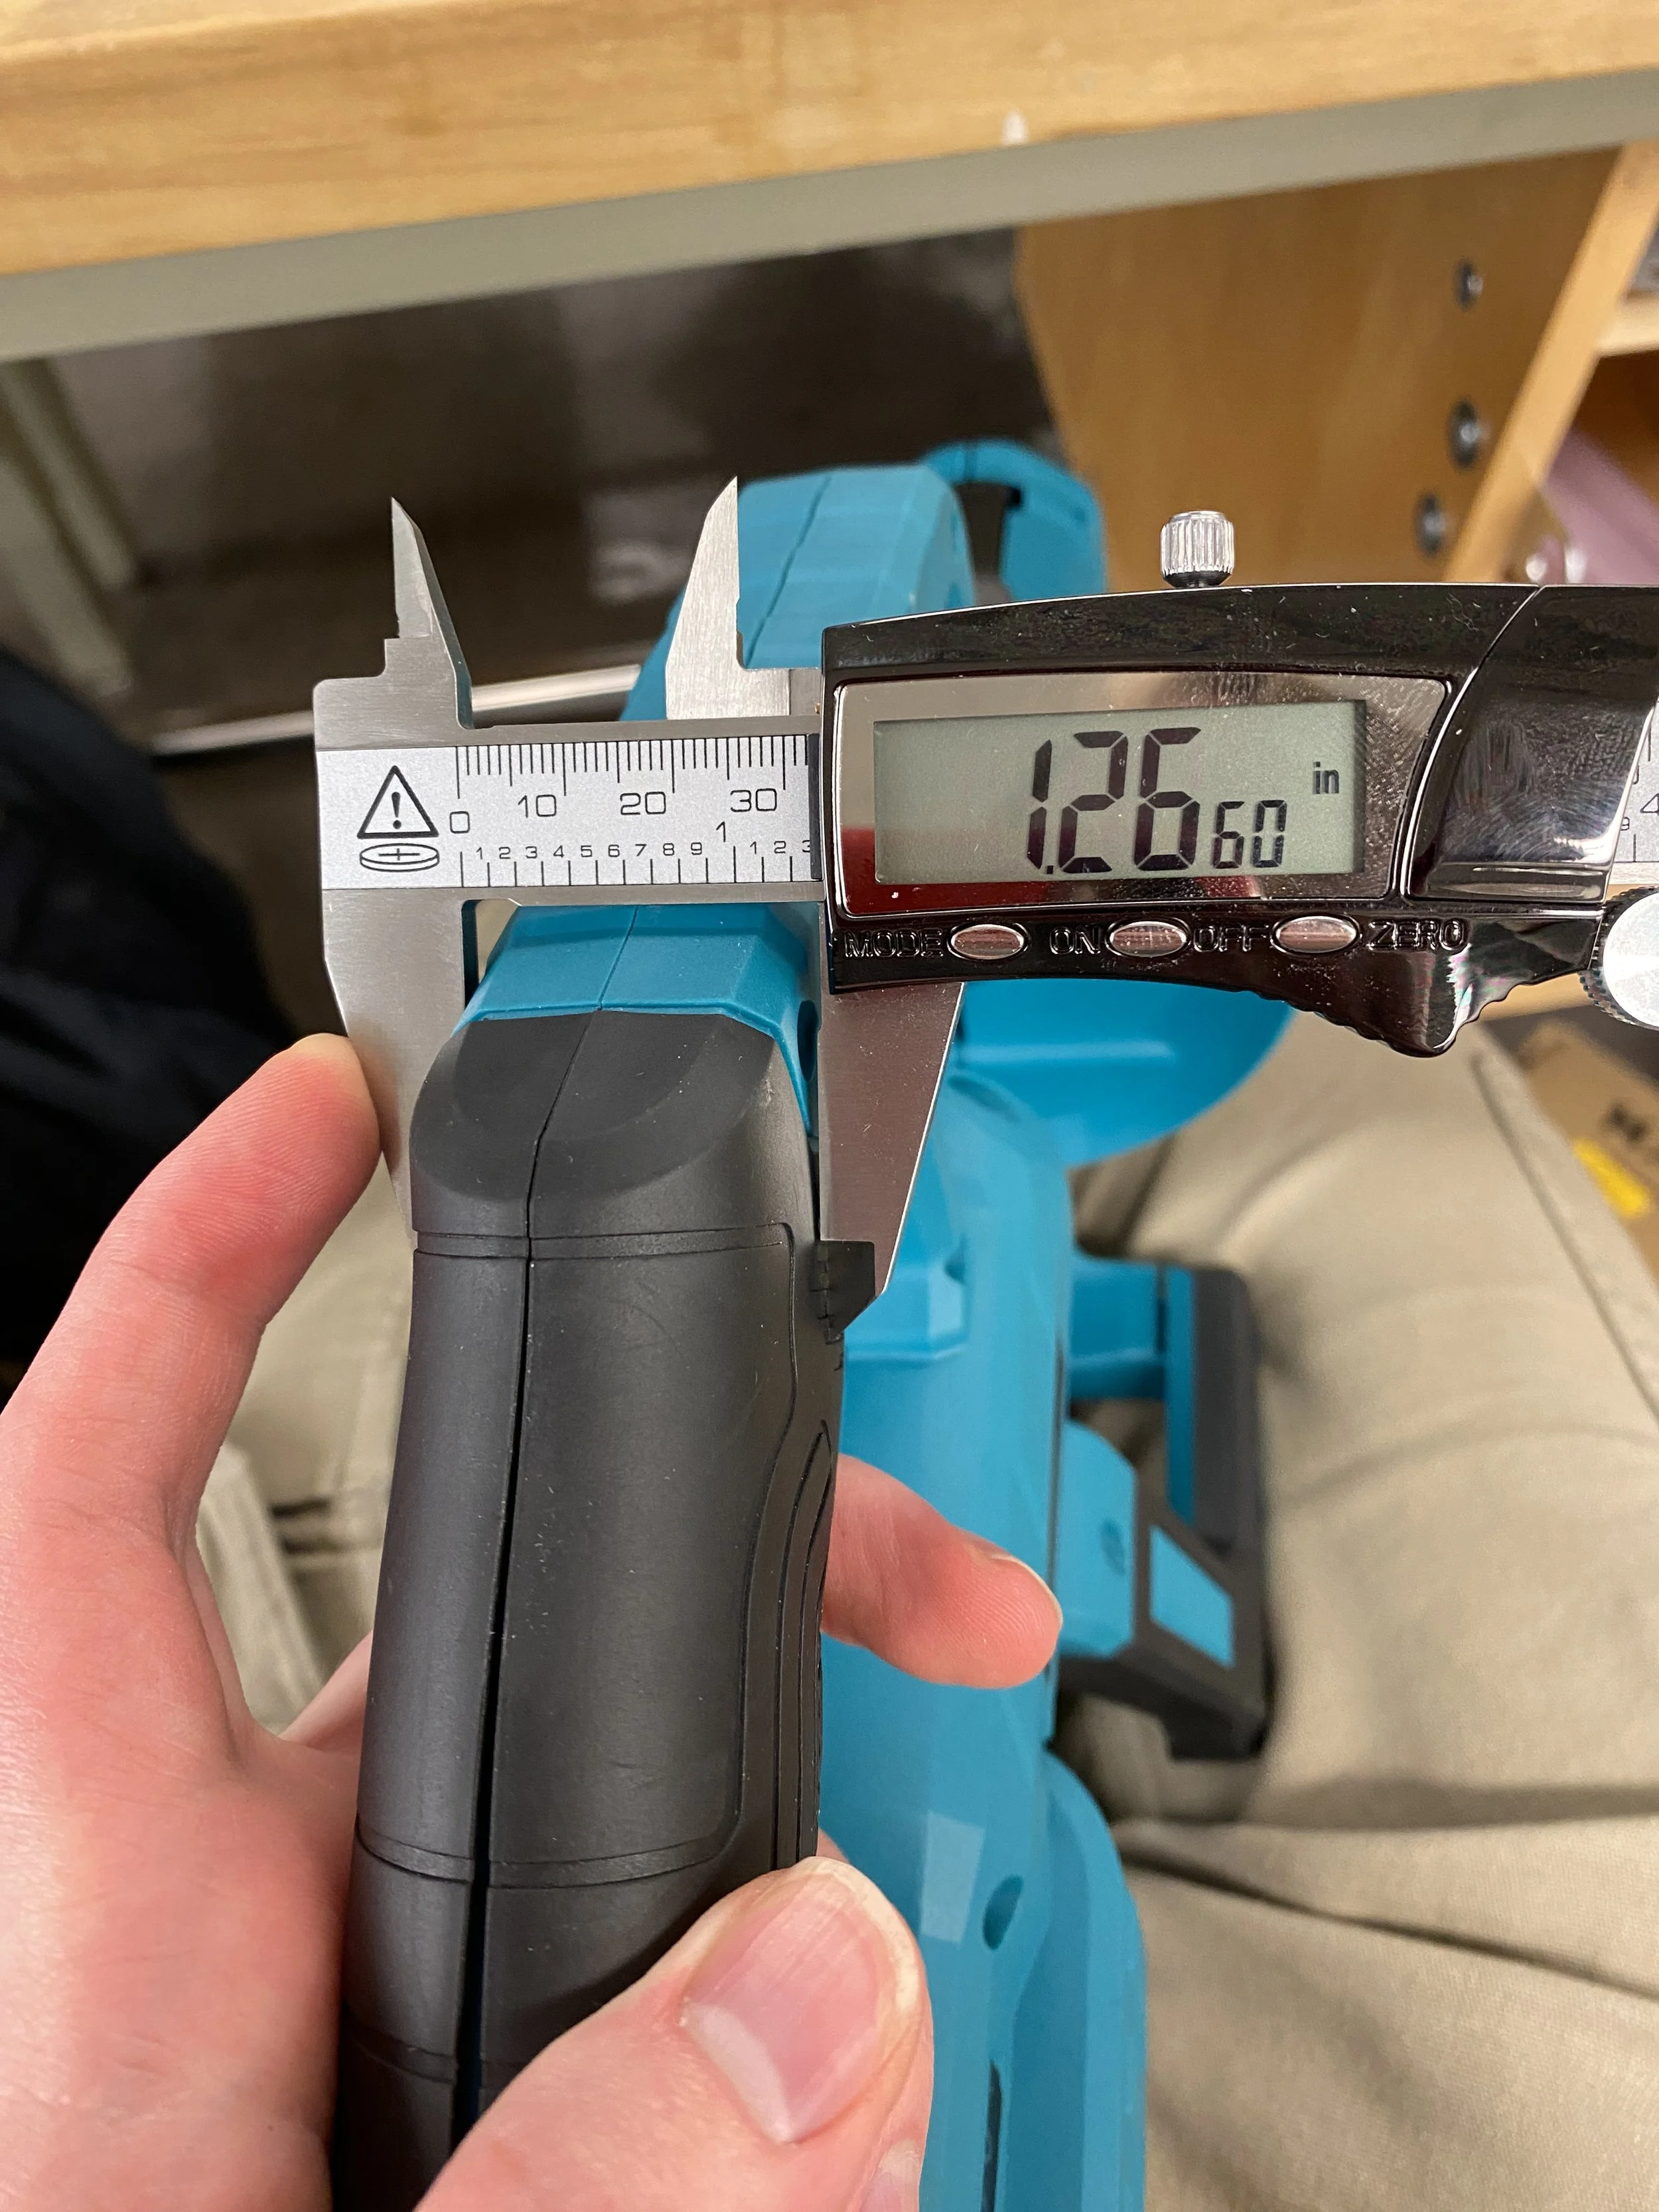
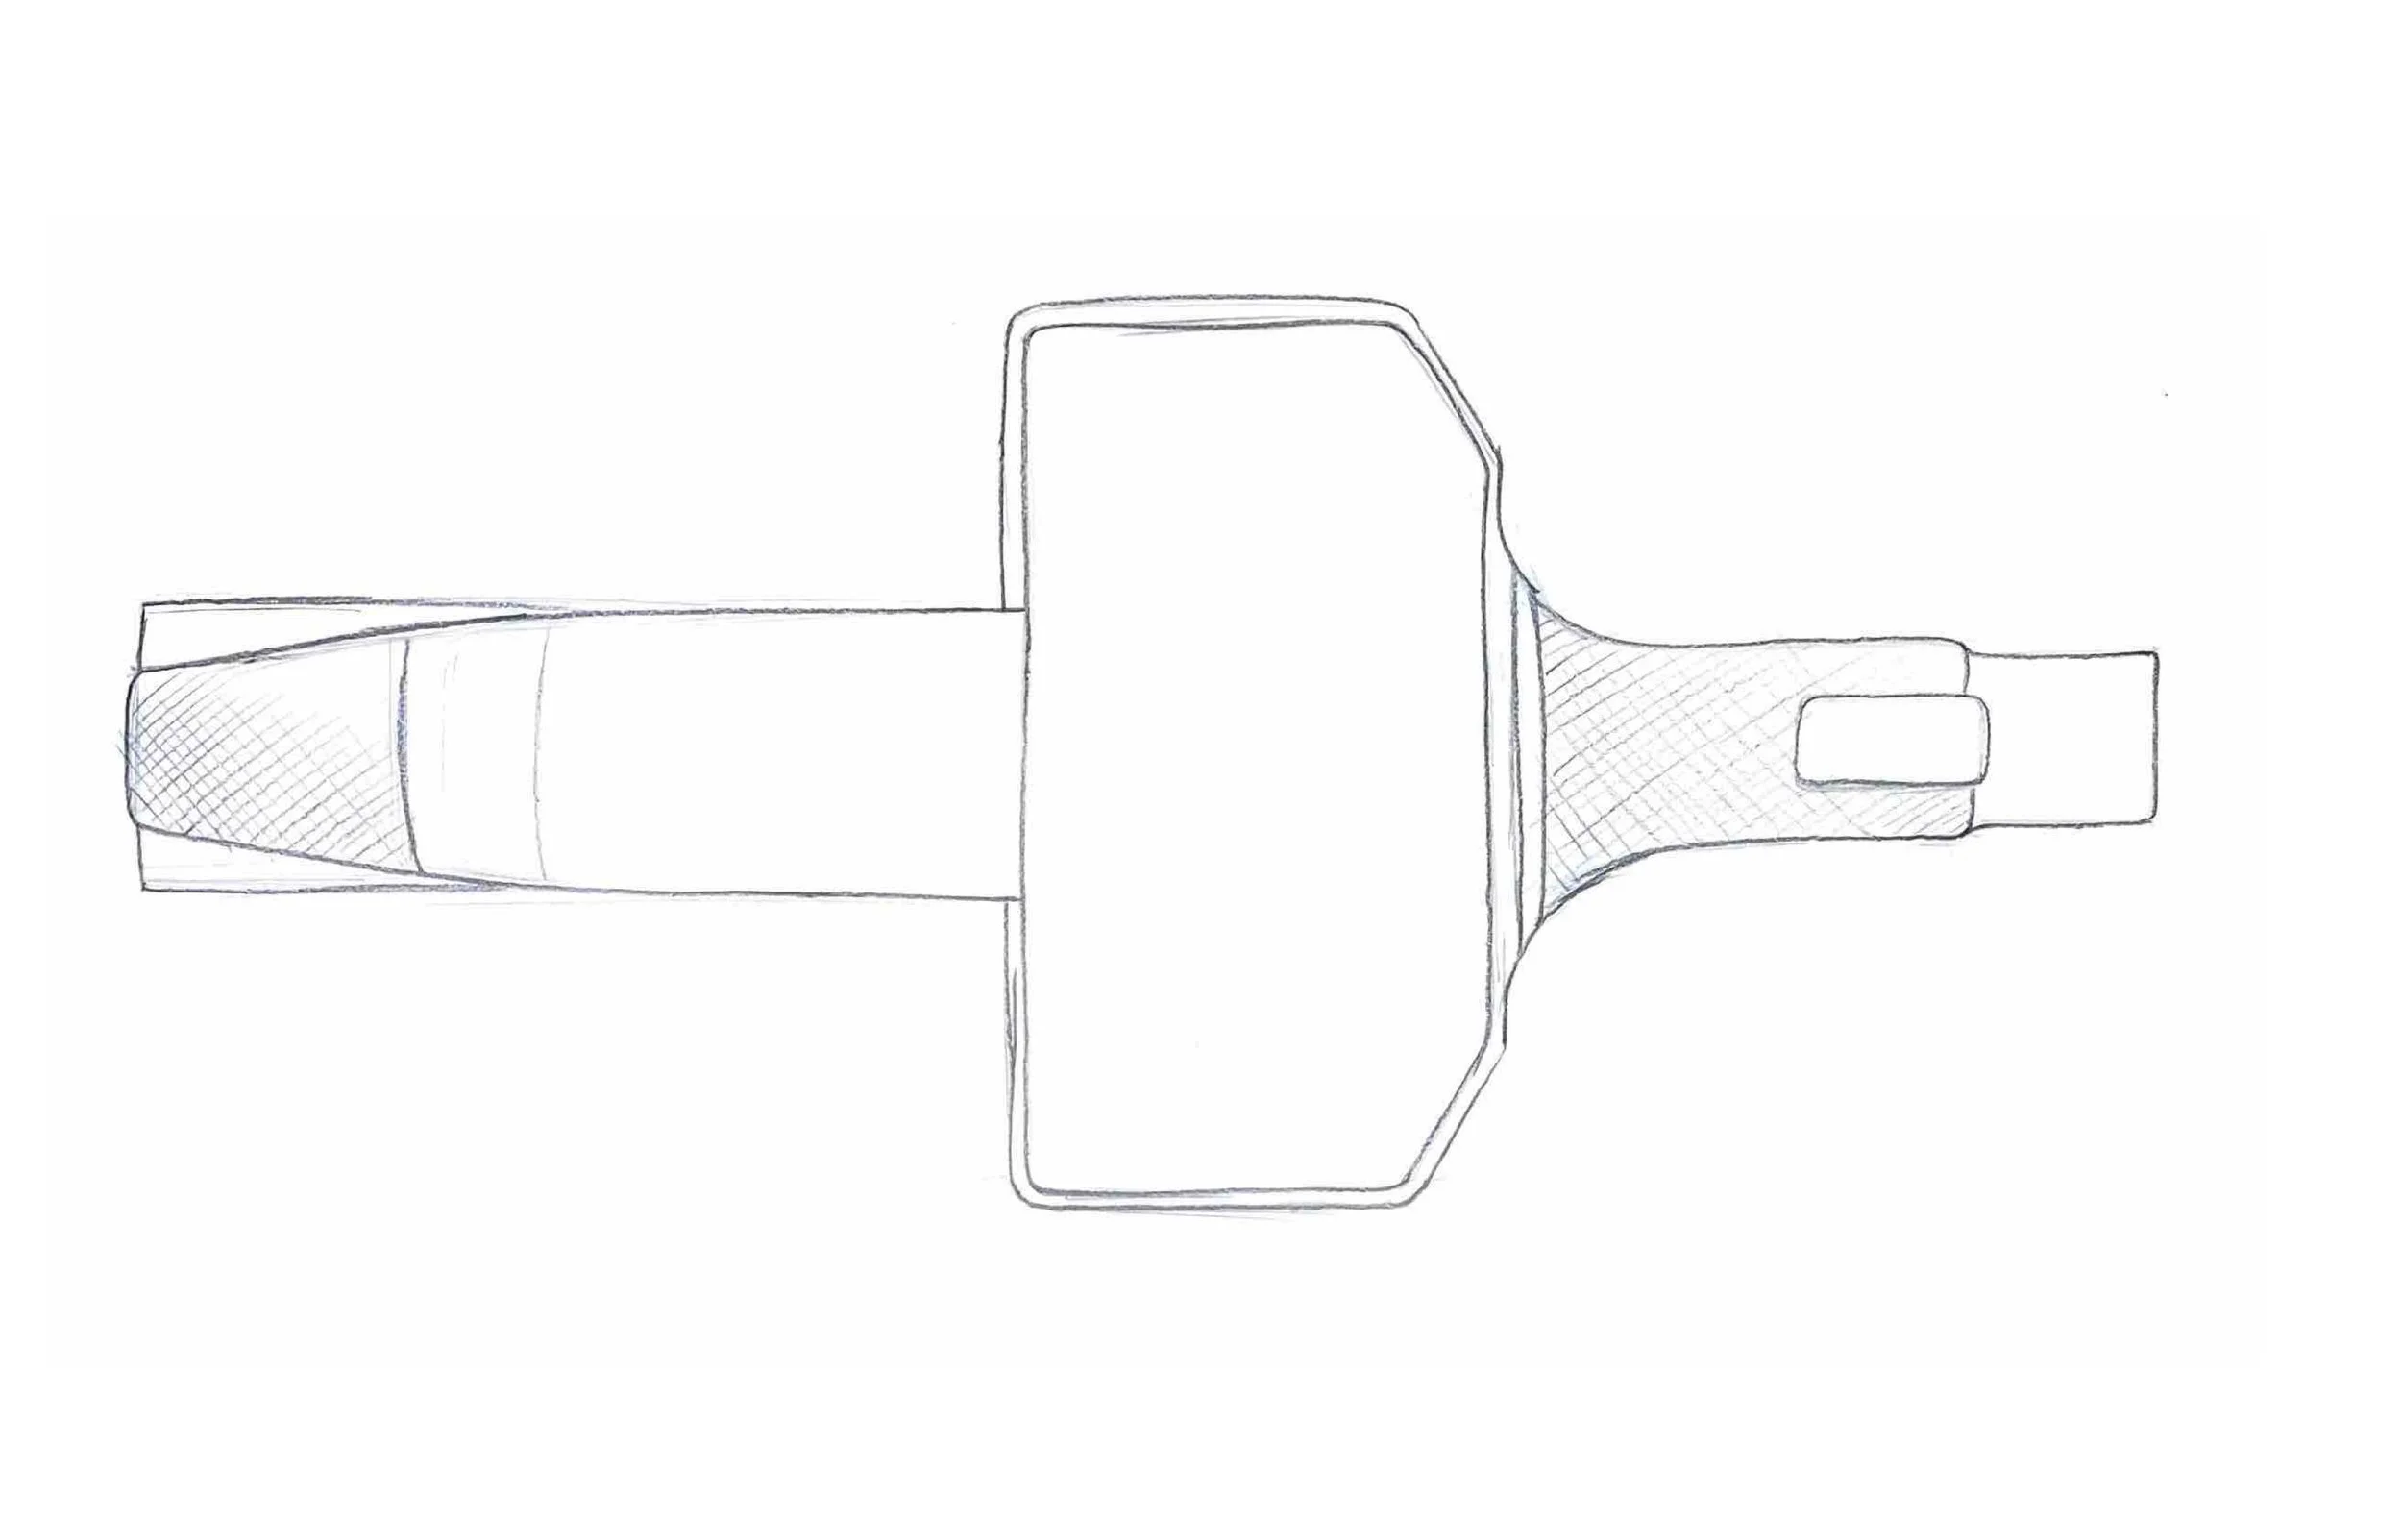
I disassembled a standard drain auger on the market to understand the internal mechanisms and construction. I measured the internal components and recreated them in CAD, and printed the orthographic views to use as sketch underlays.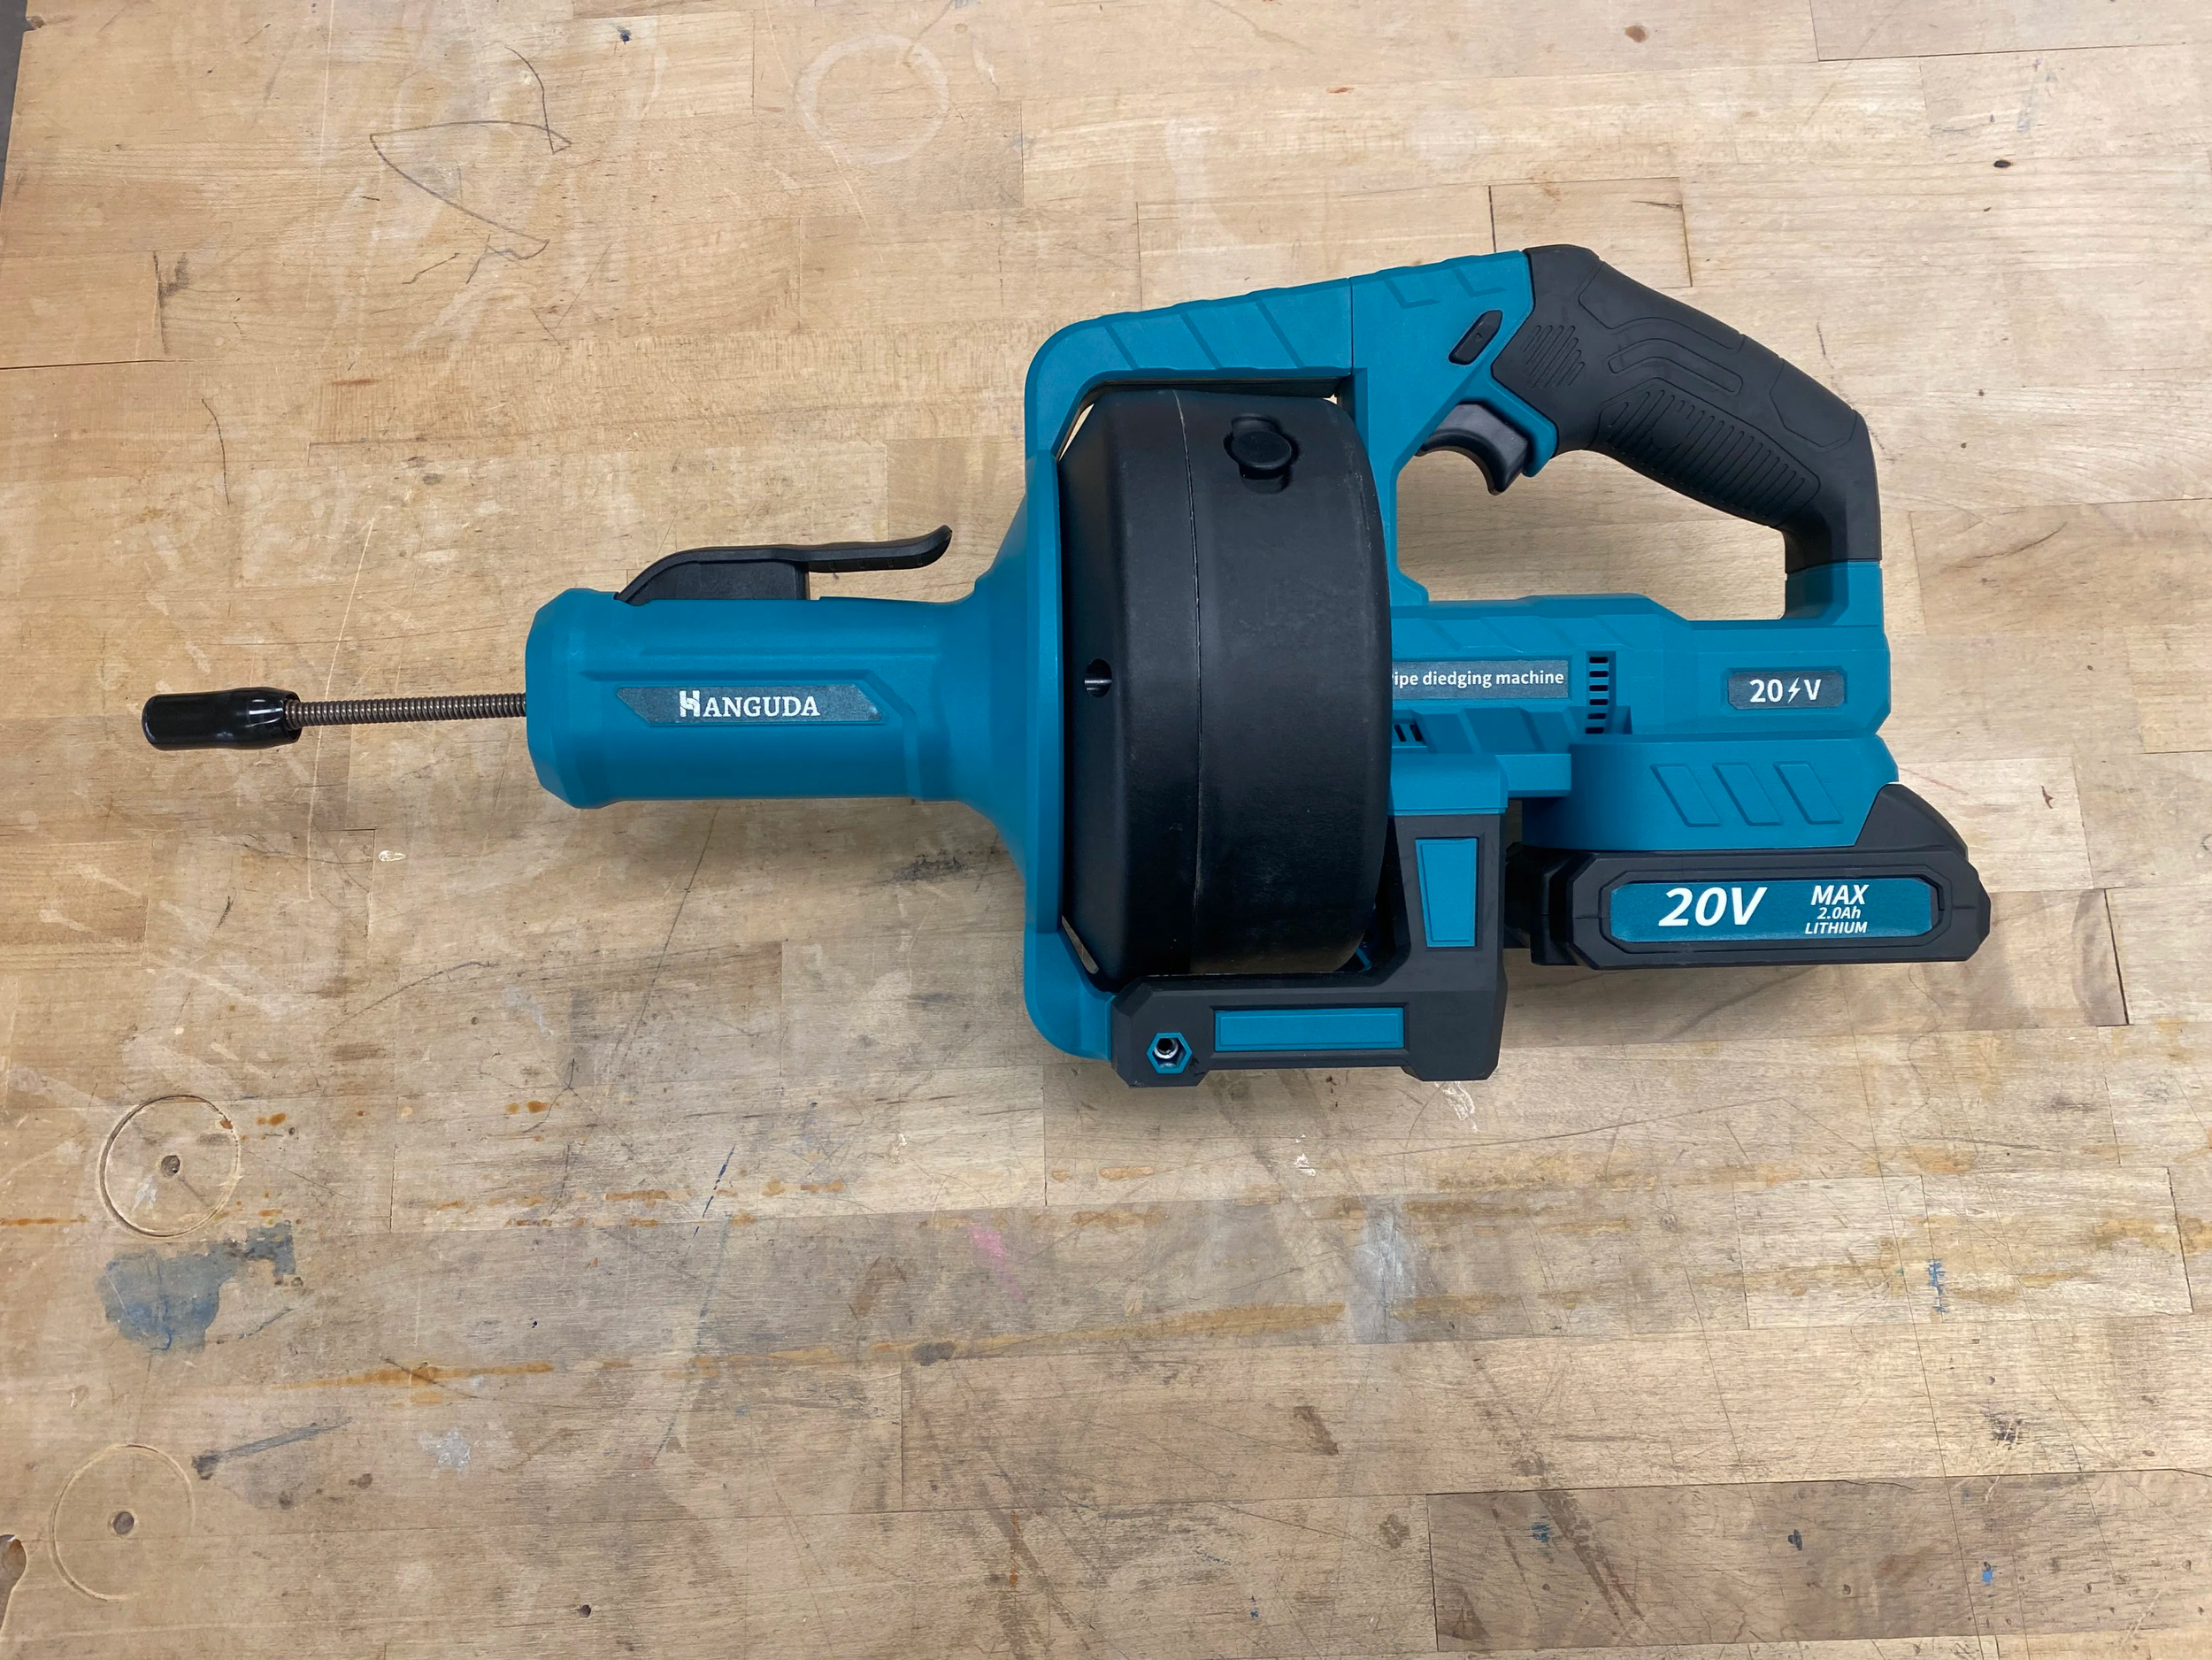
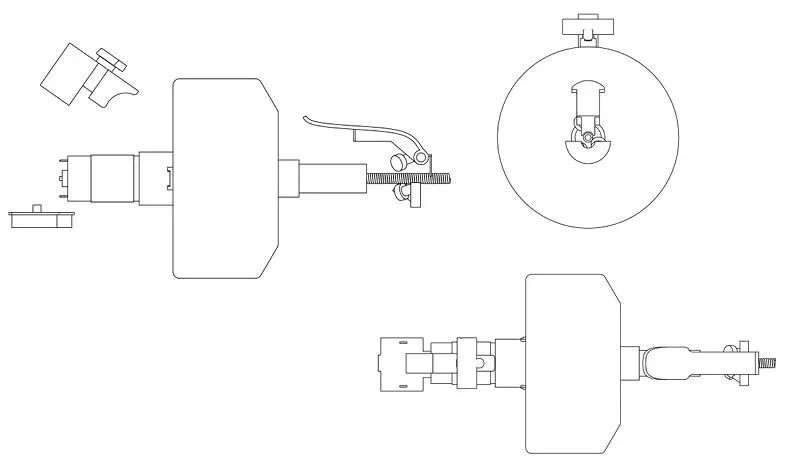
Design Direction Orthographics
Direction 1
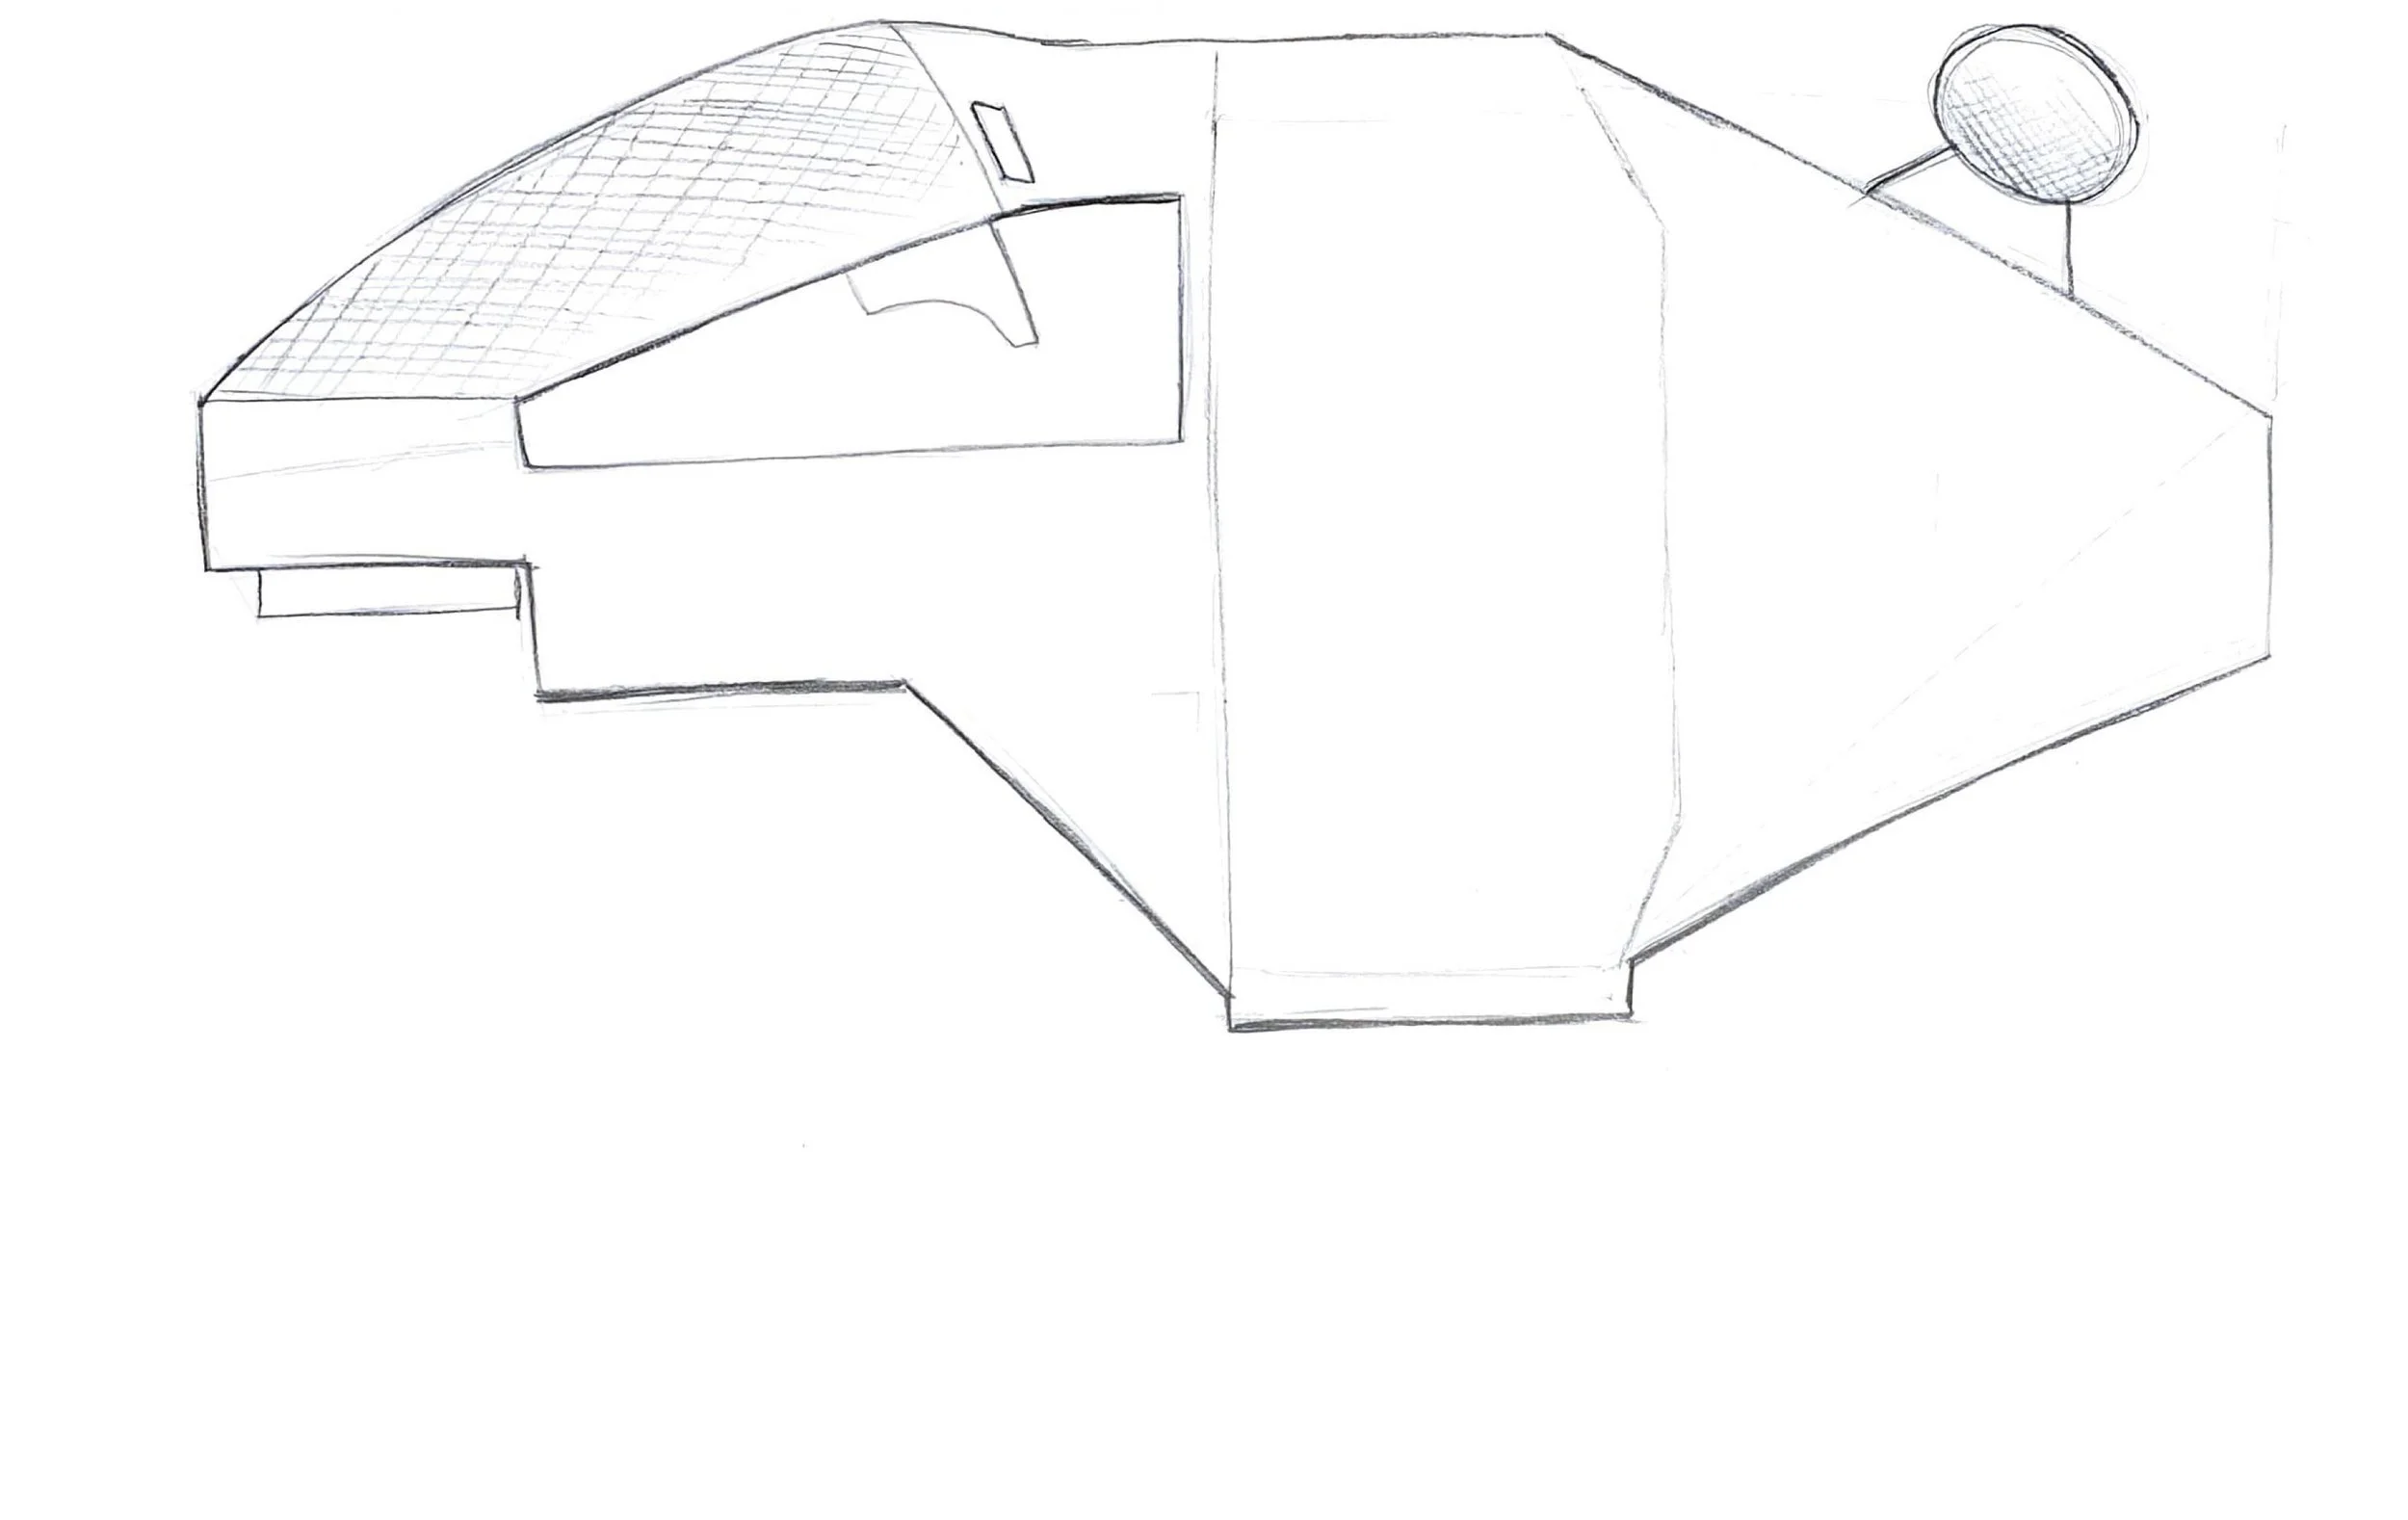
Direction 2
Direction 3
Direction 4
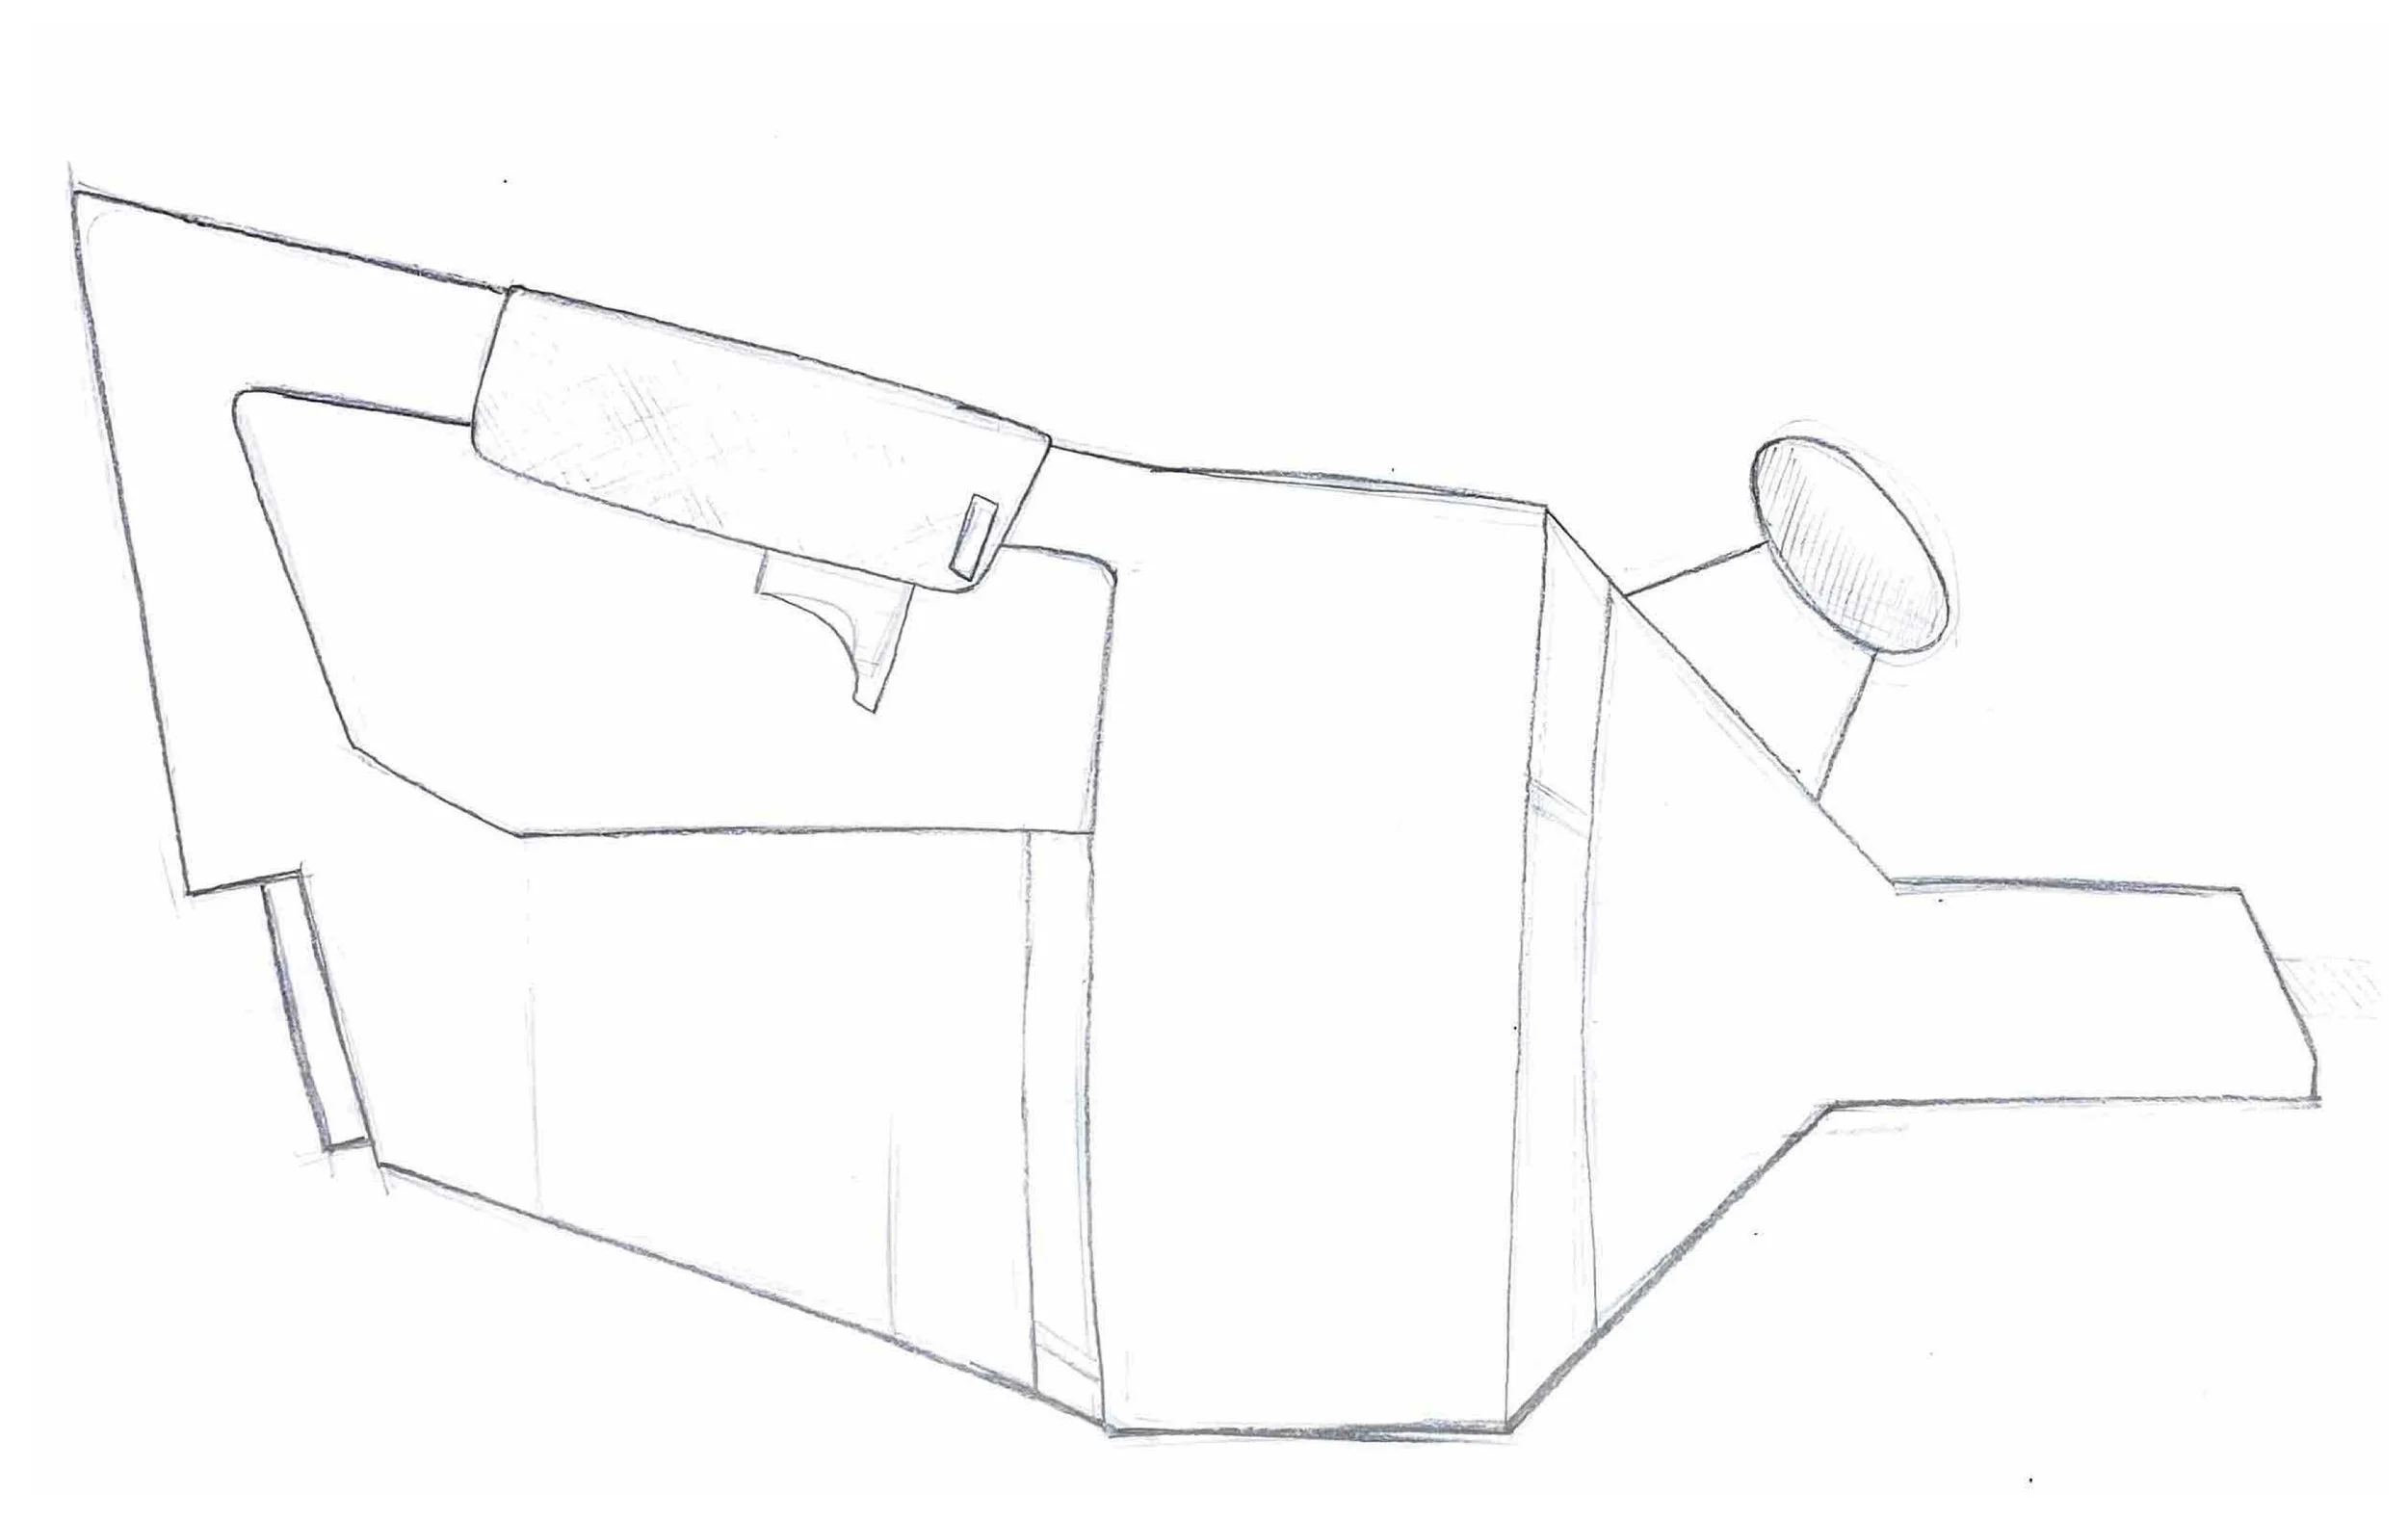
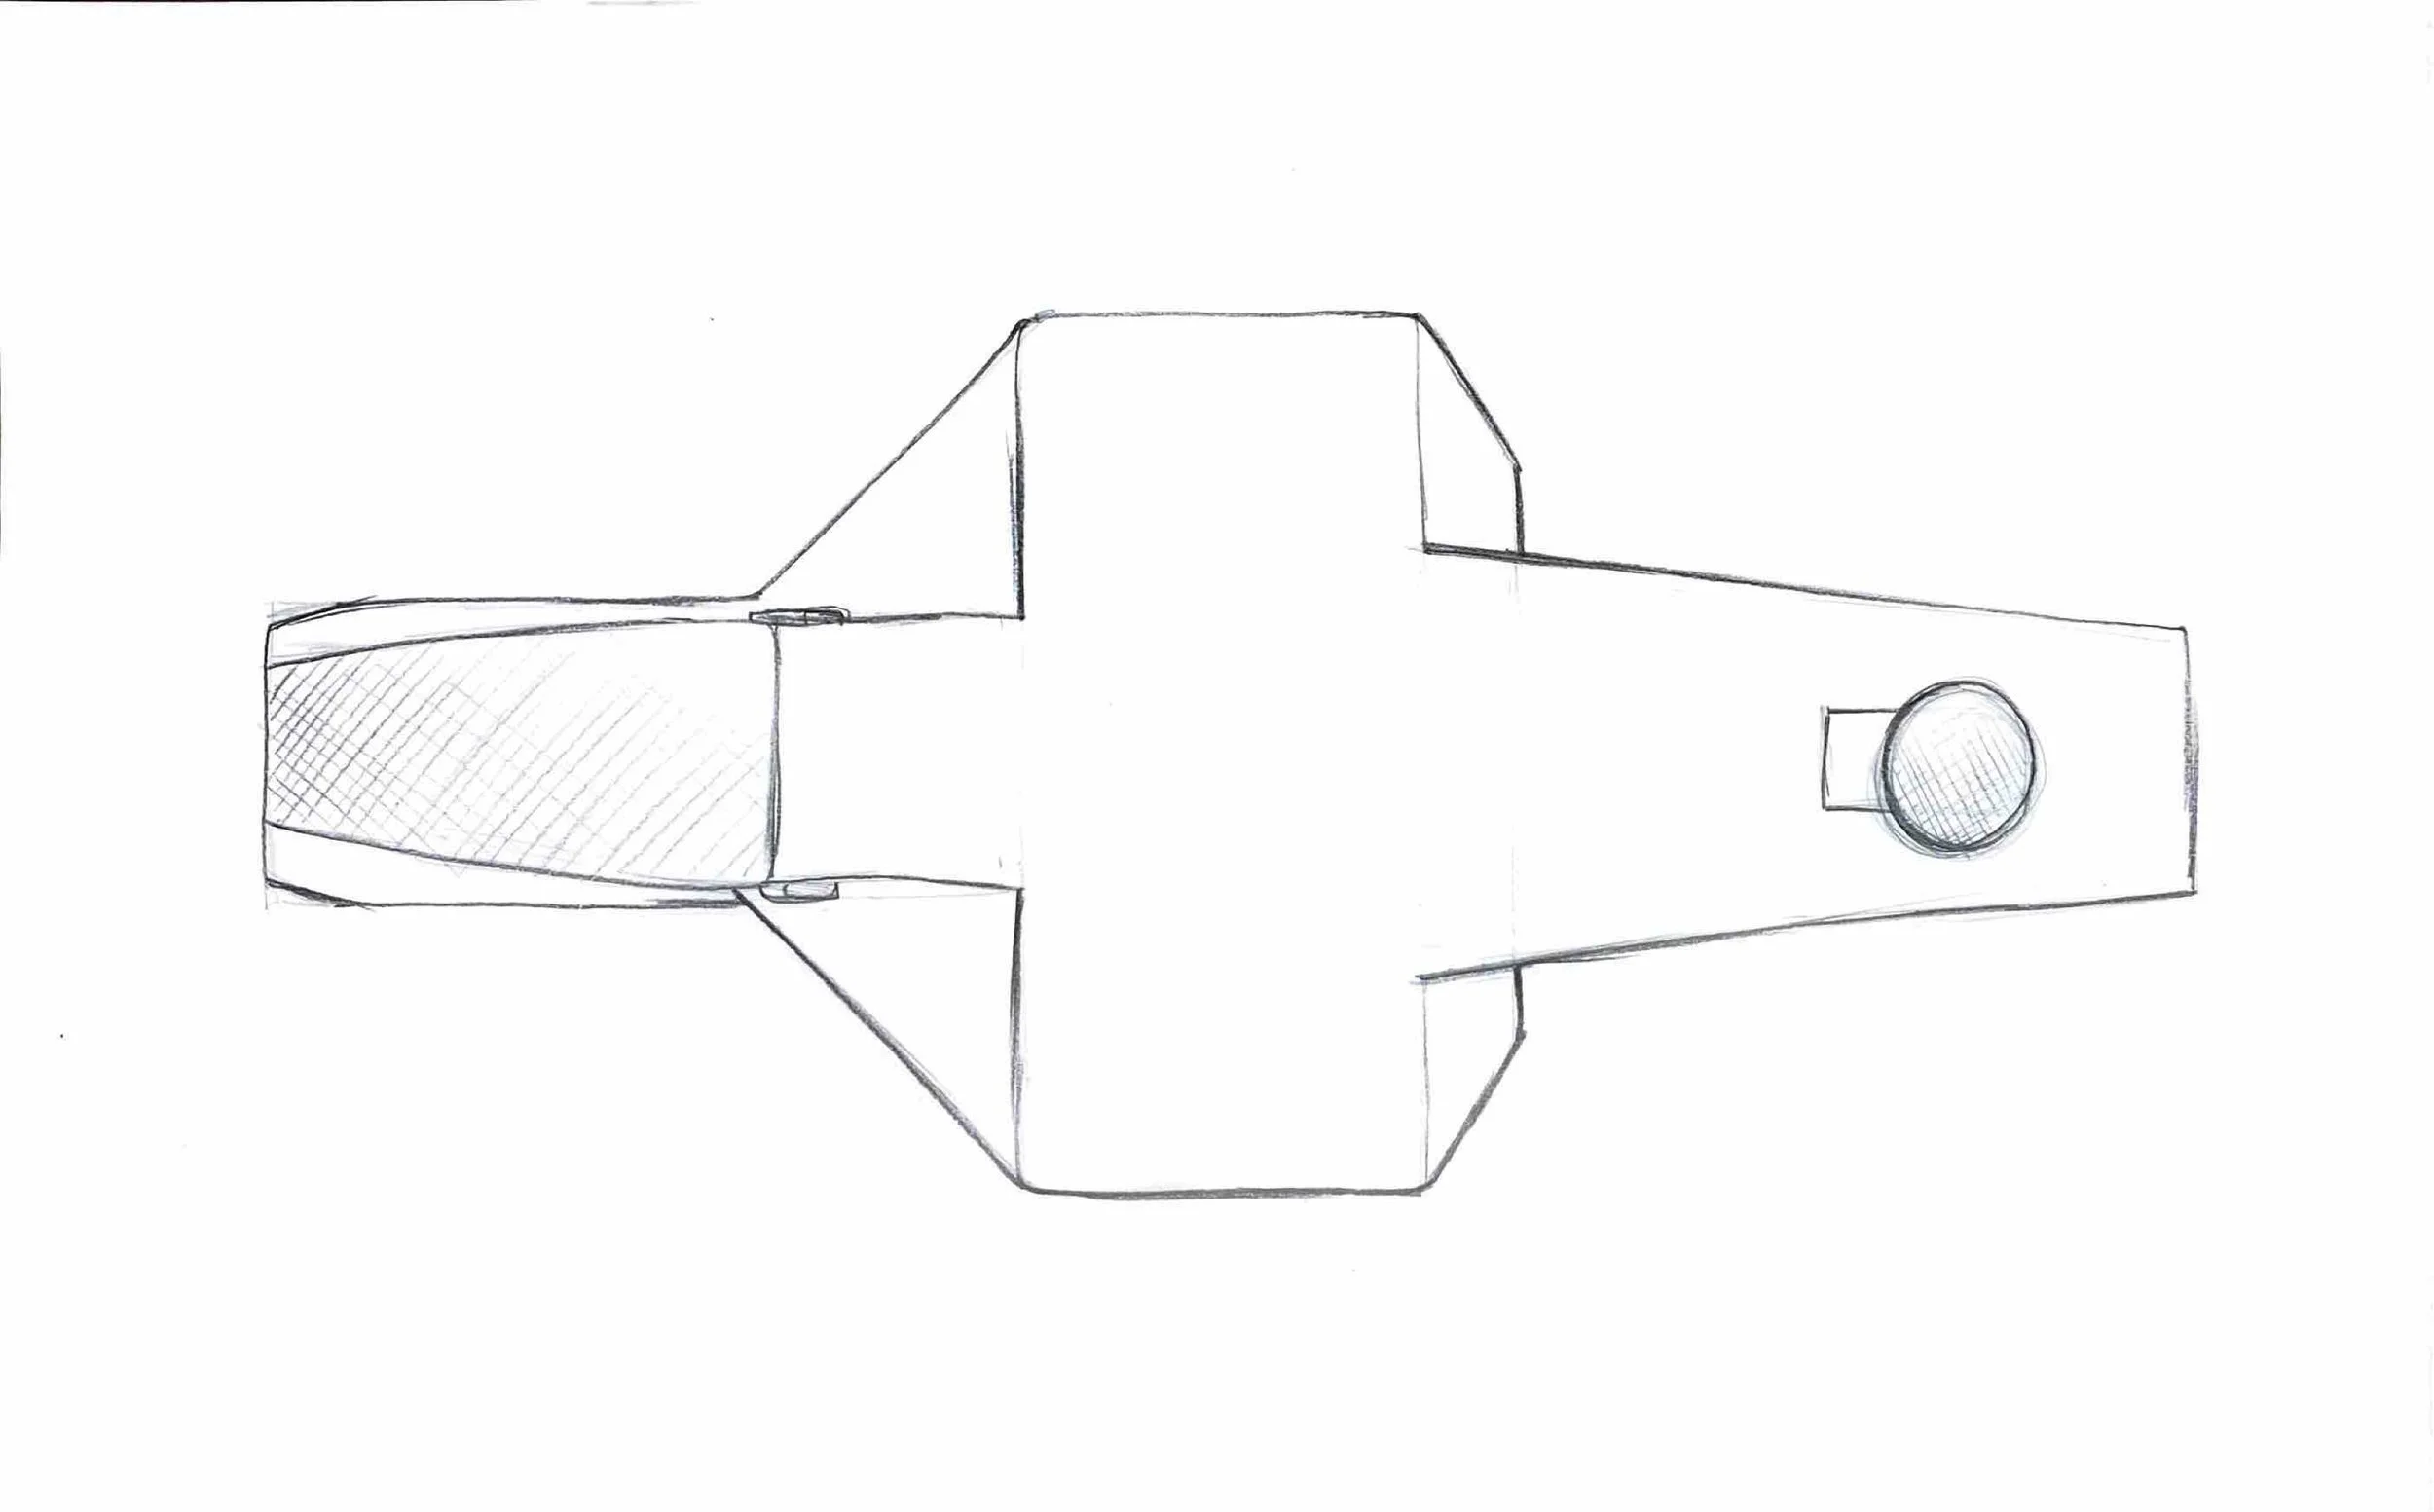
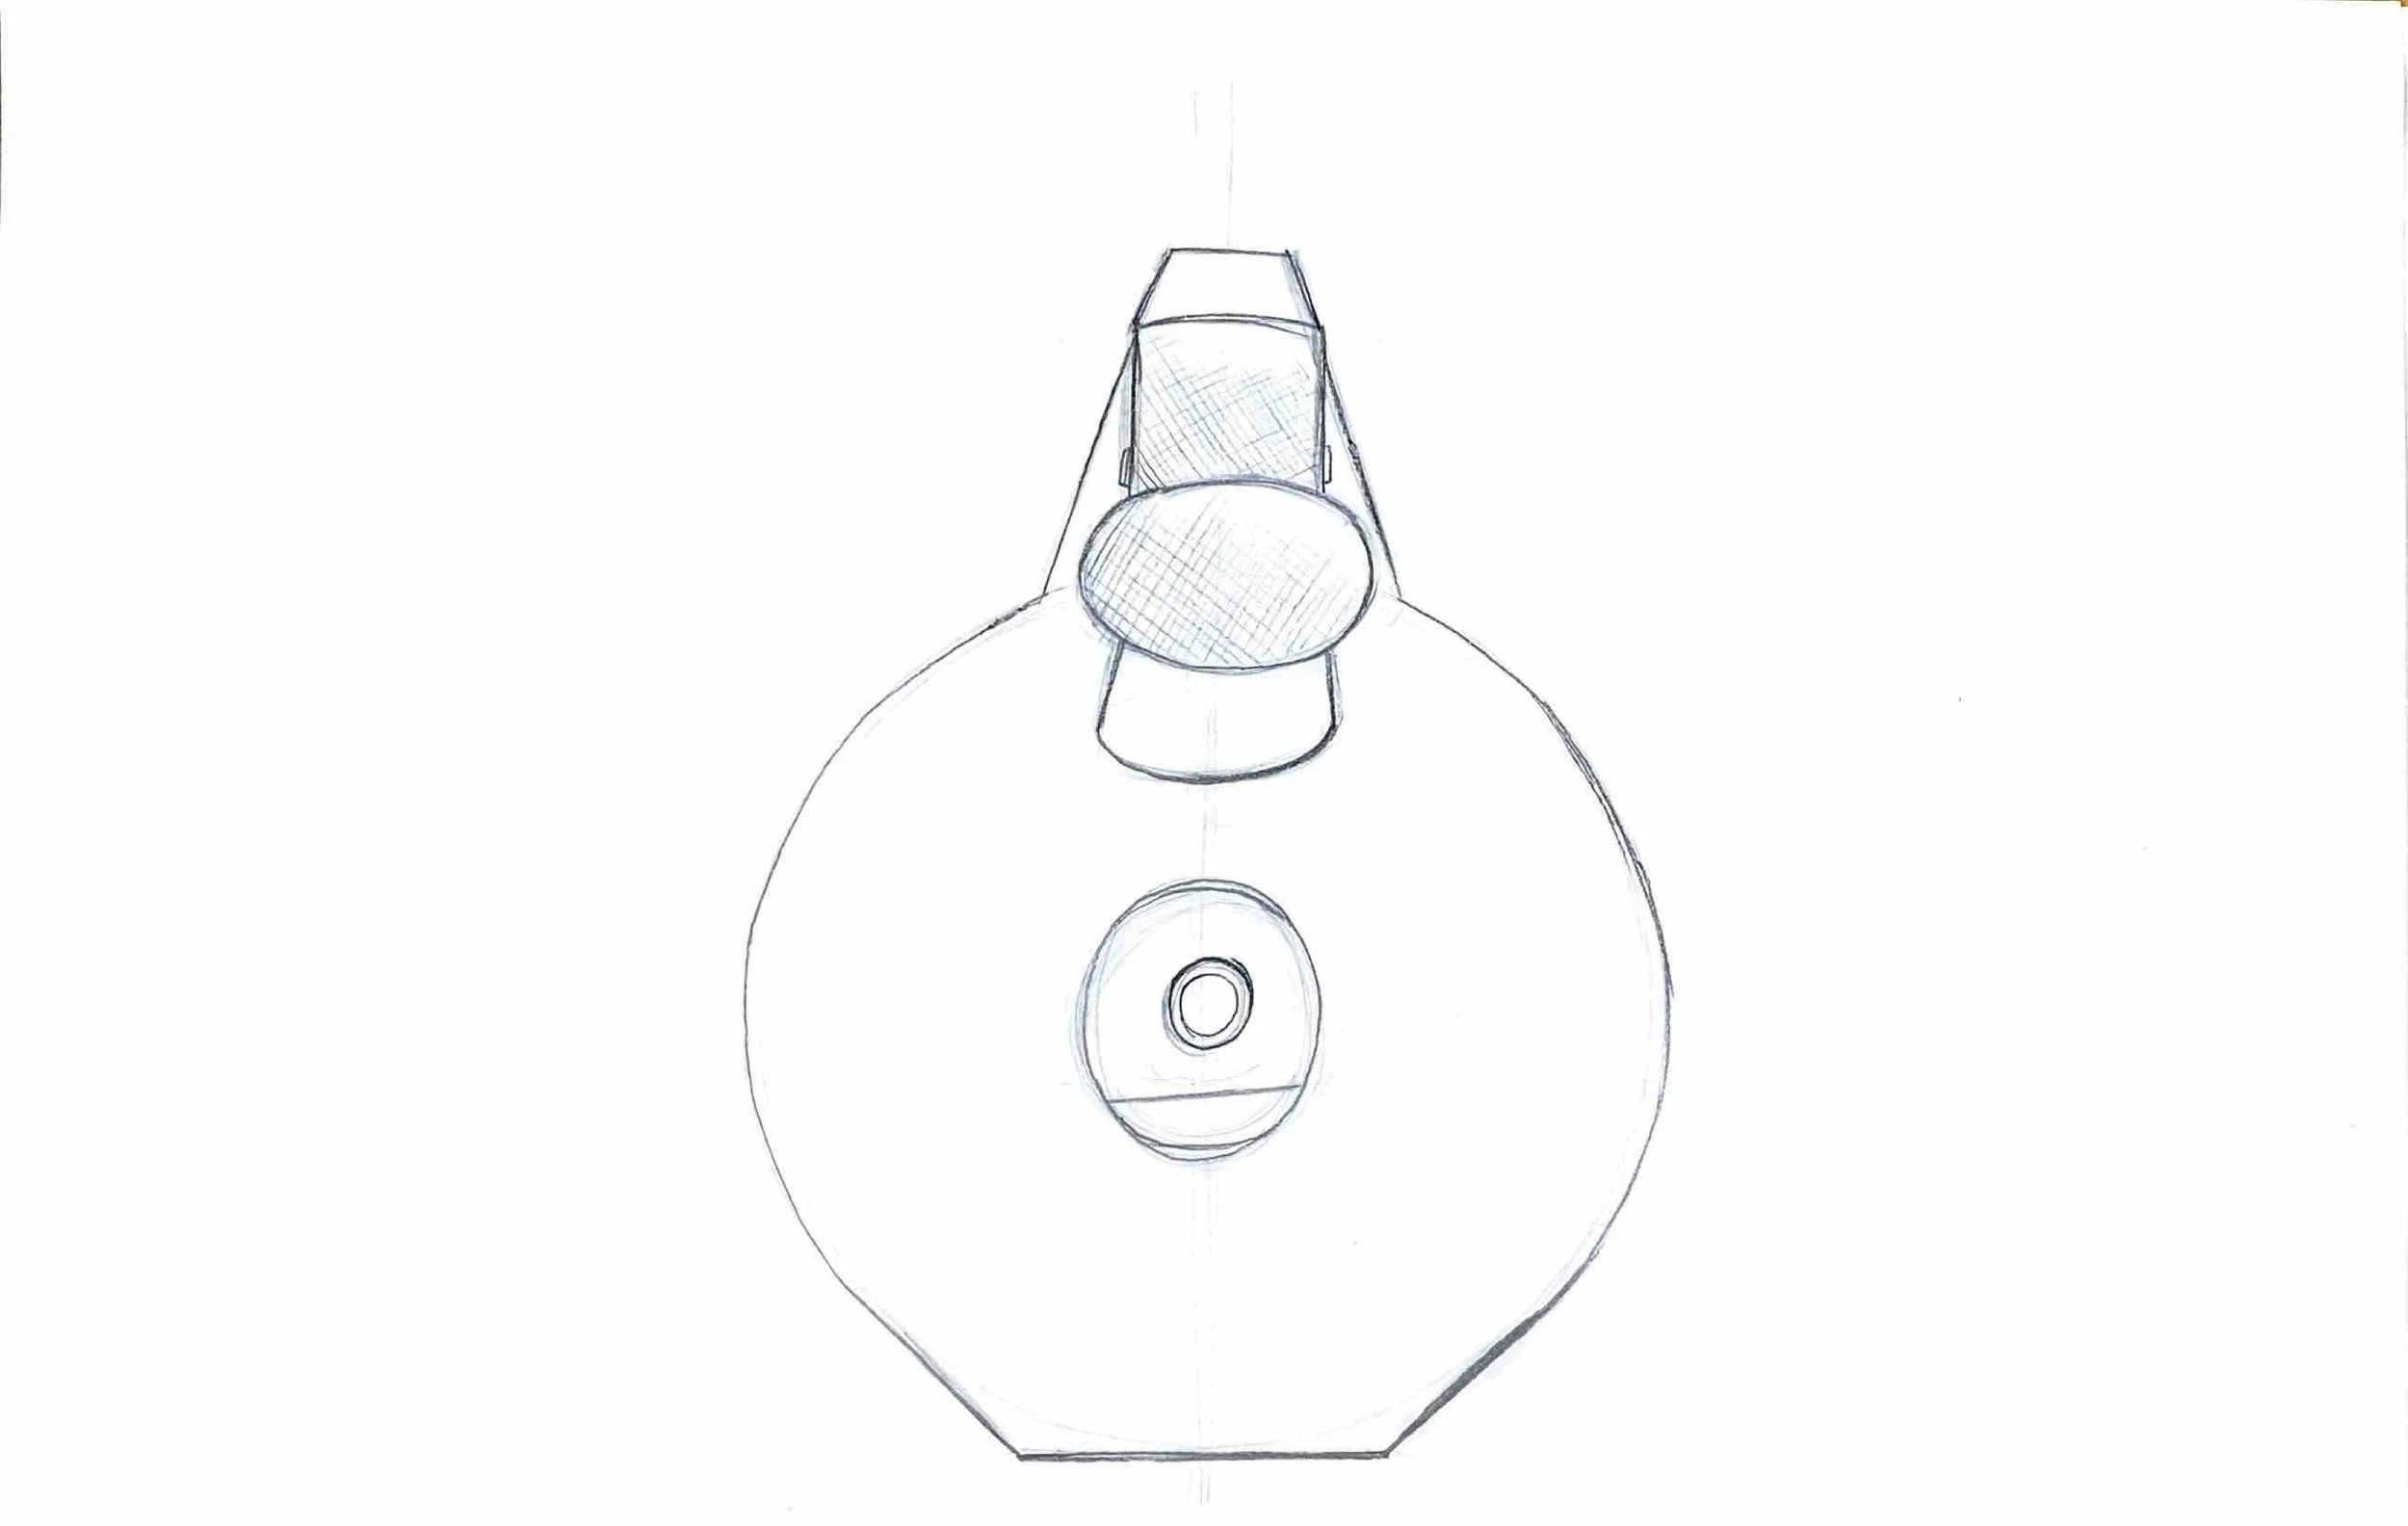
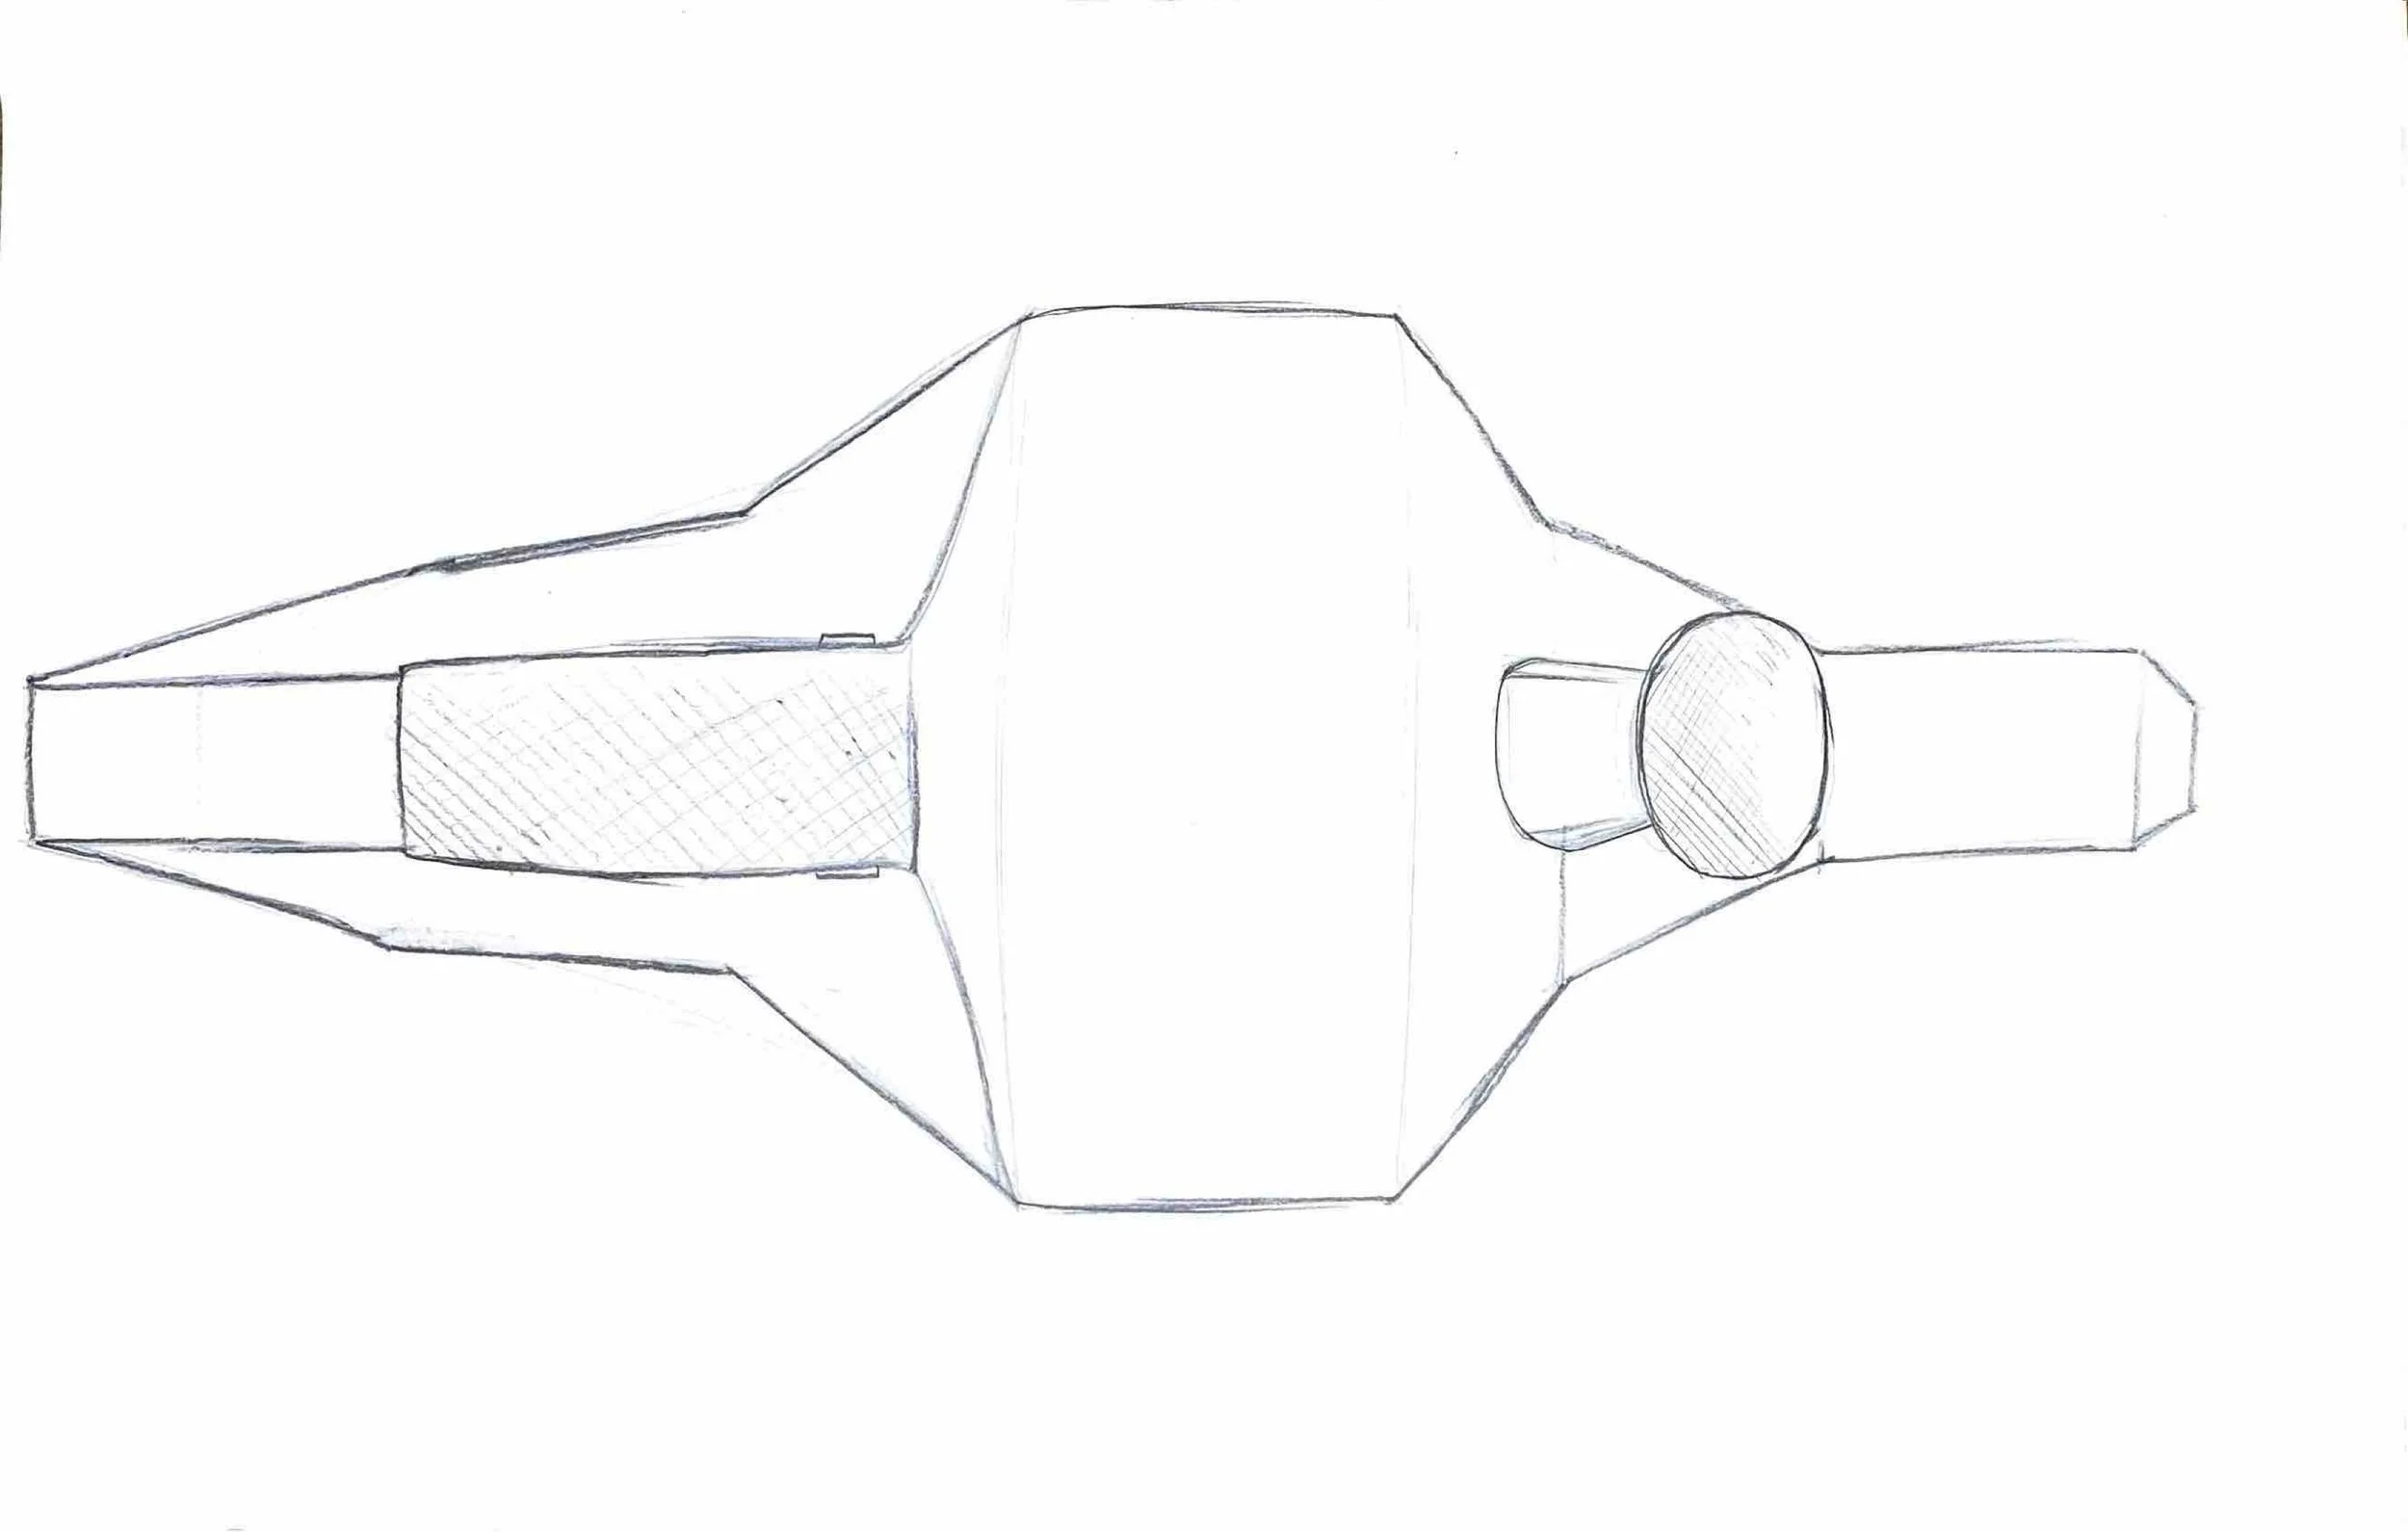
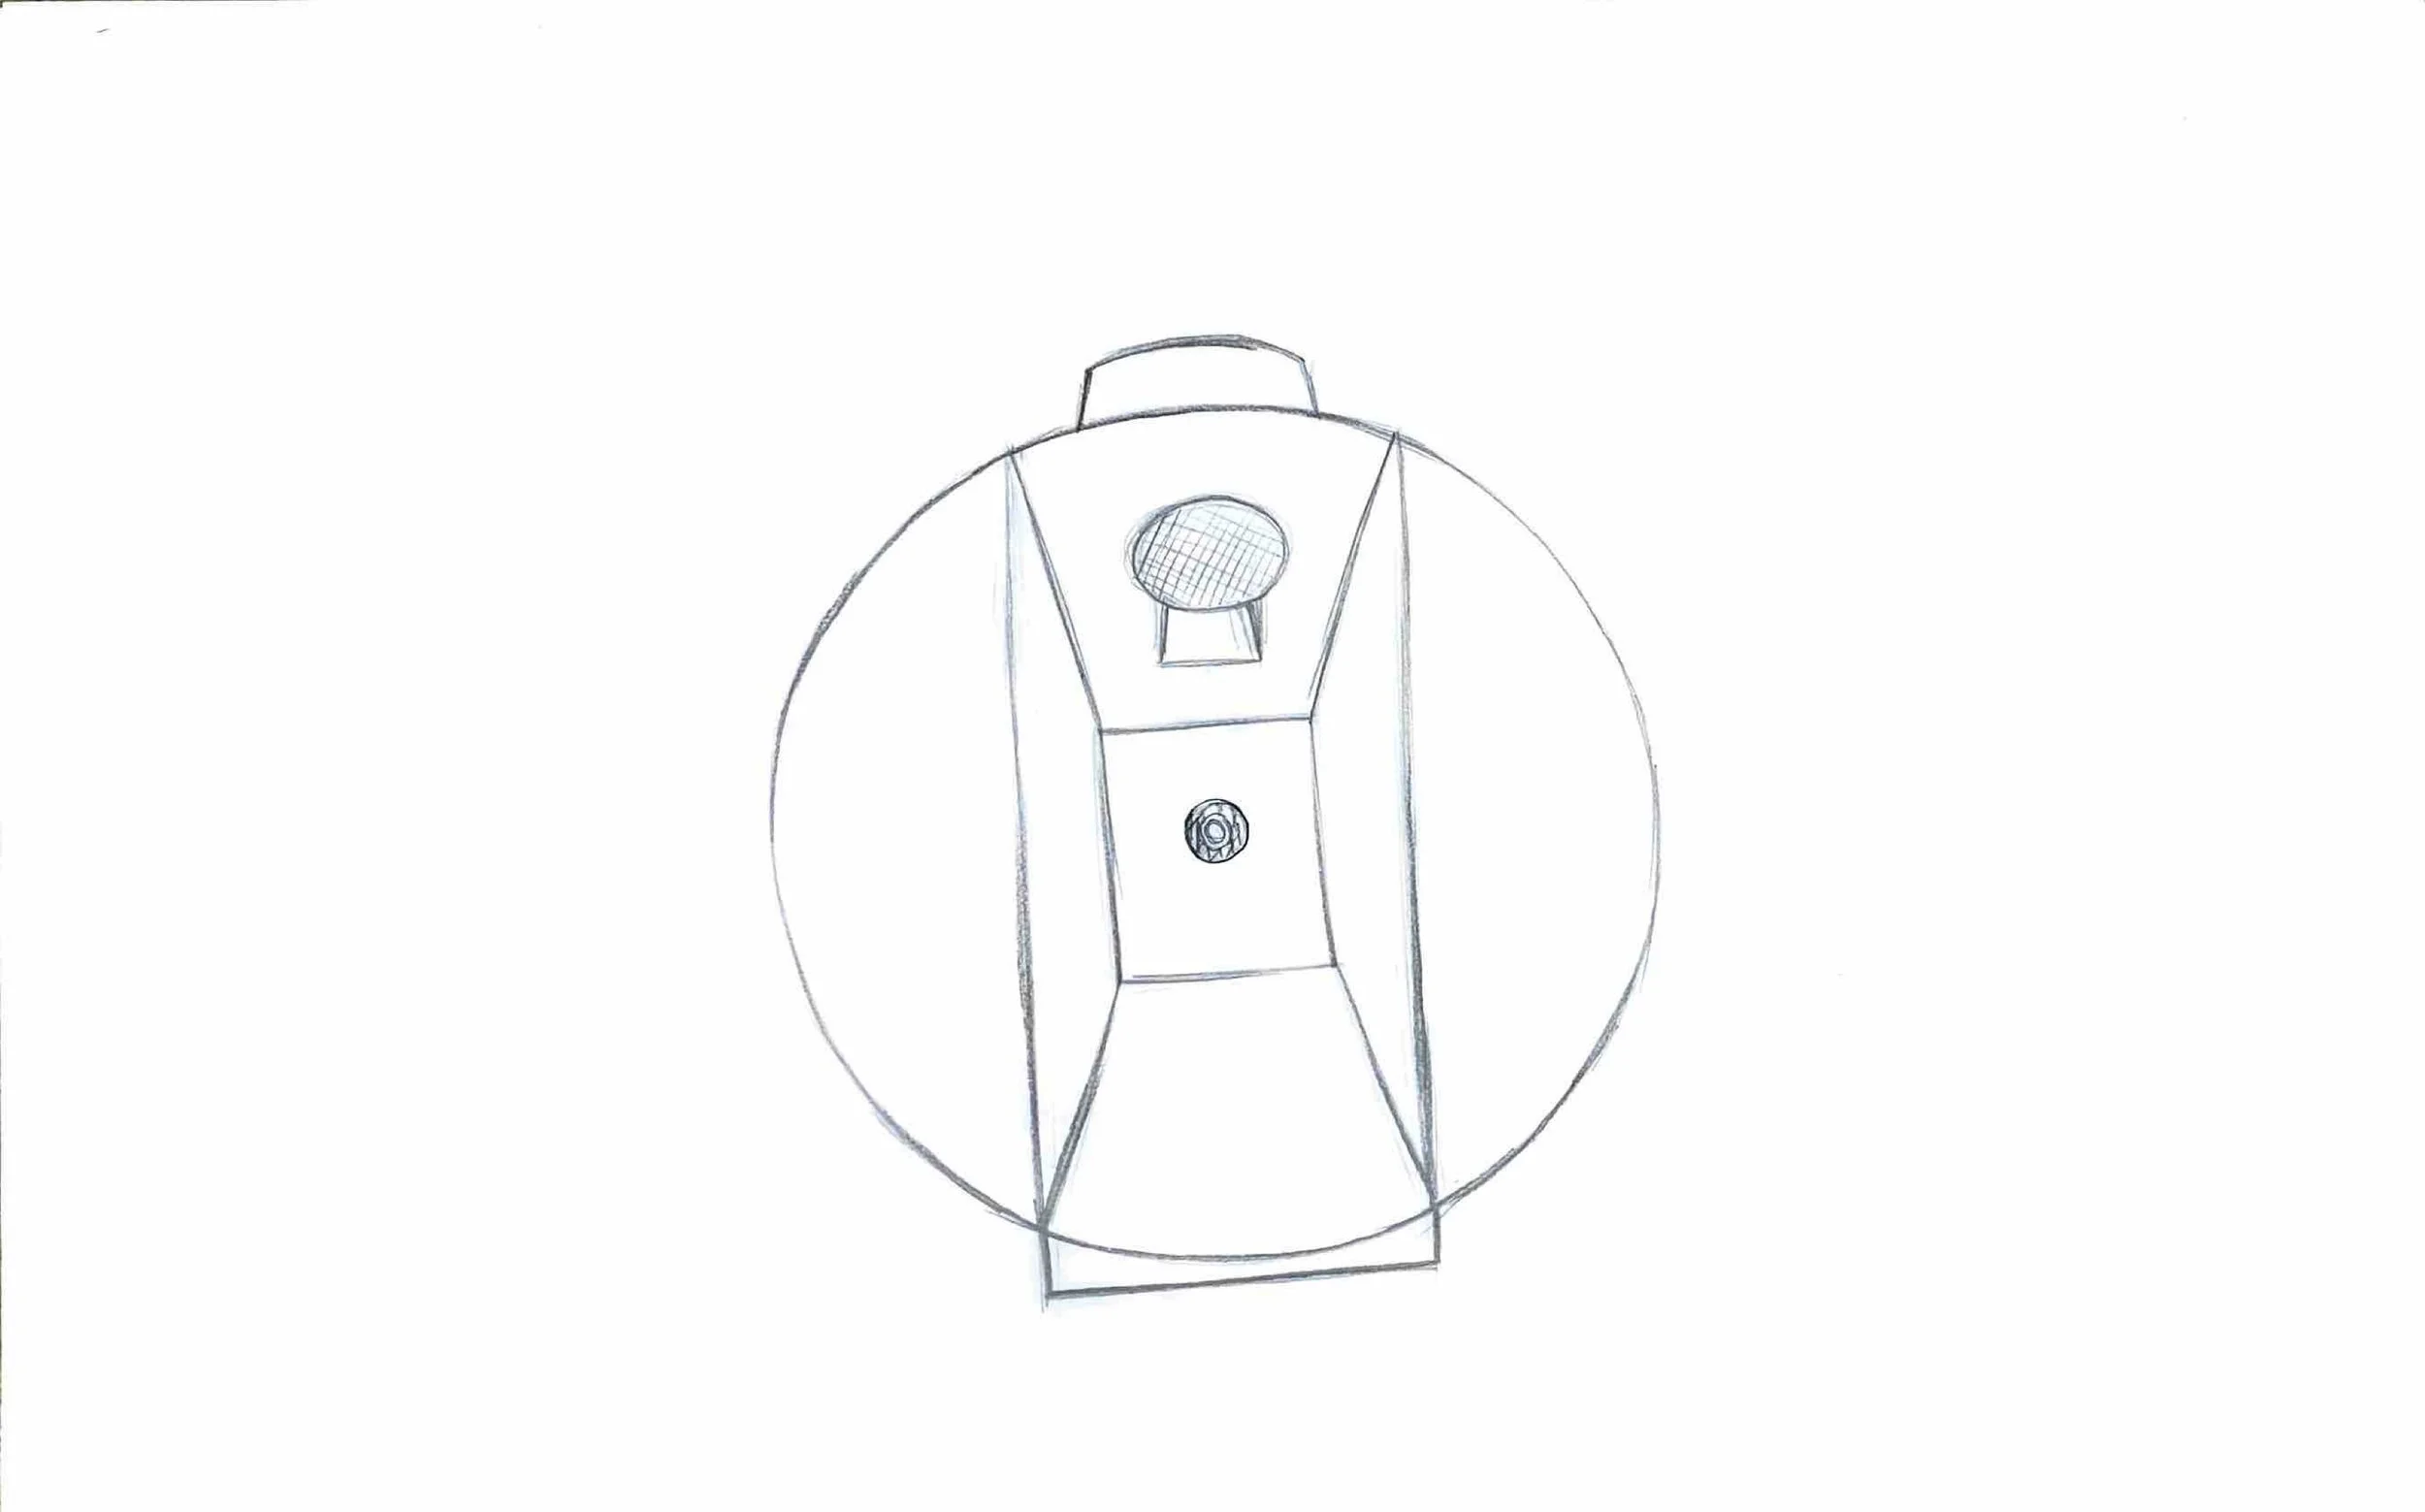
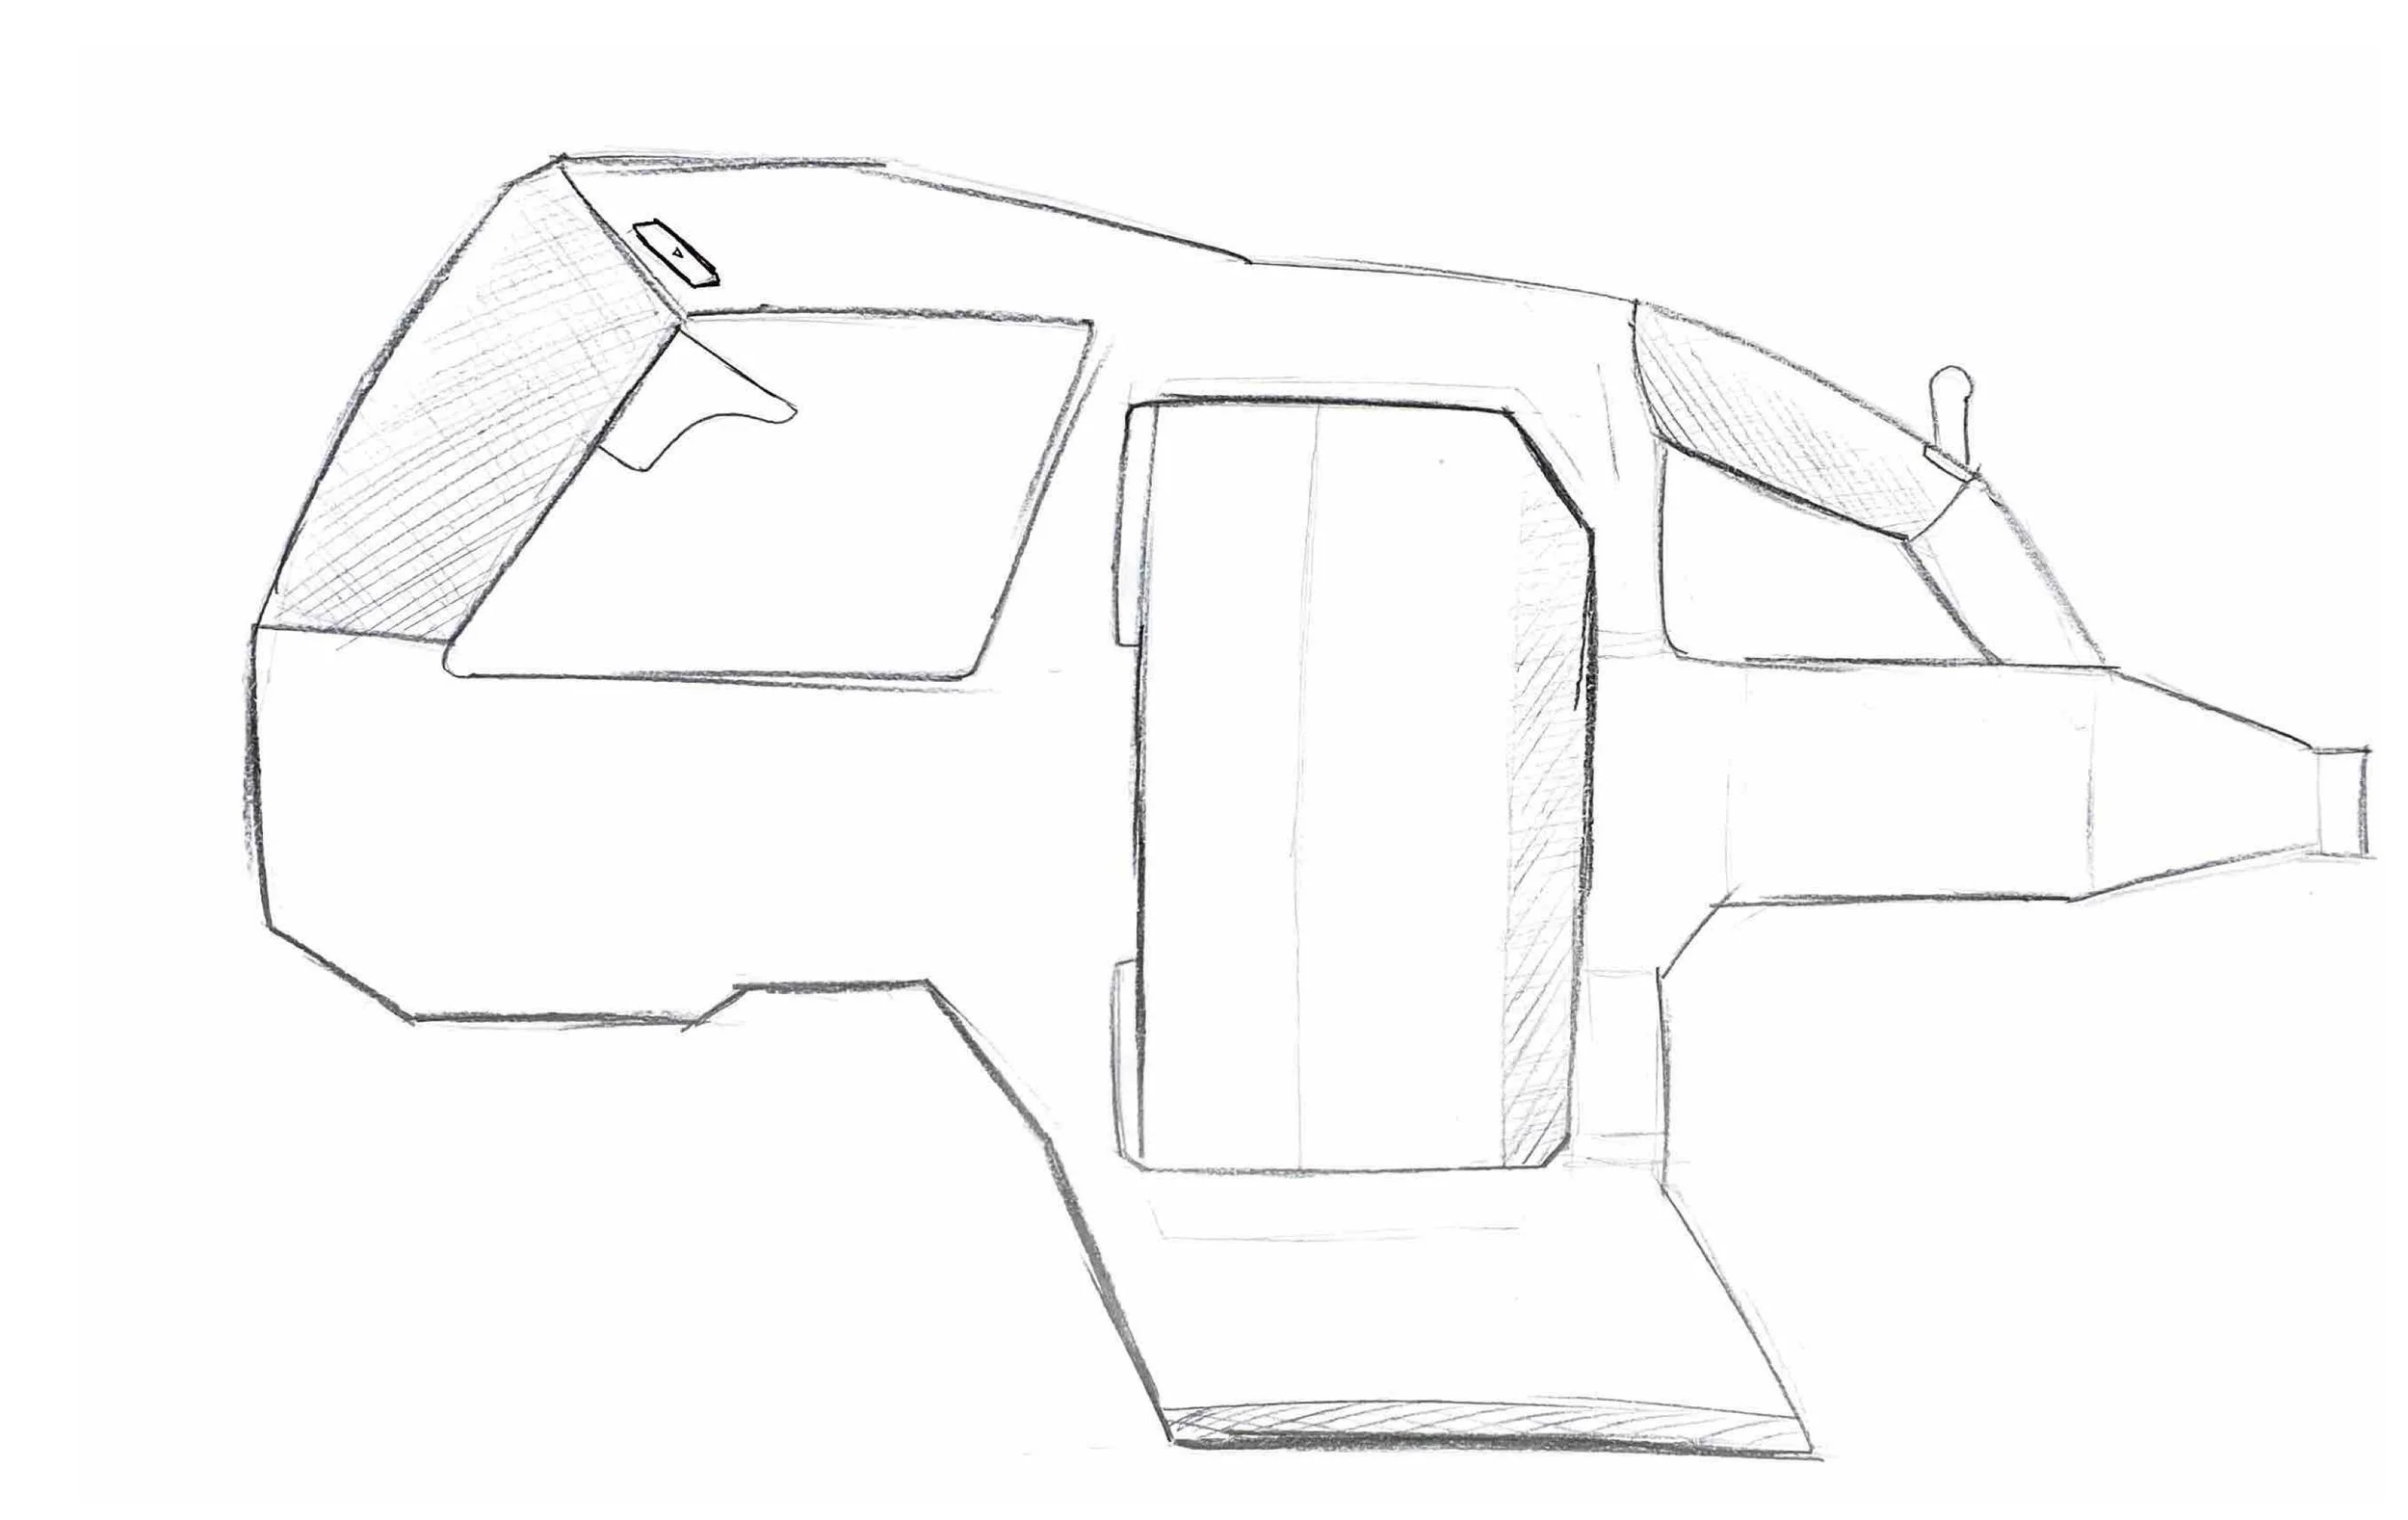
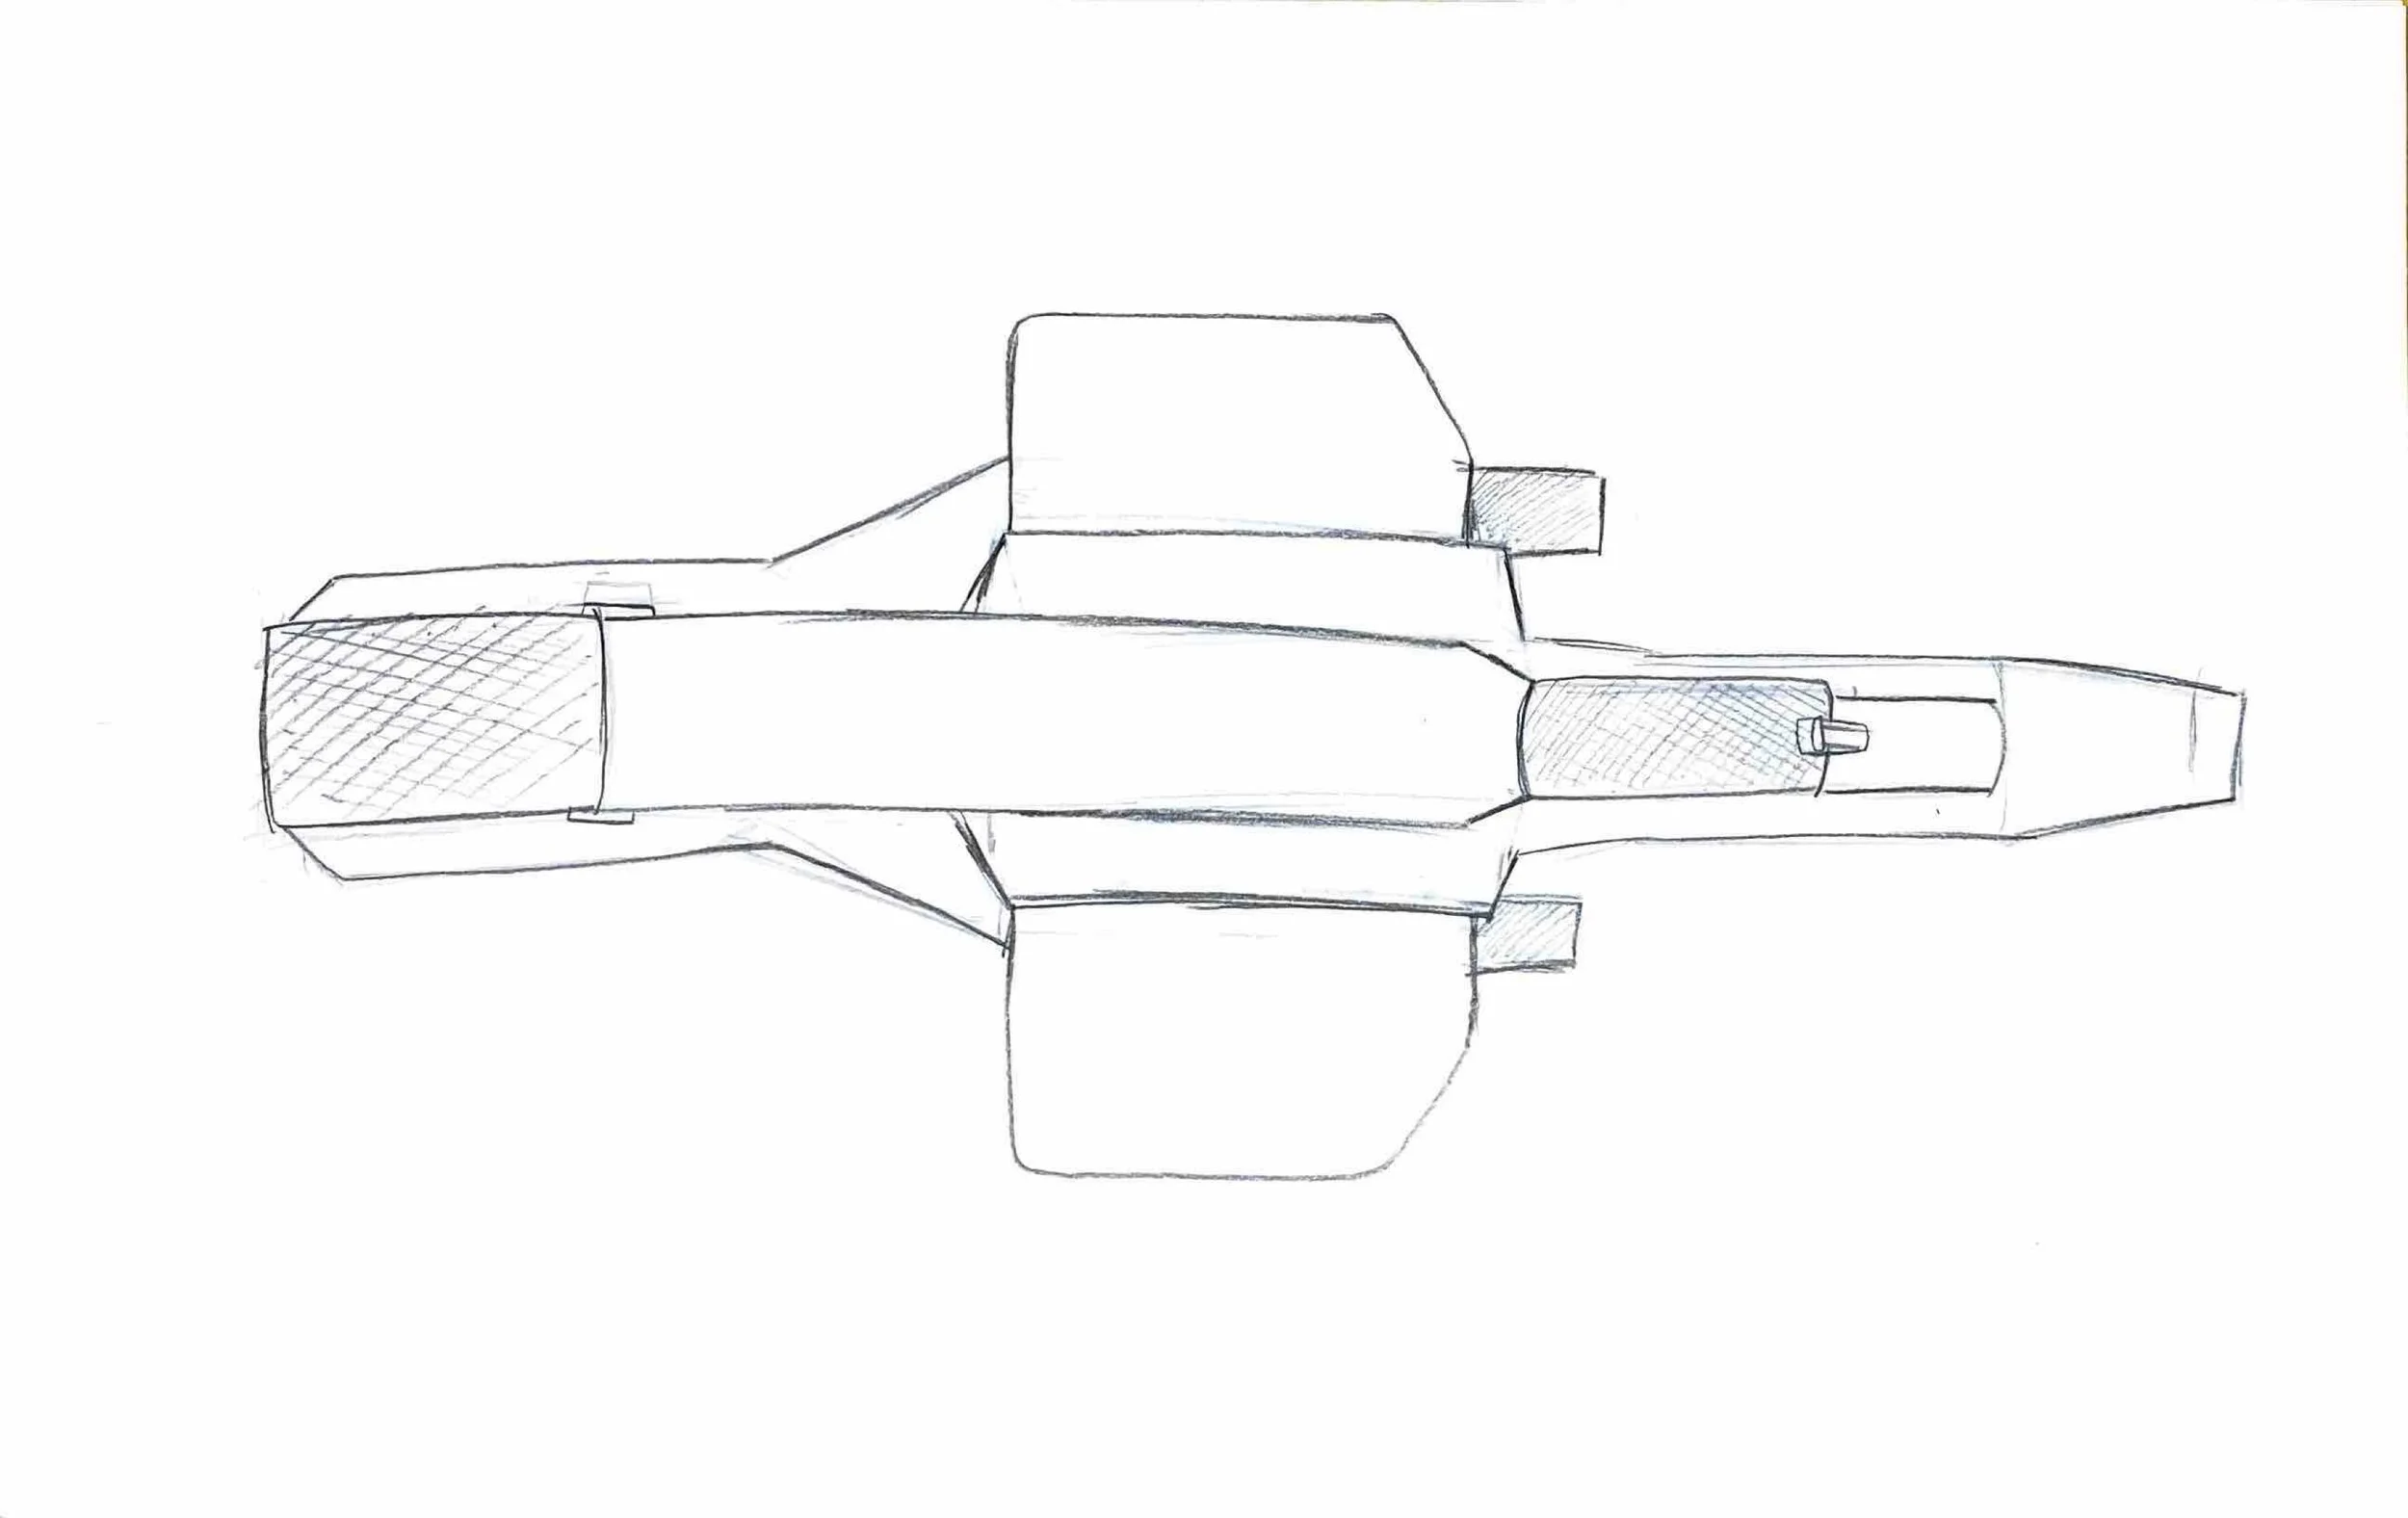
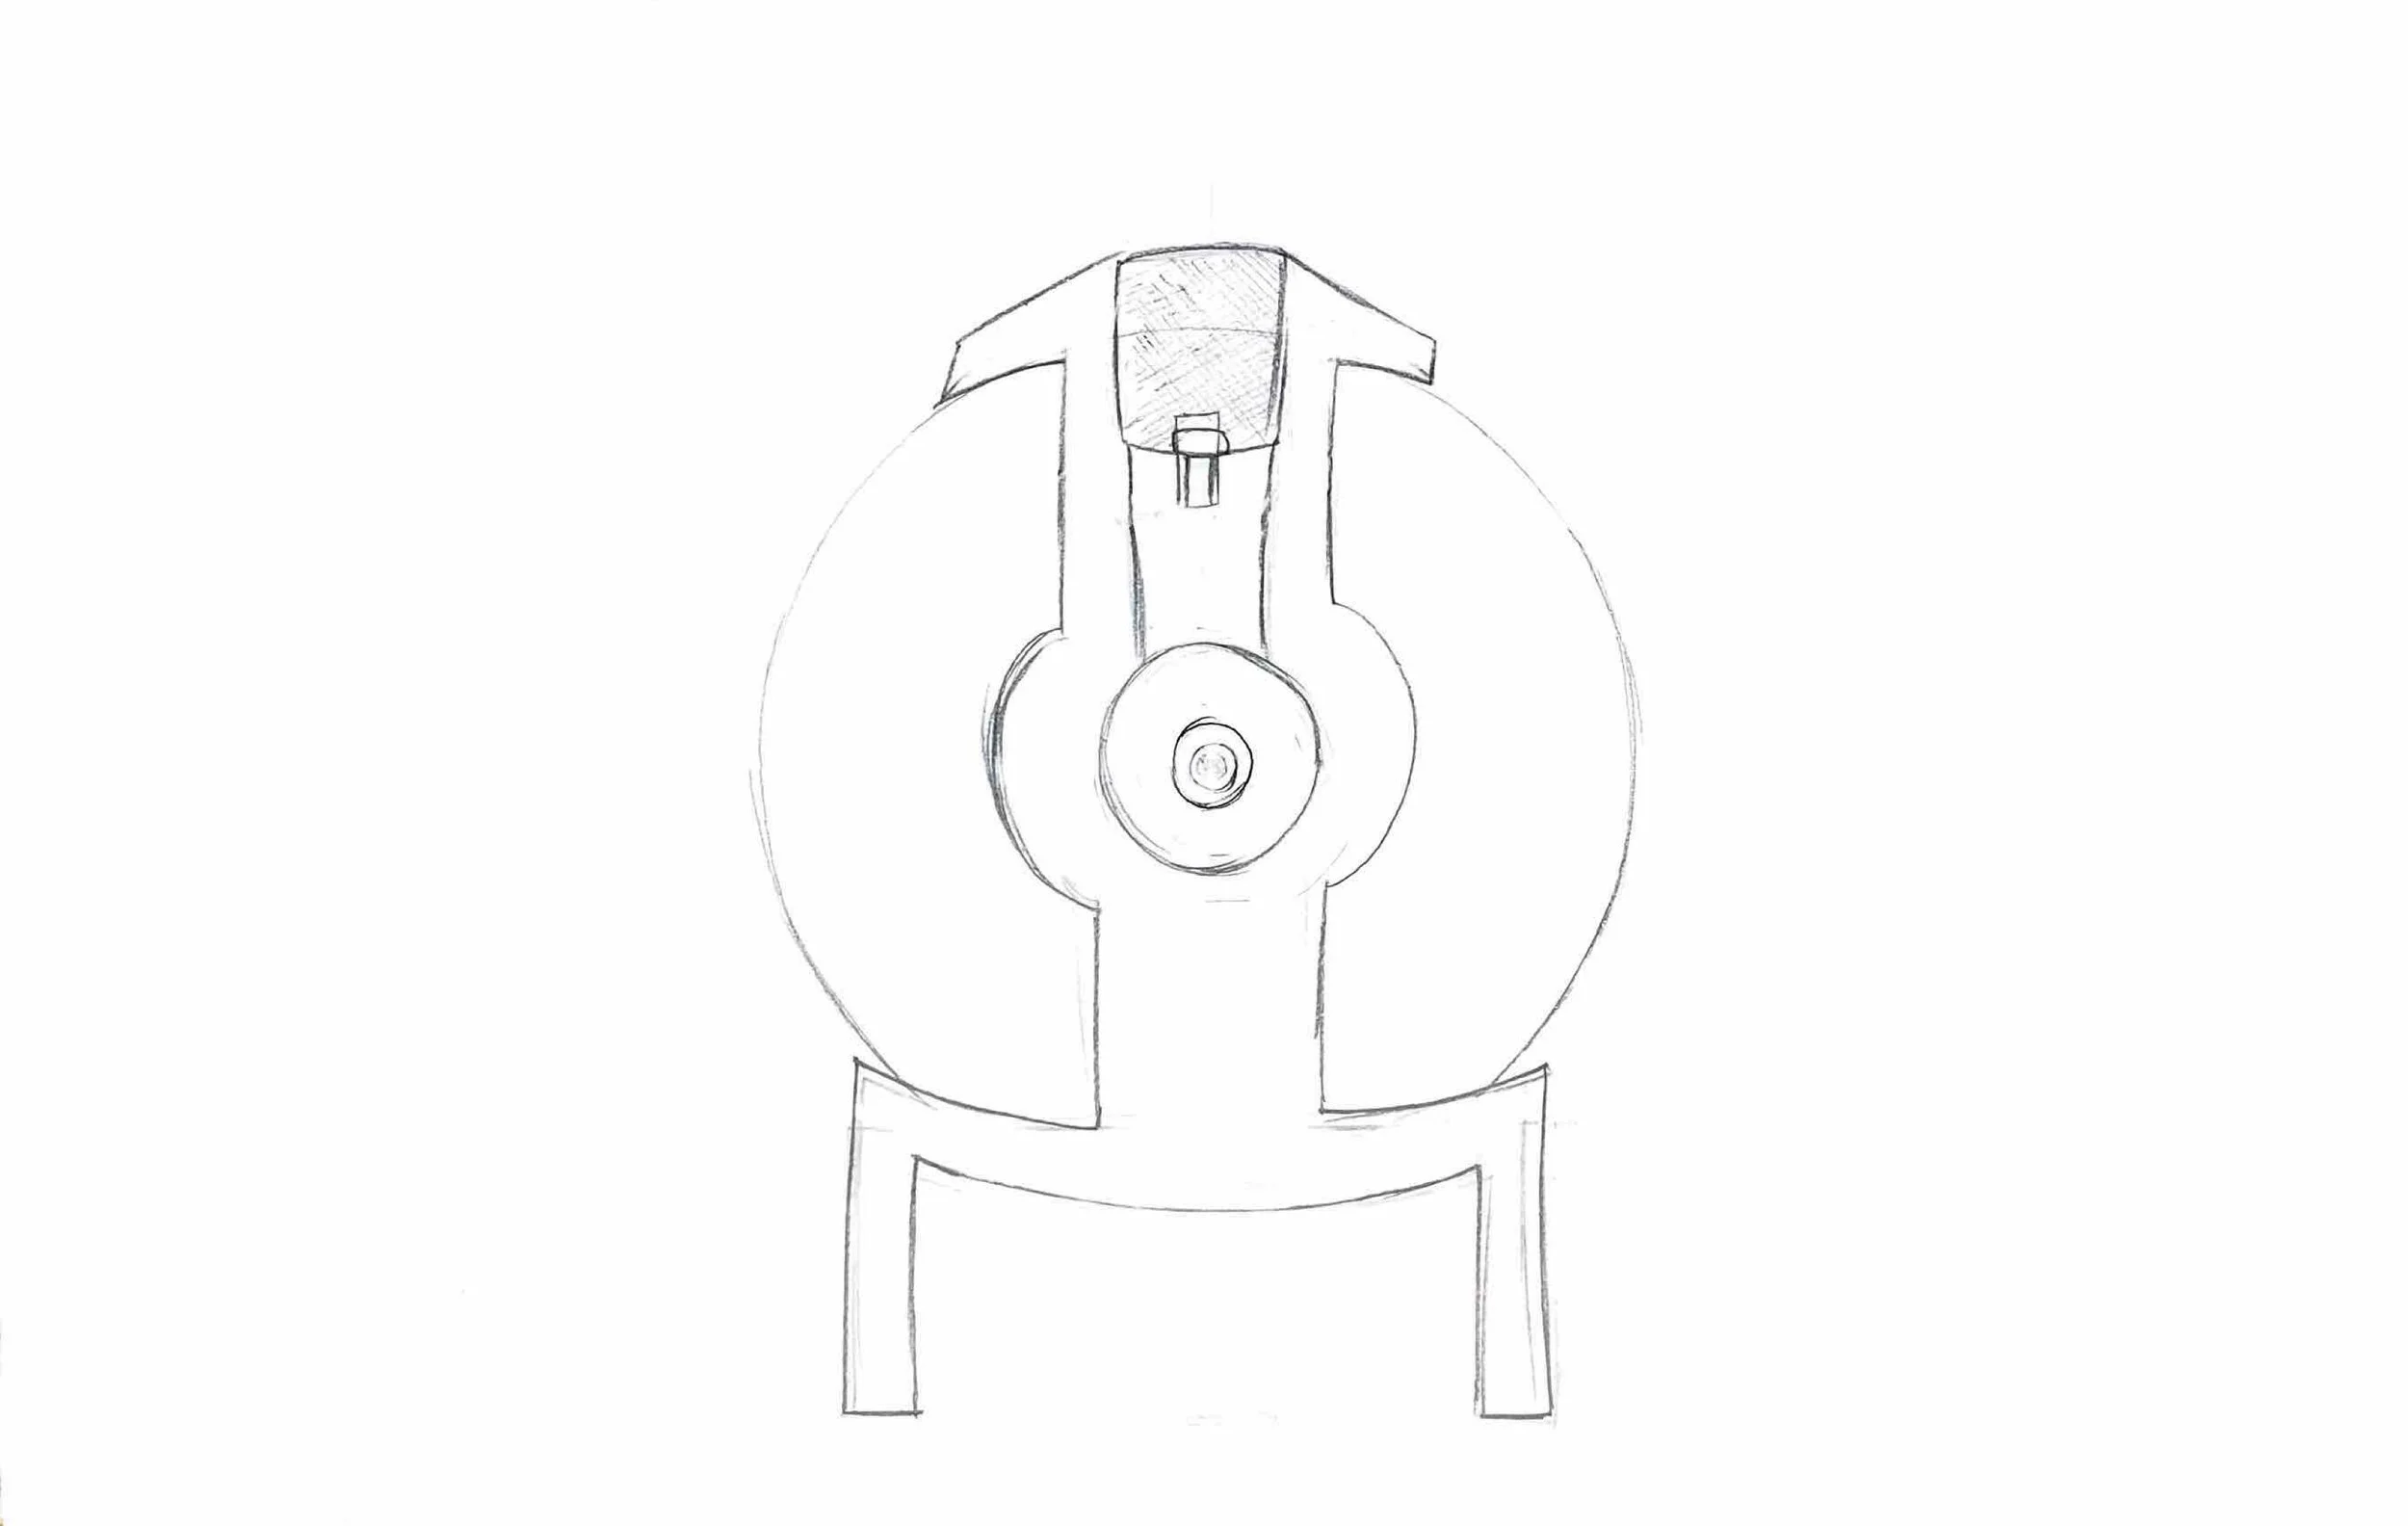
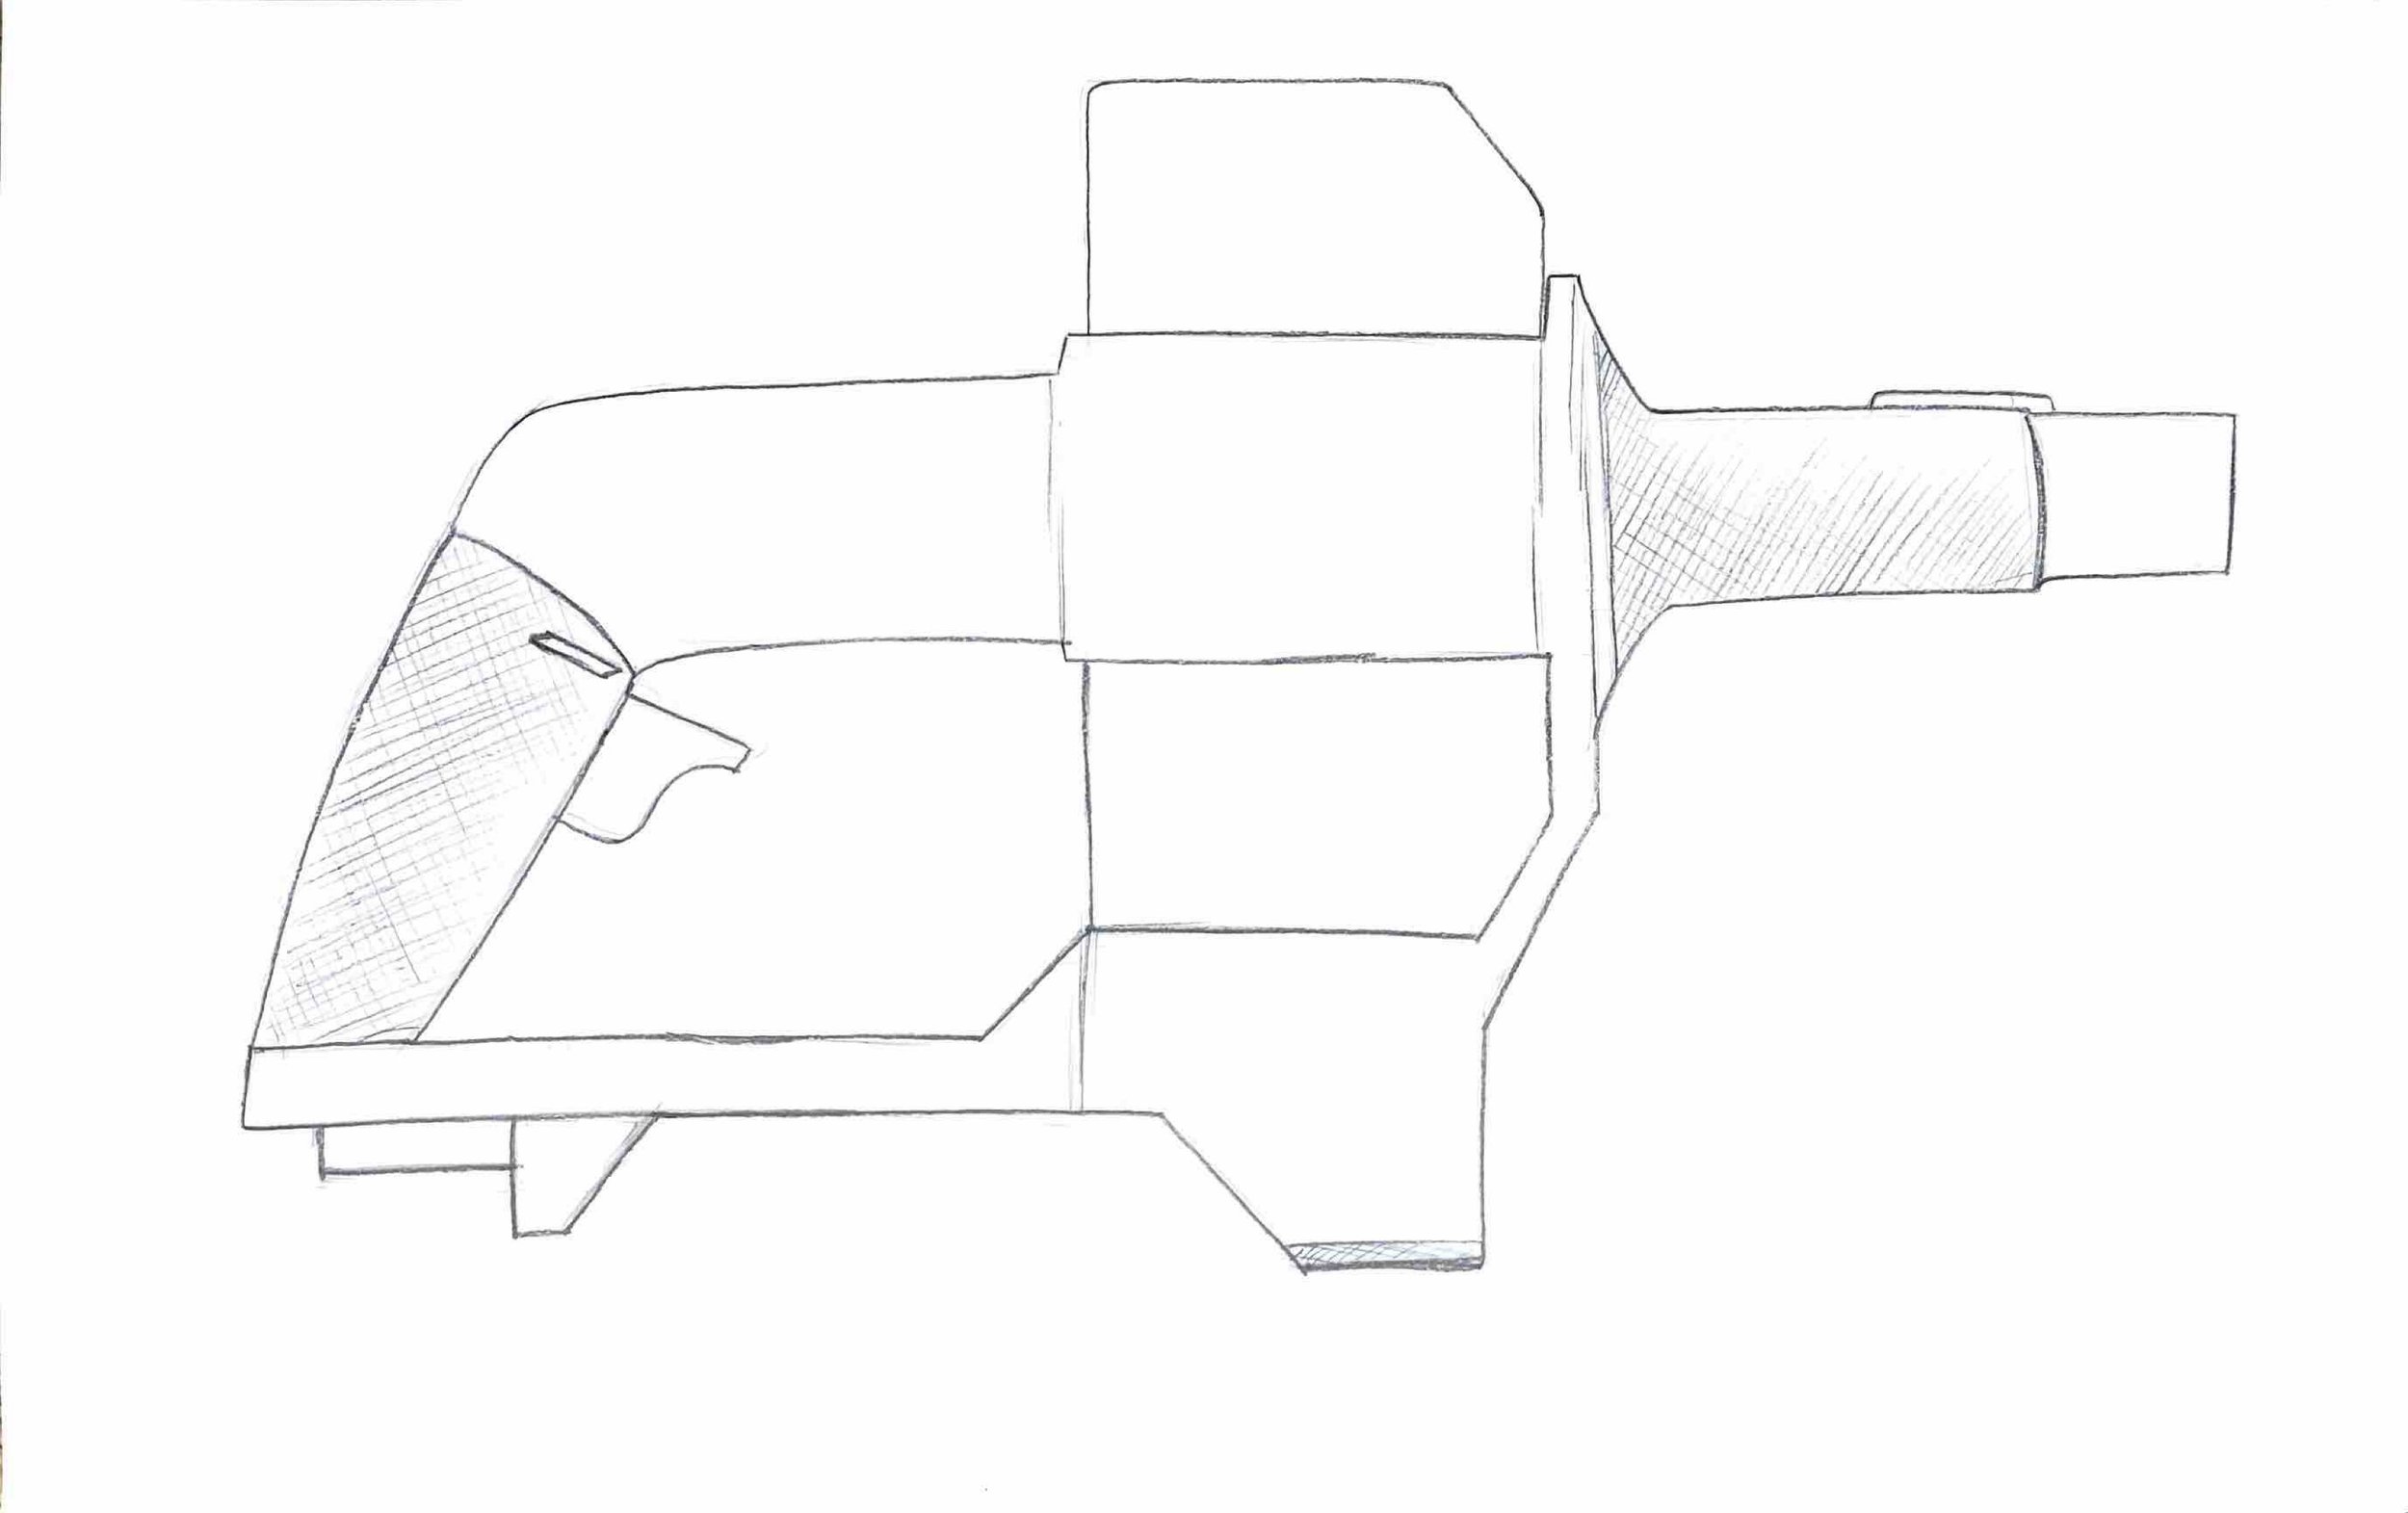
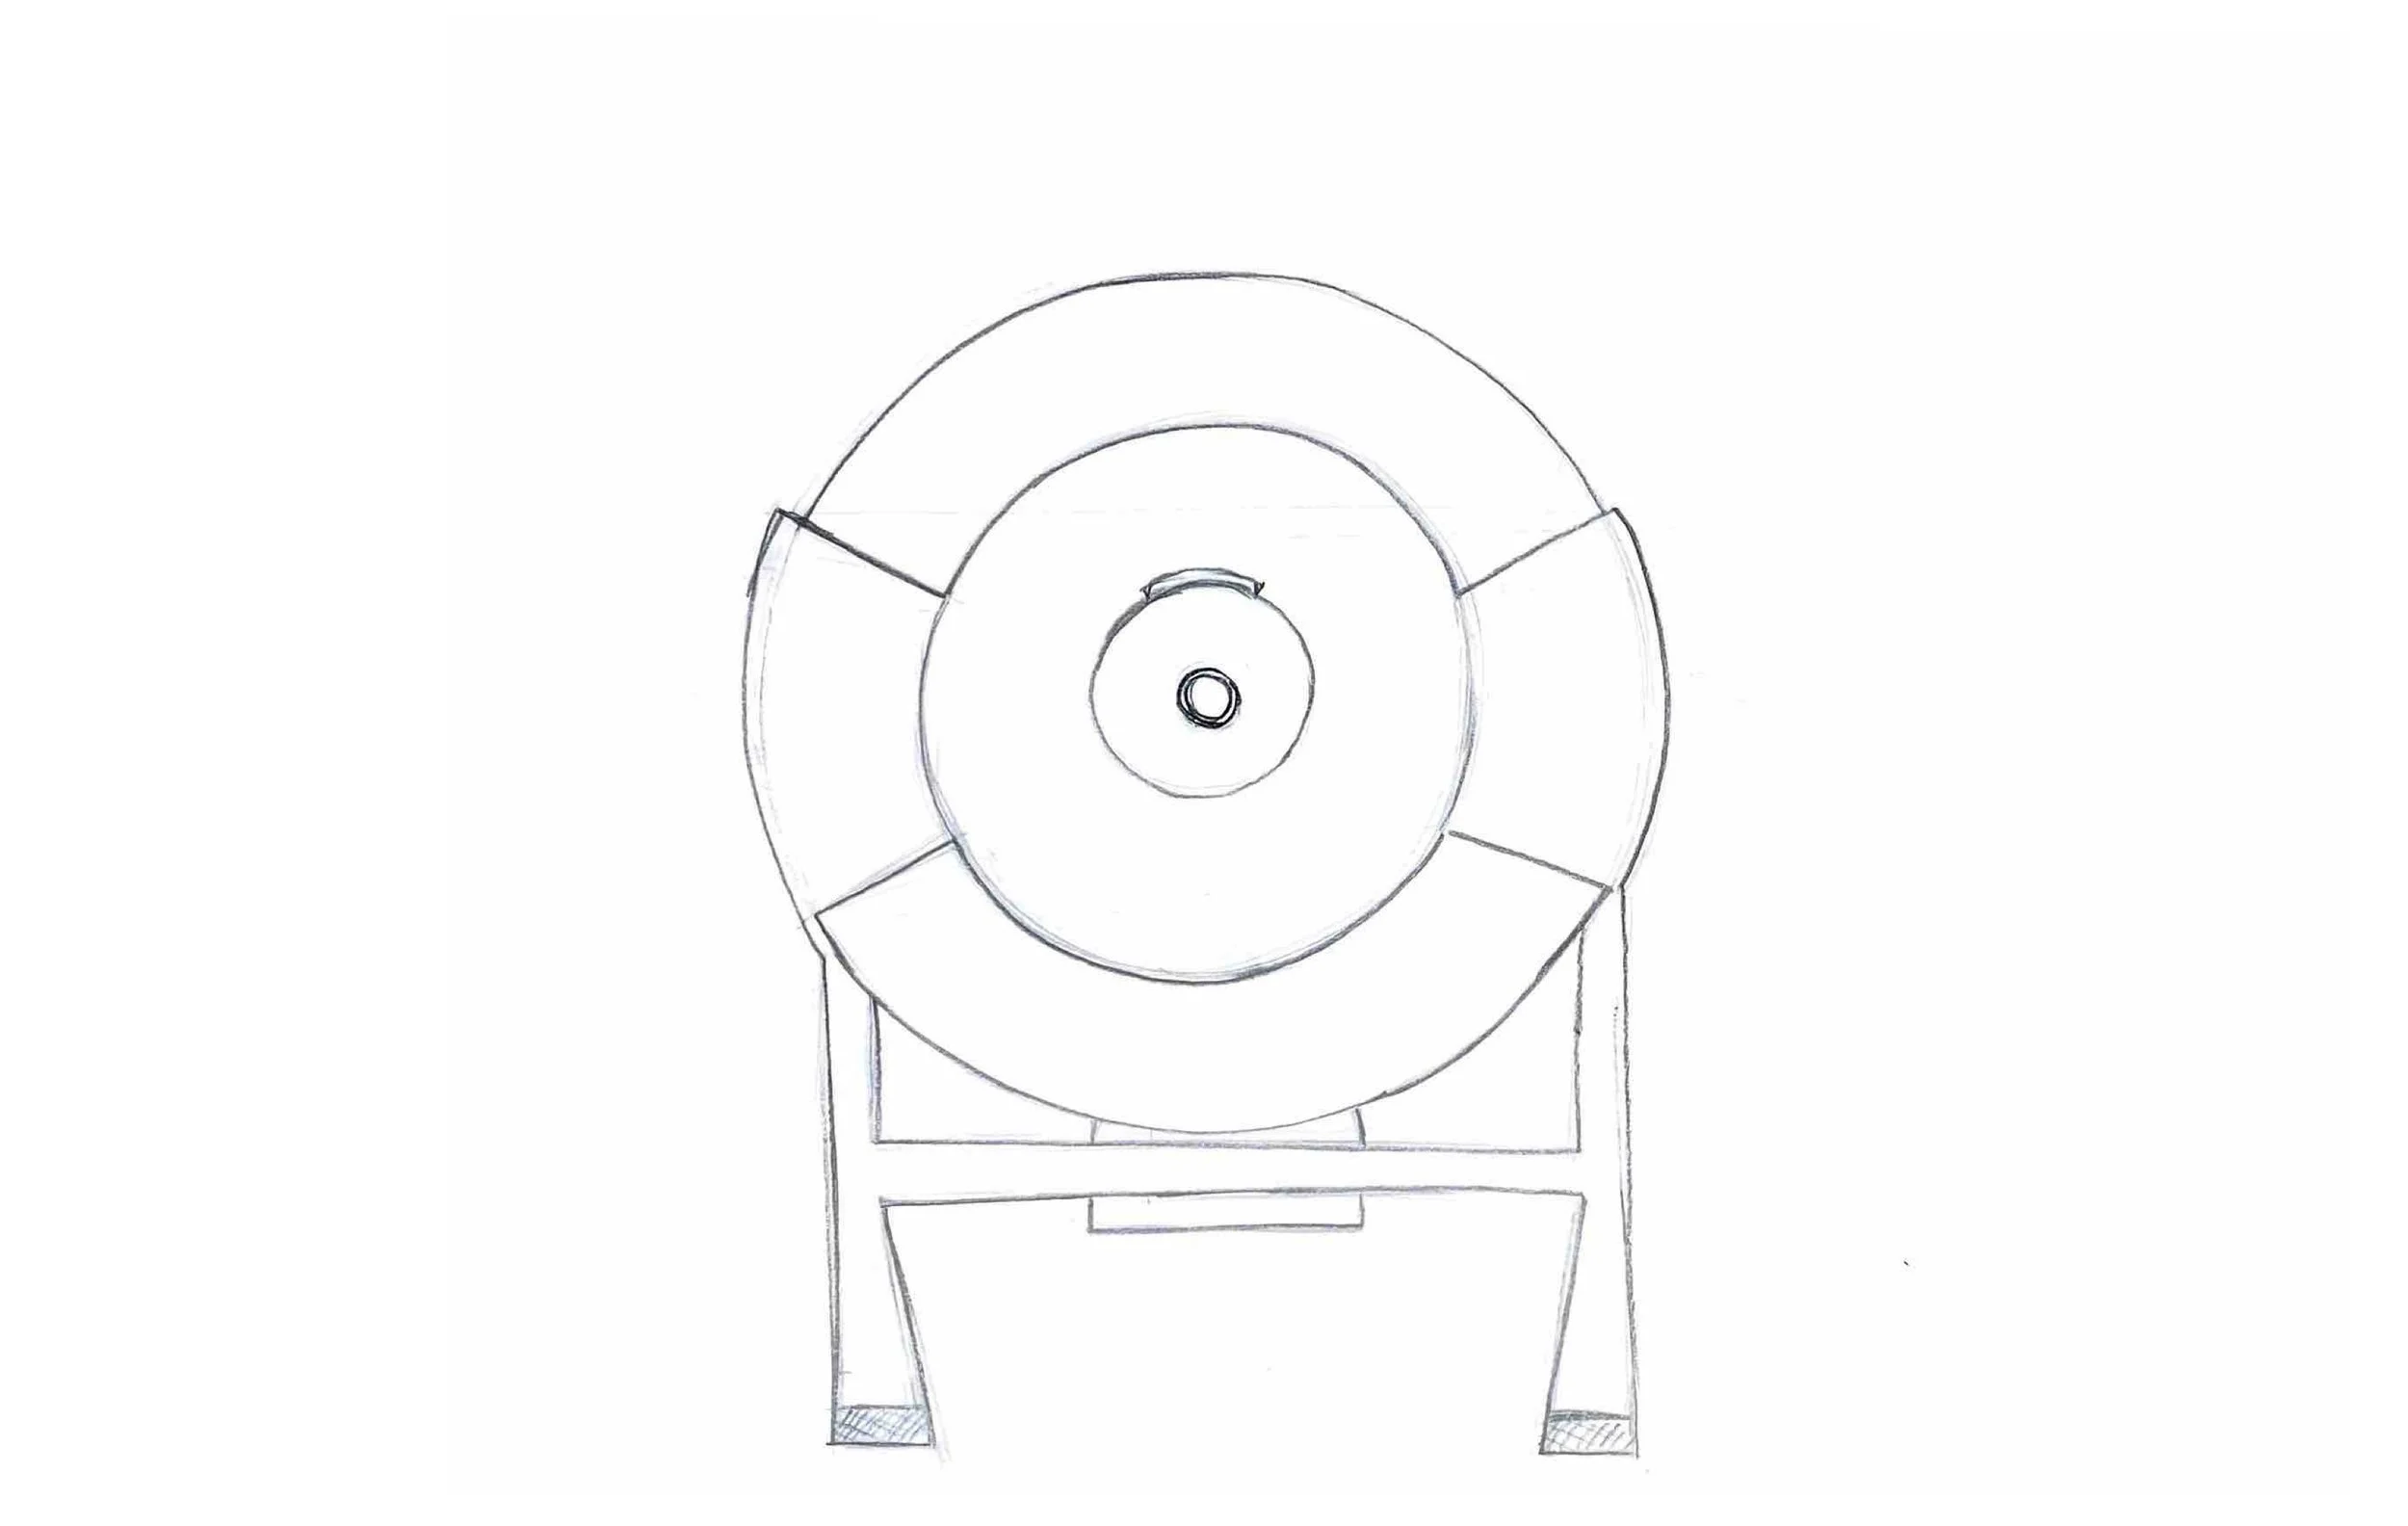
Rough Foam Prototypes
Based on the direction orthographics, I cut foam models using a bandsaw and hot wire cutter. I built off of those concepts to make two additional designs, and 3D-printed a model wire barrel to differentiate the designs with exposed and enclosed barrels.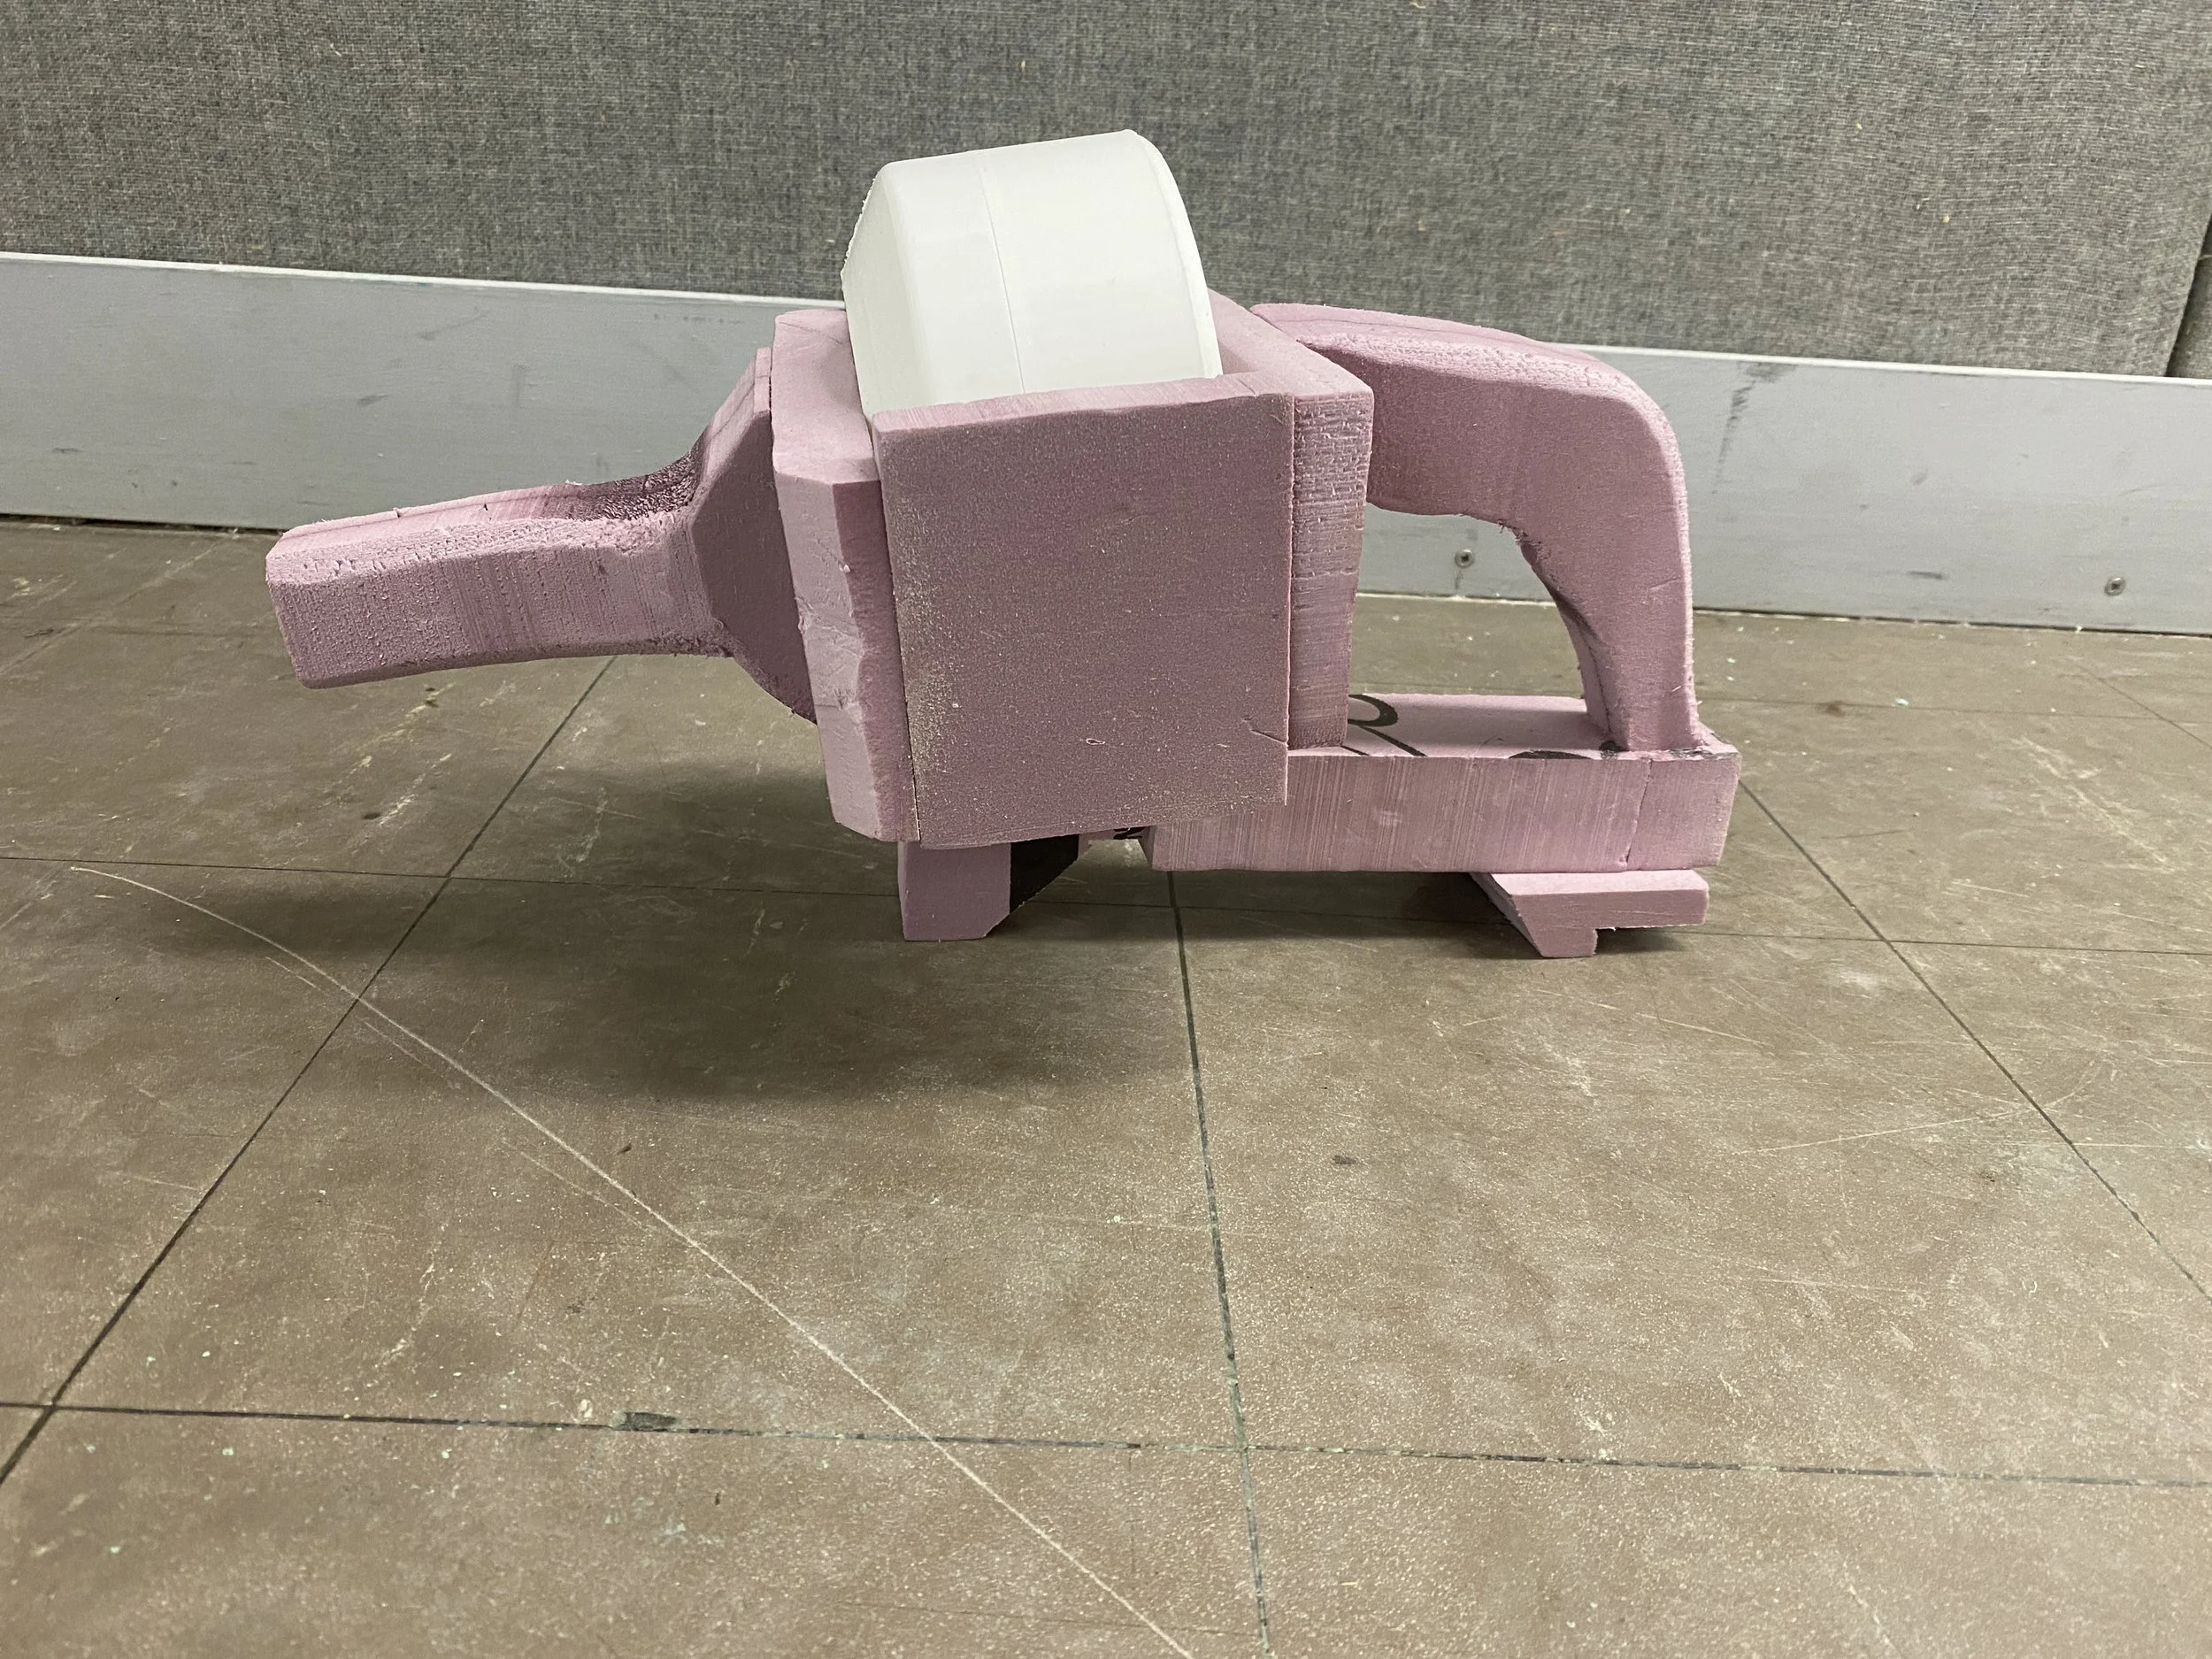
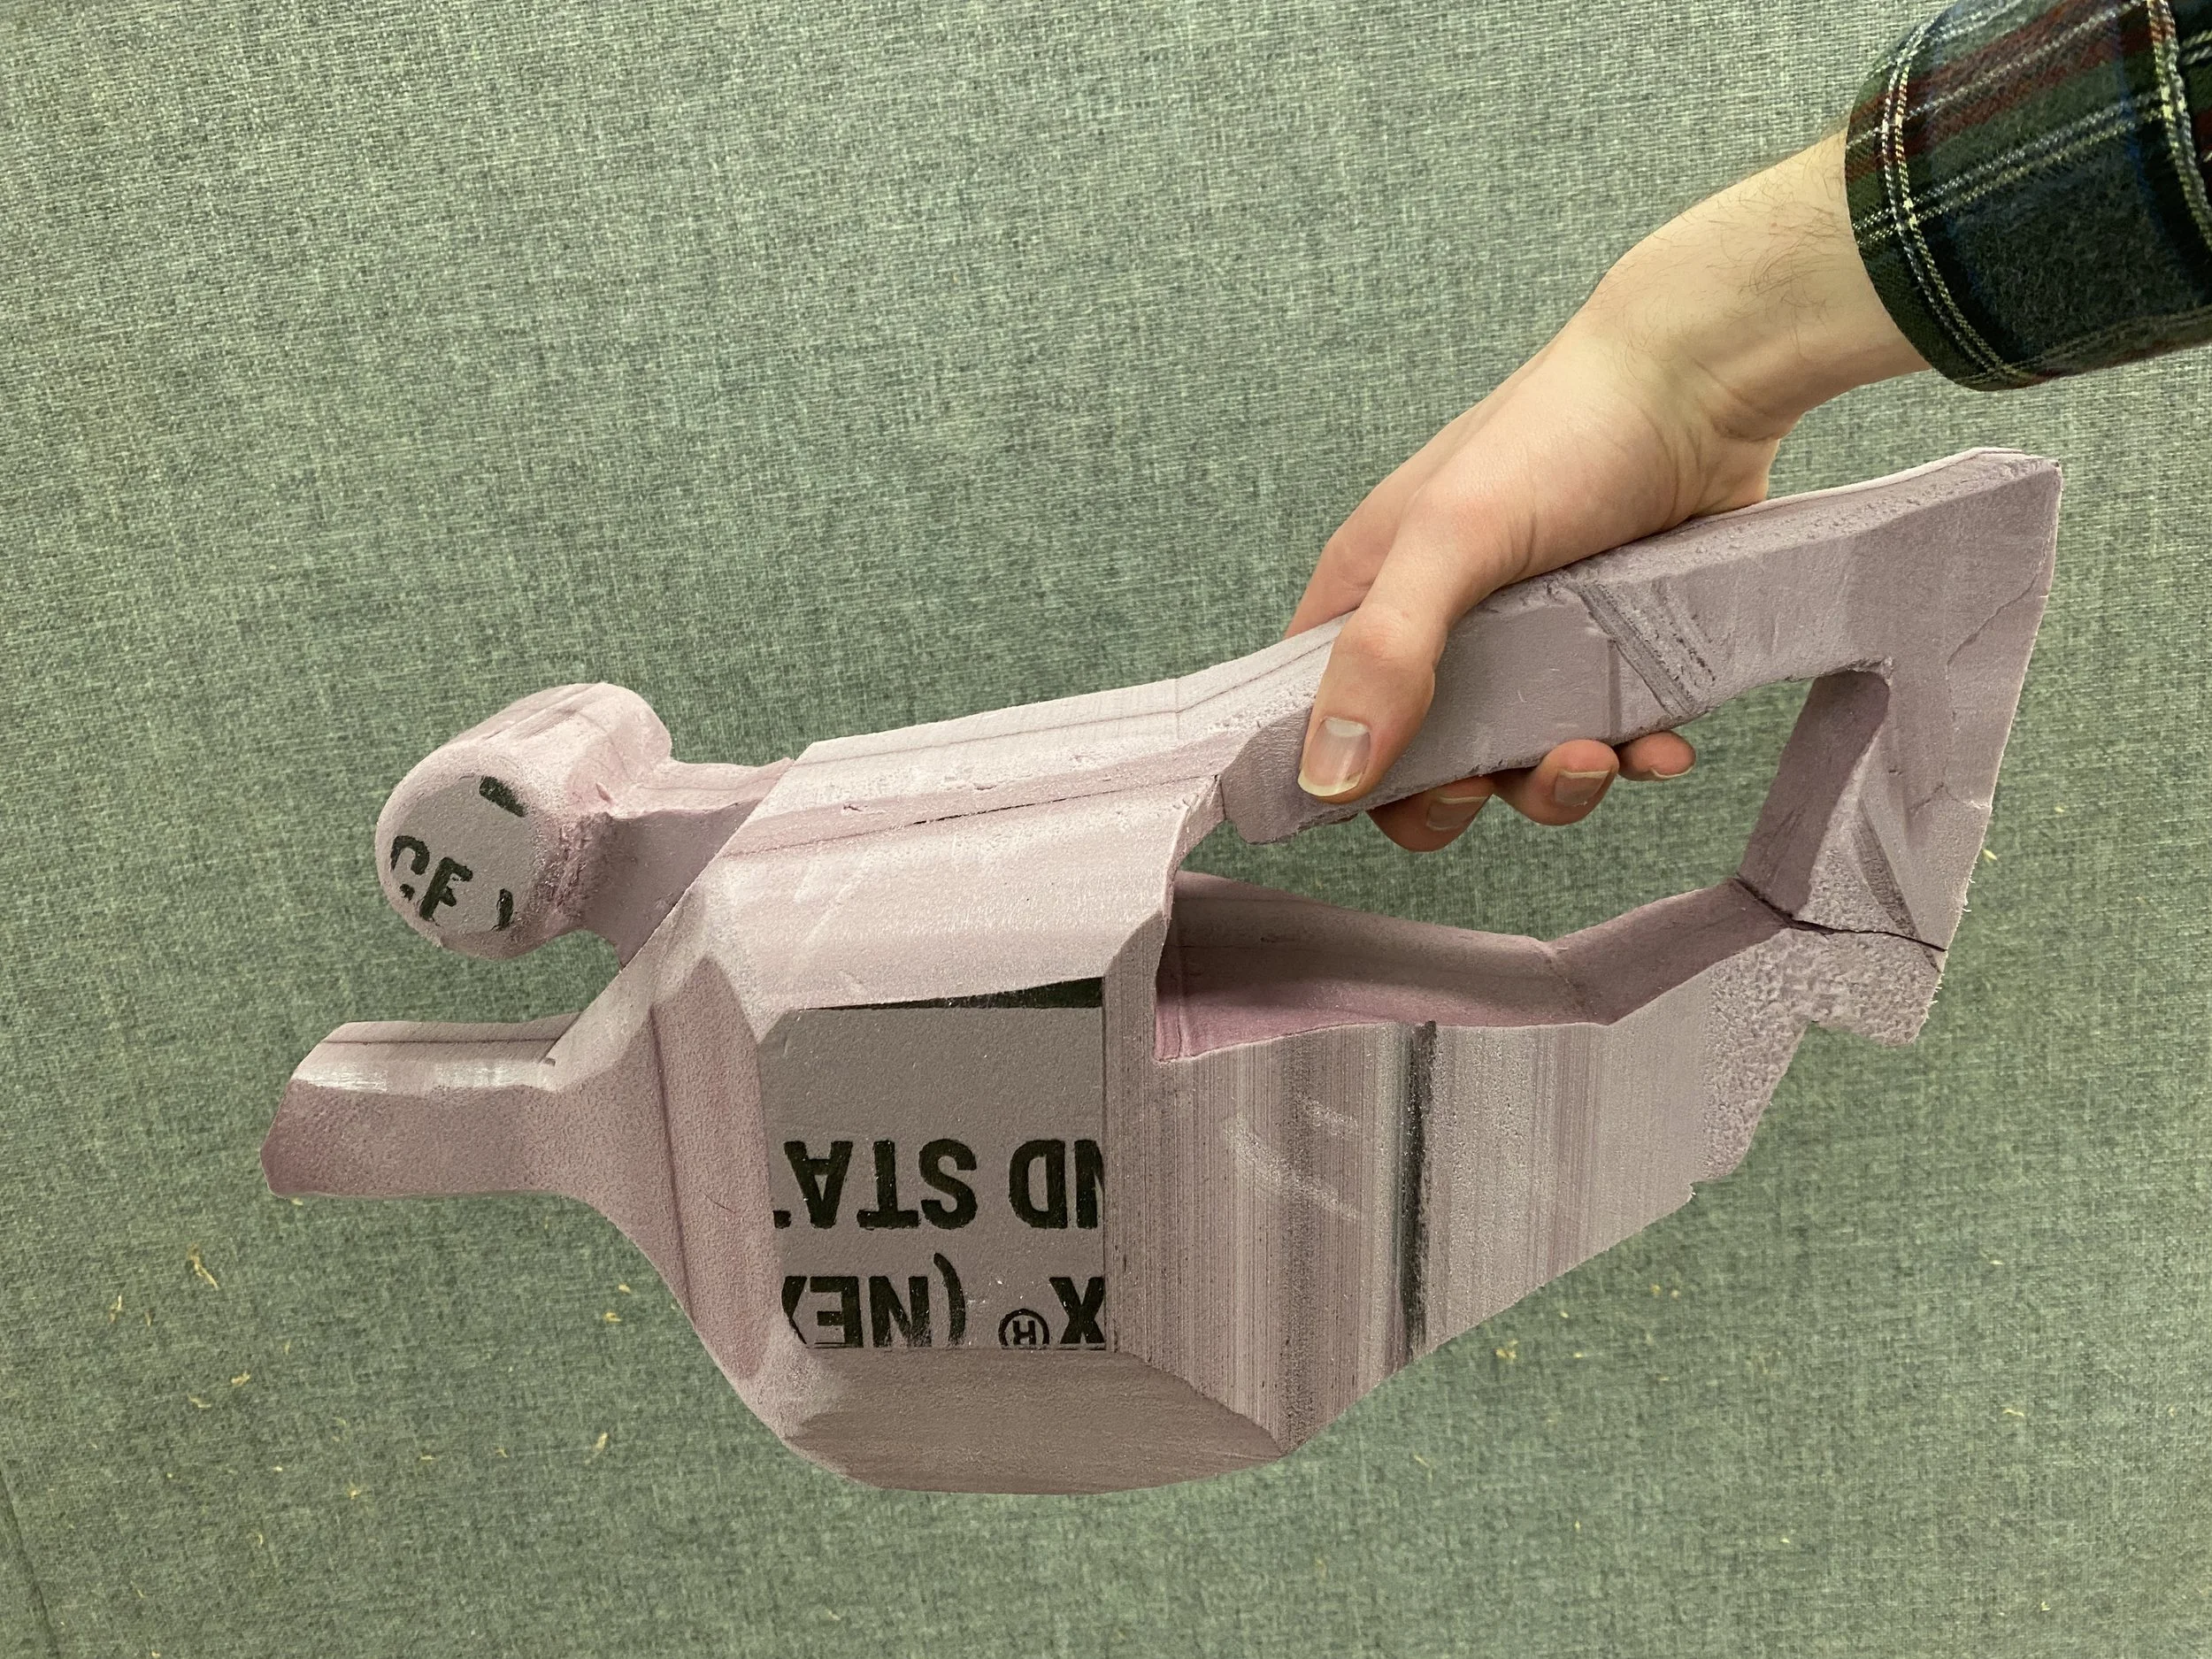
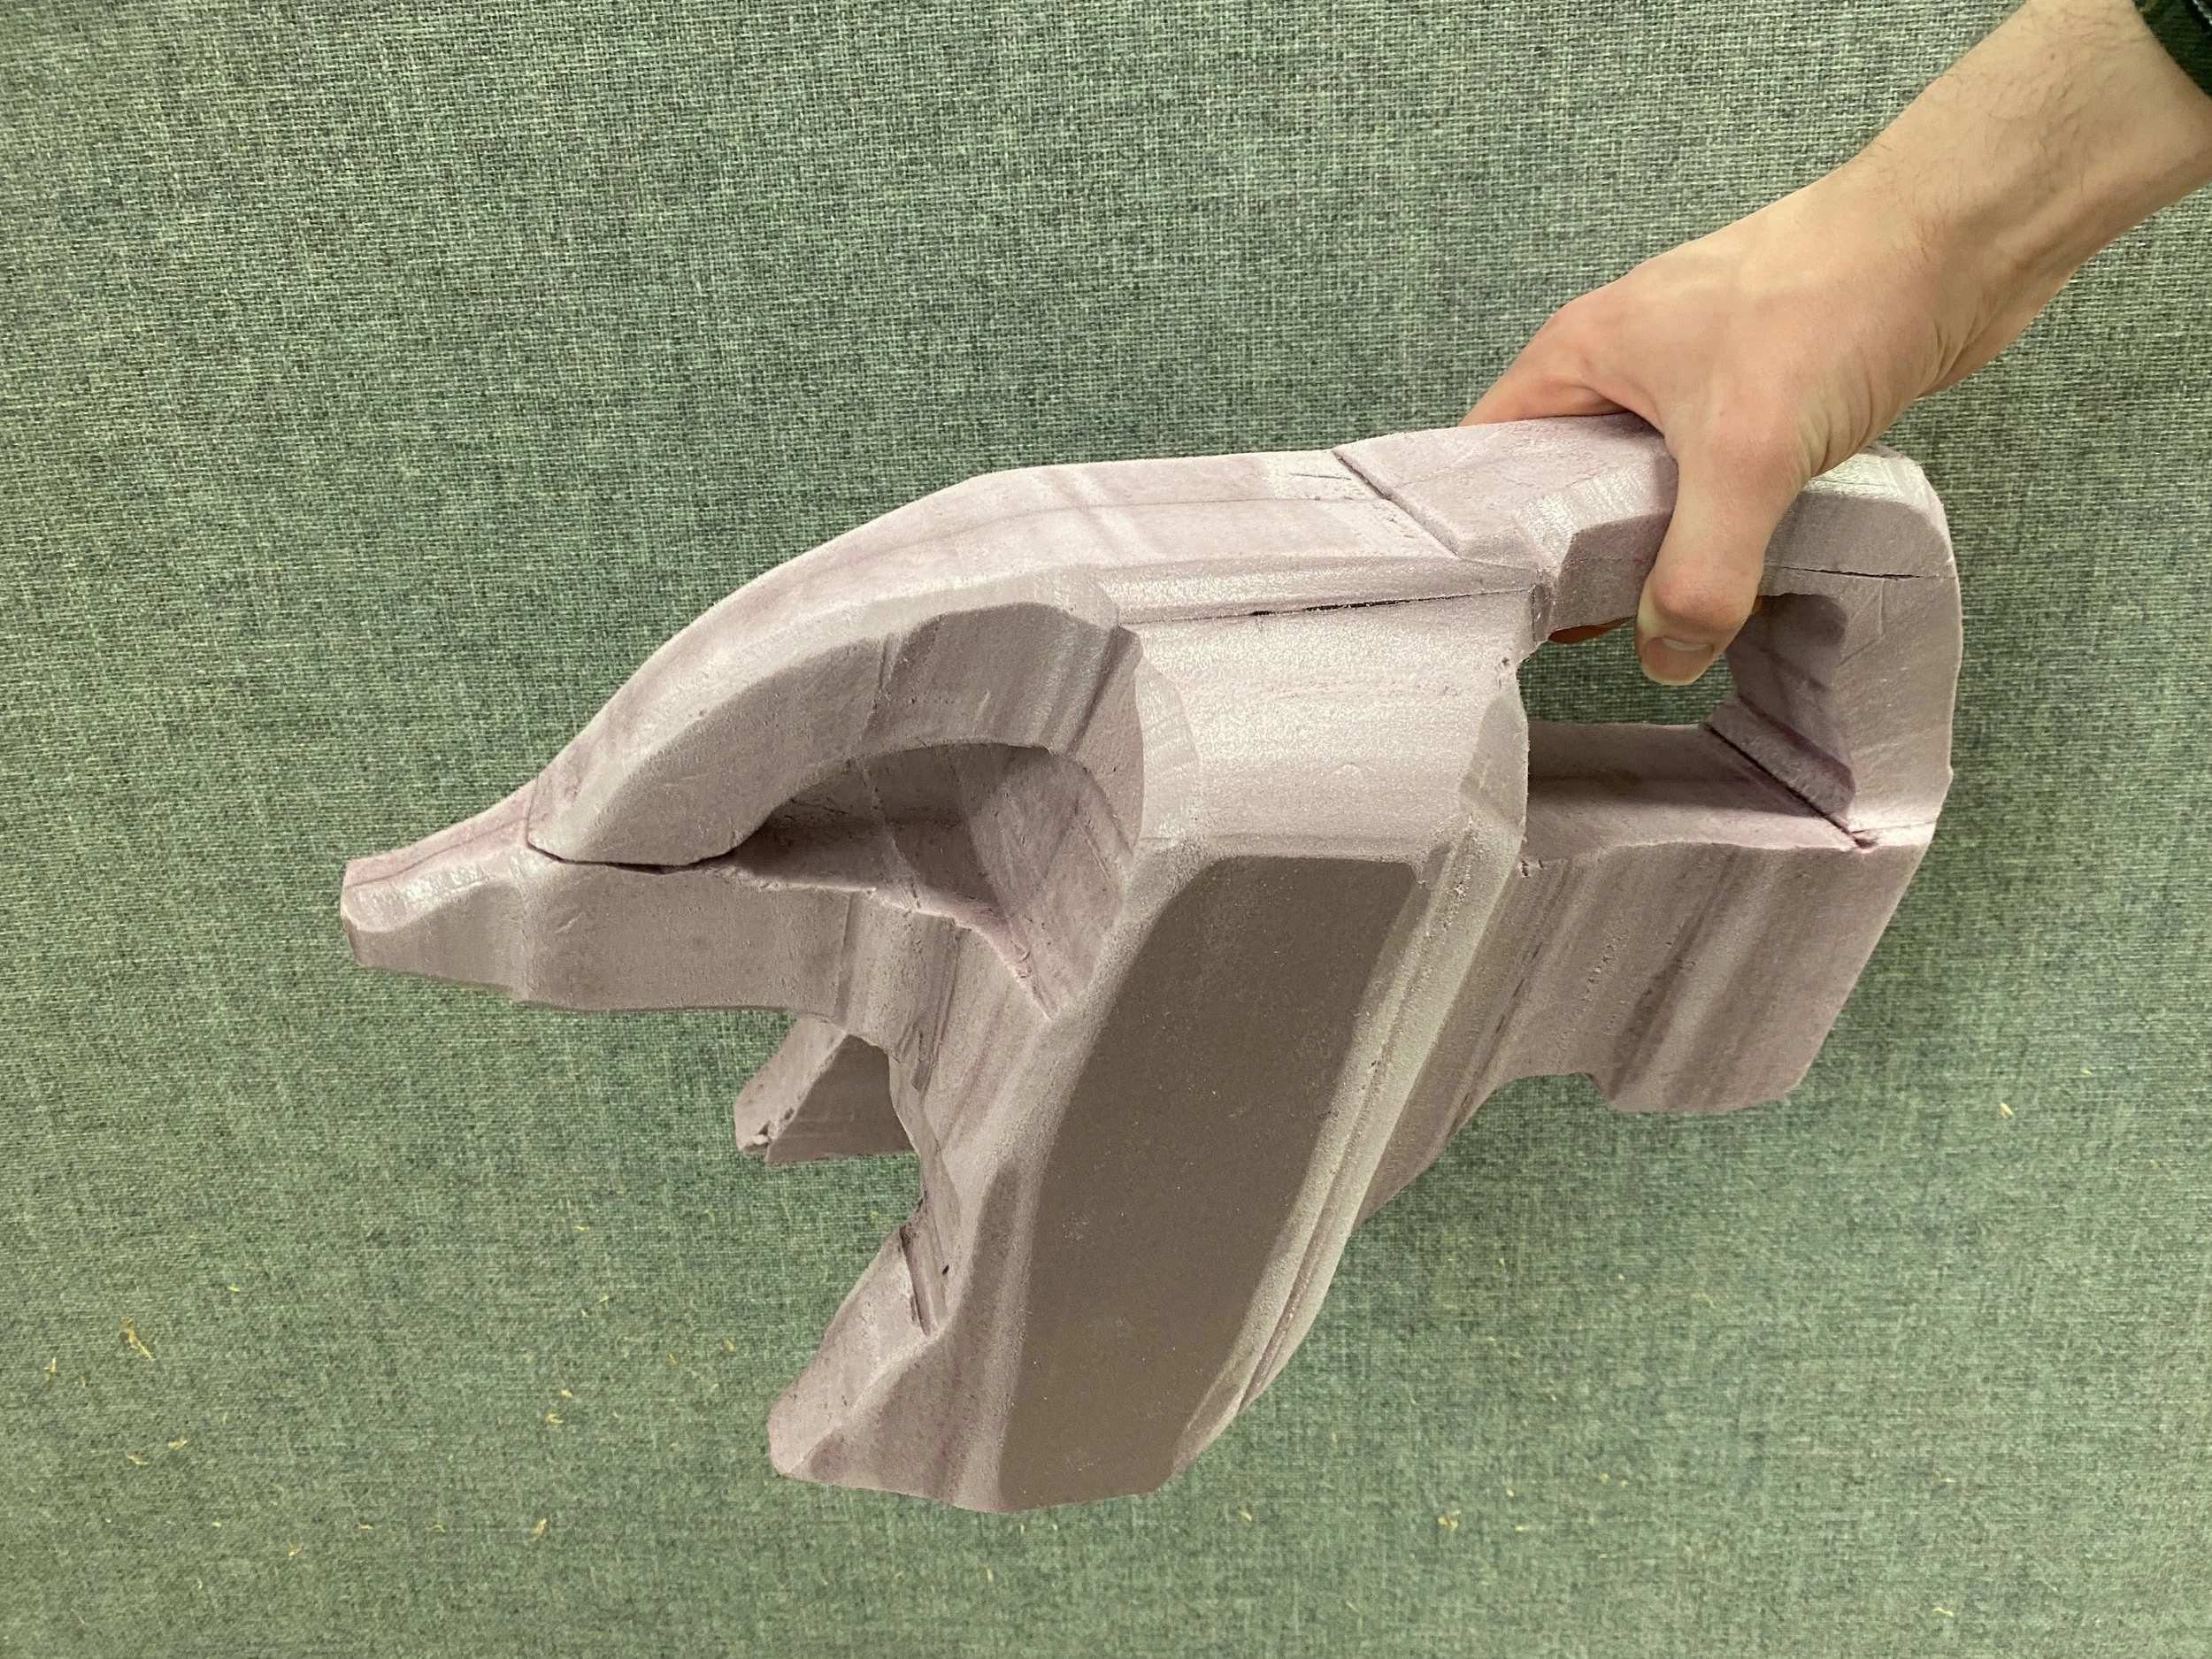
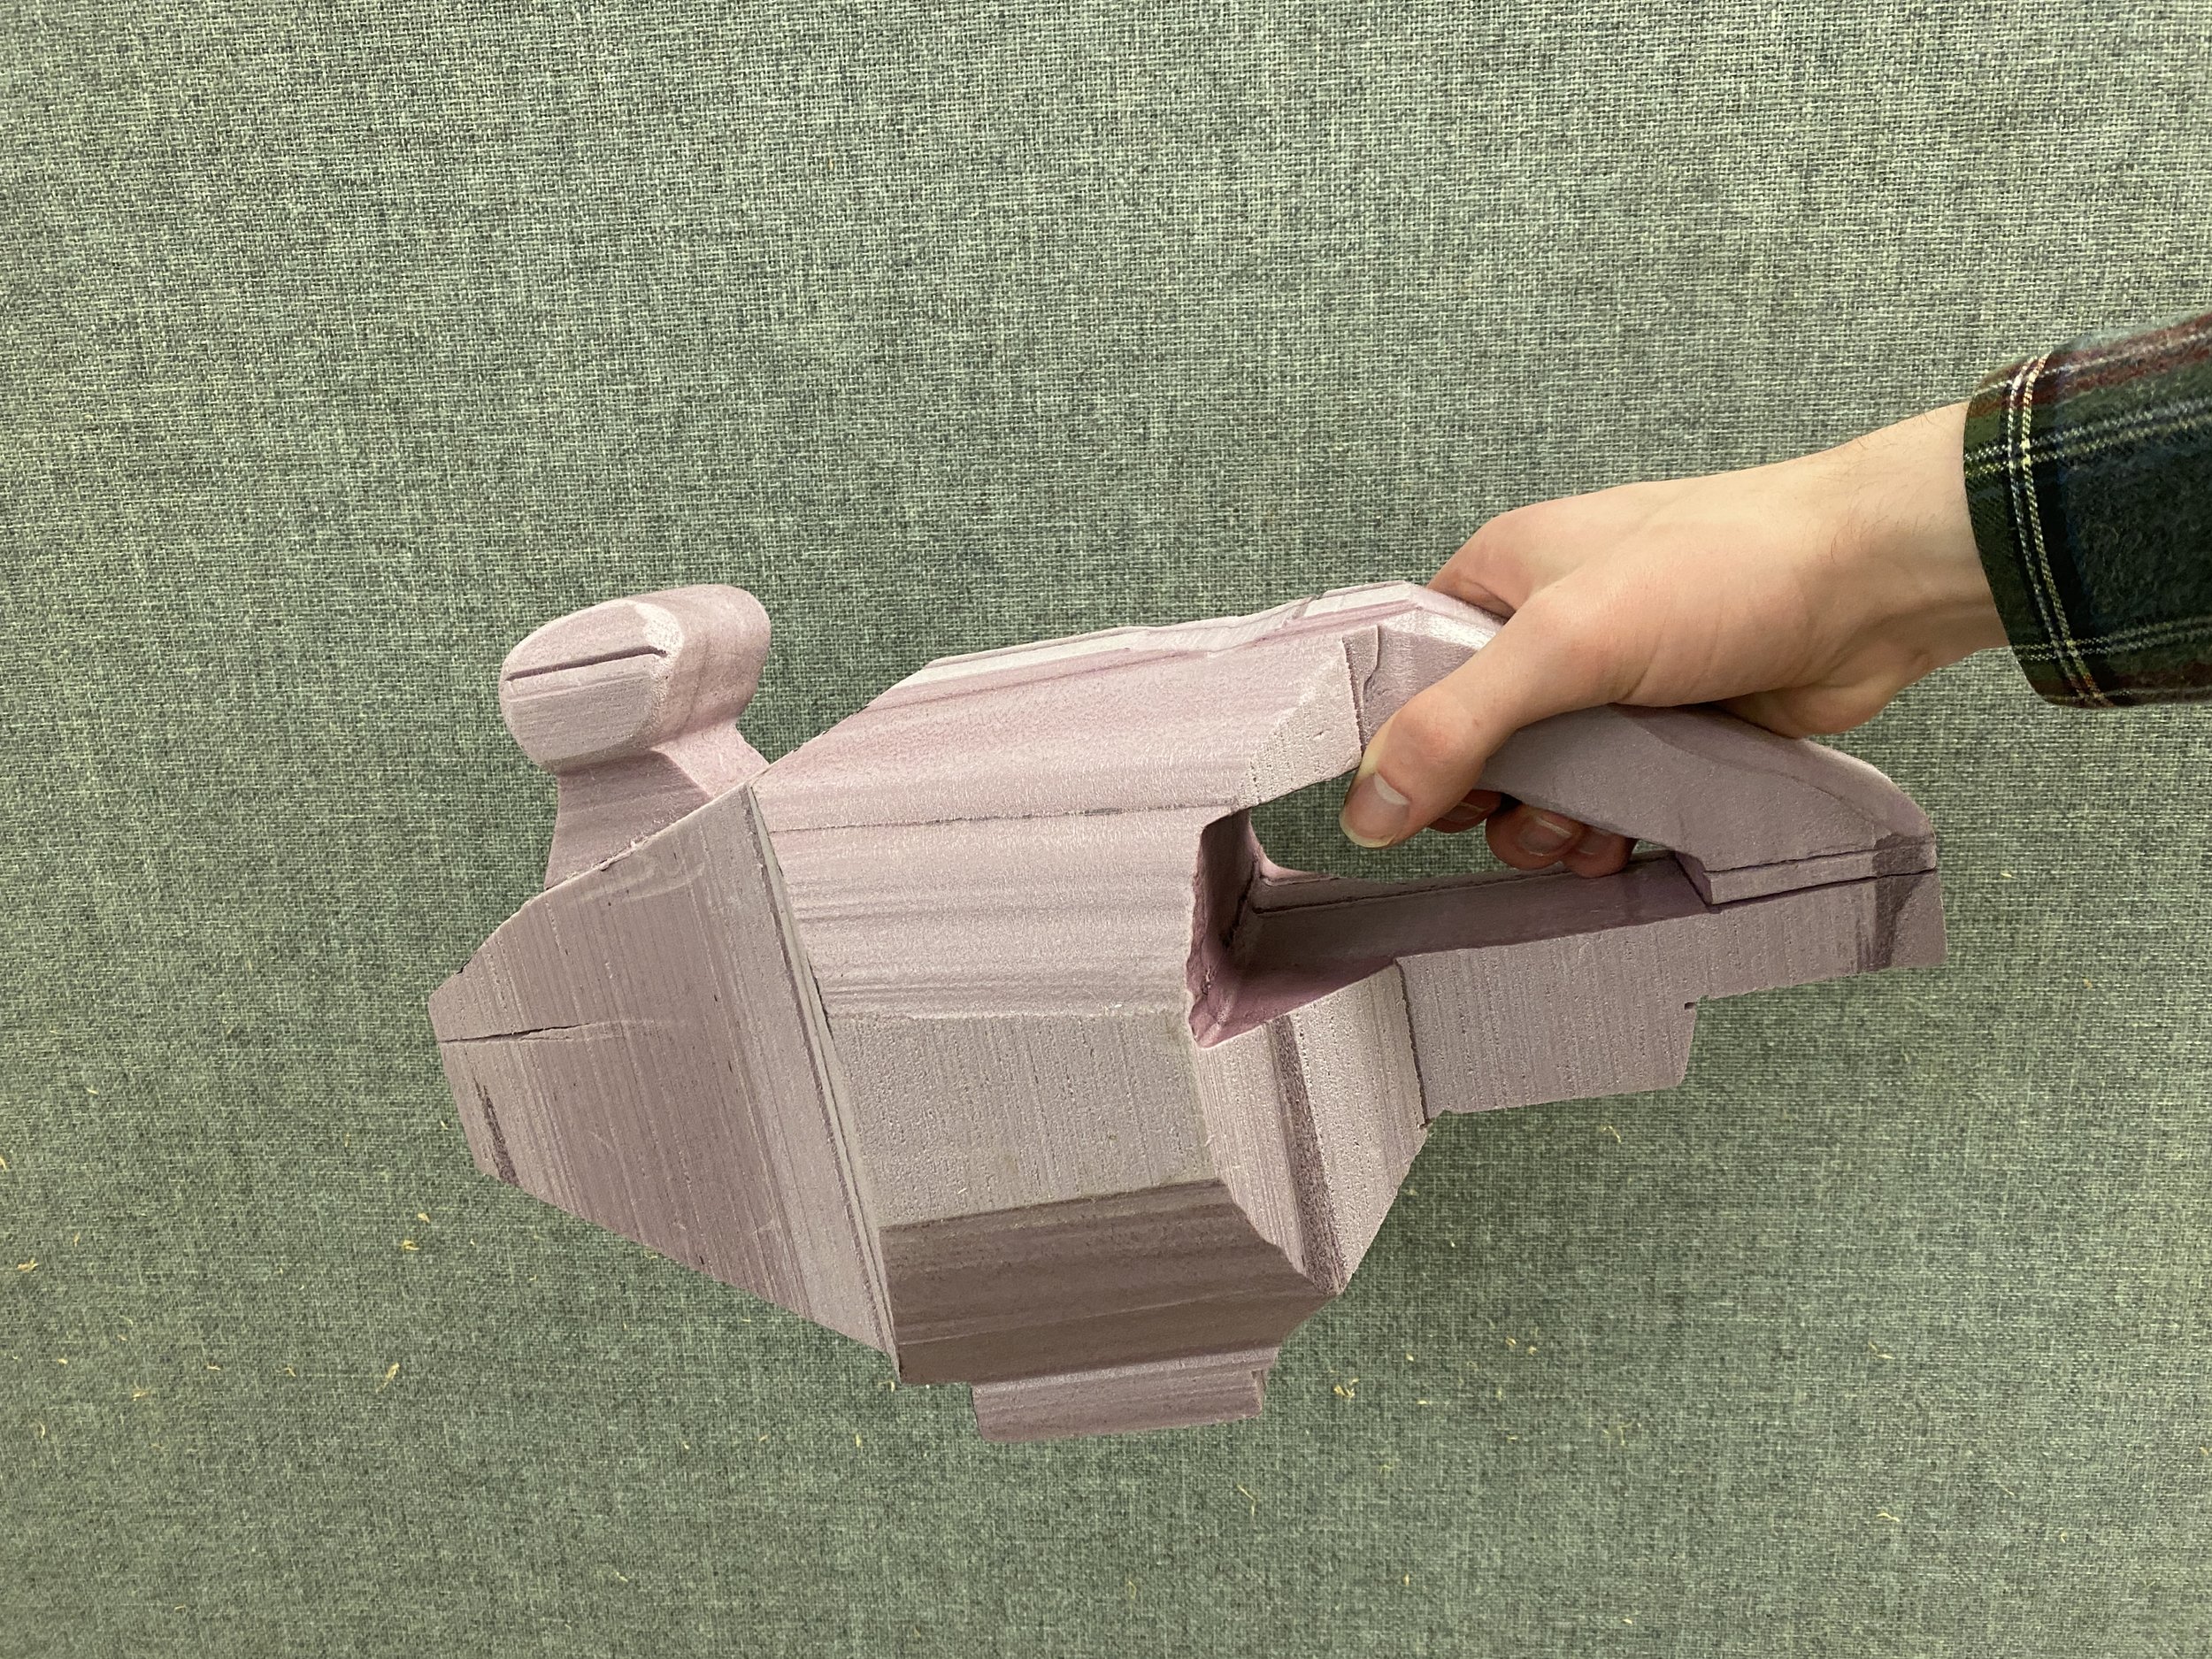
Prototyping Two Directions
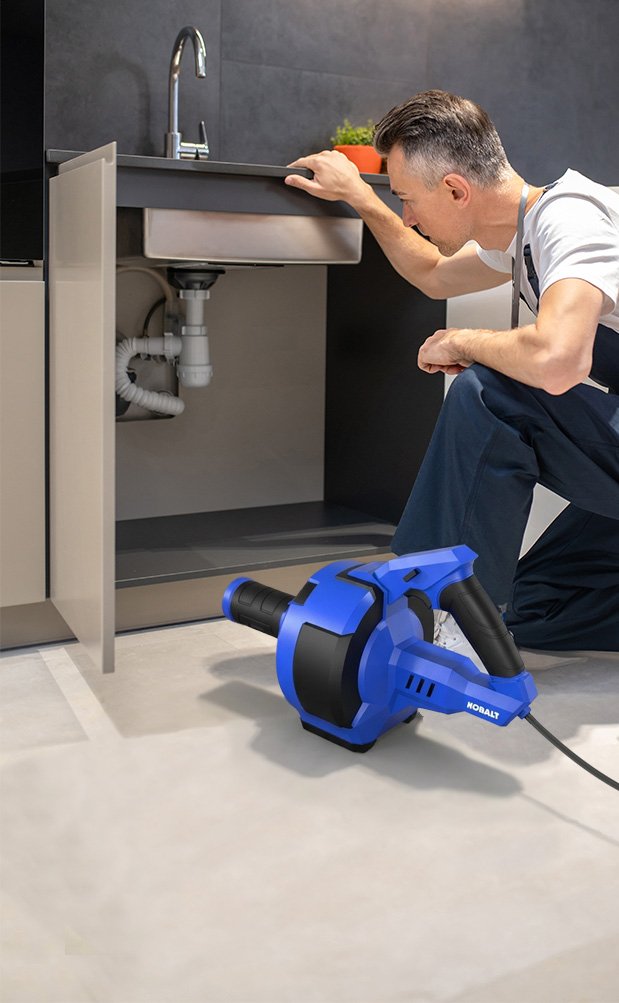
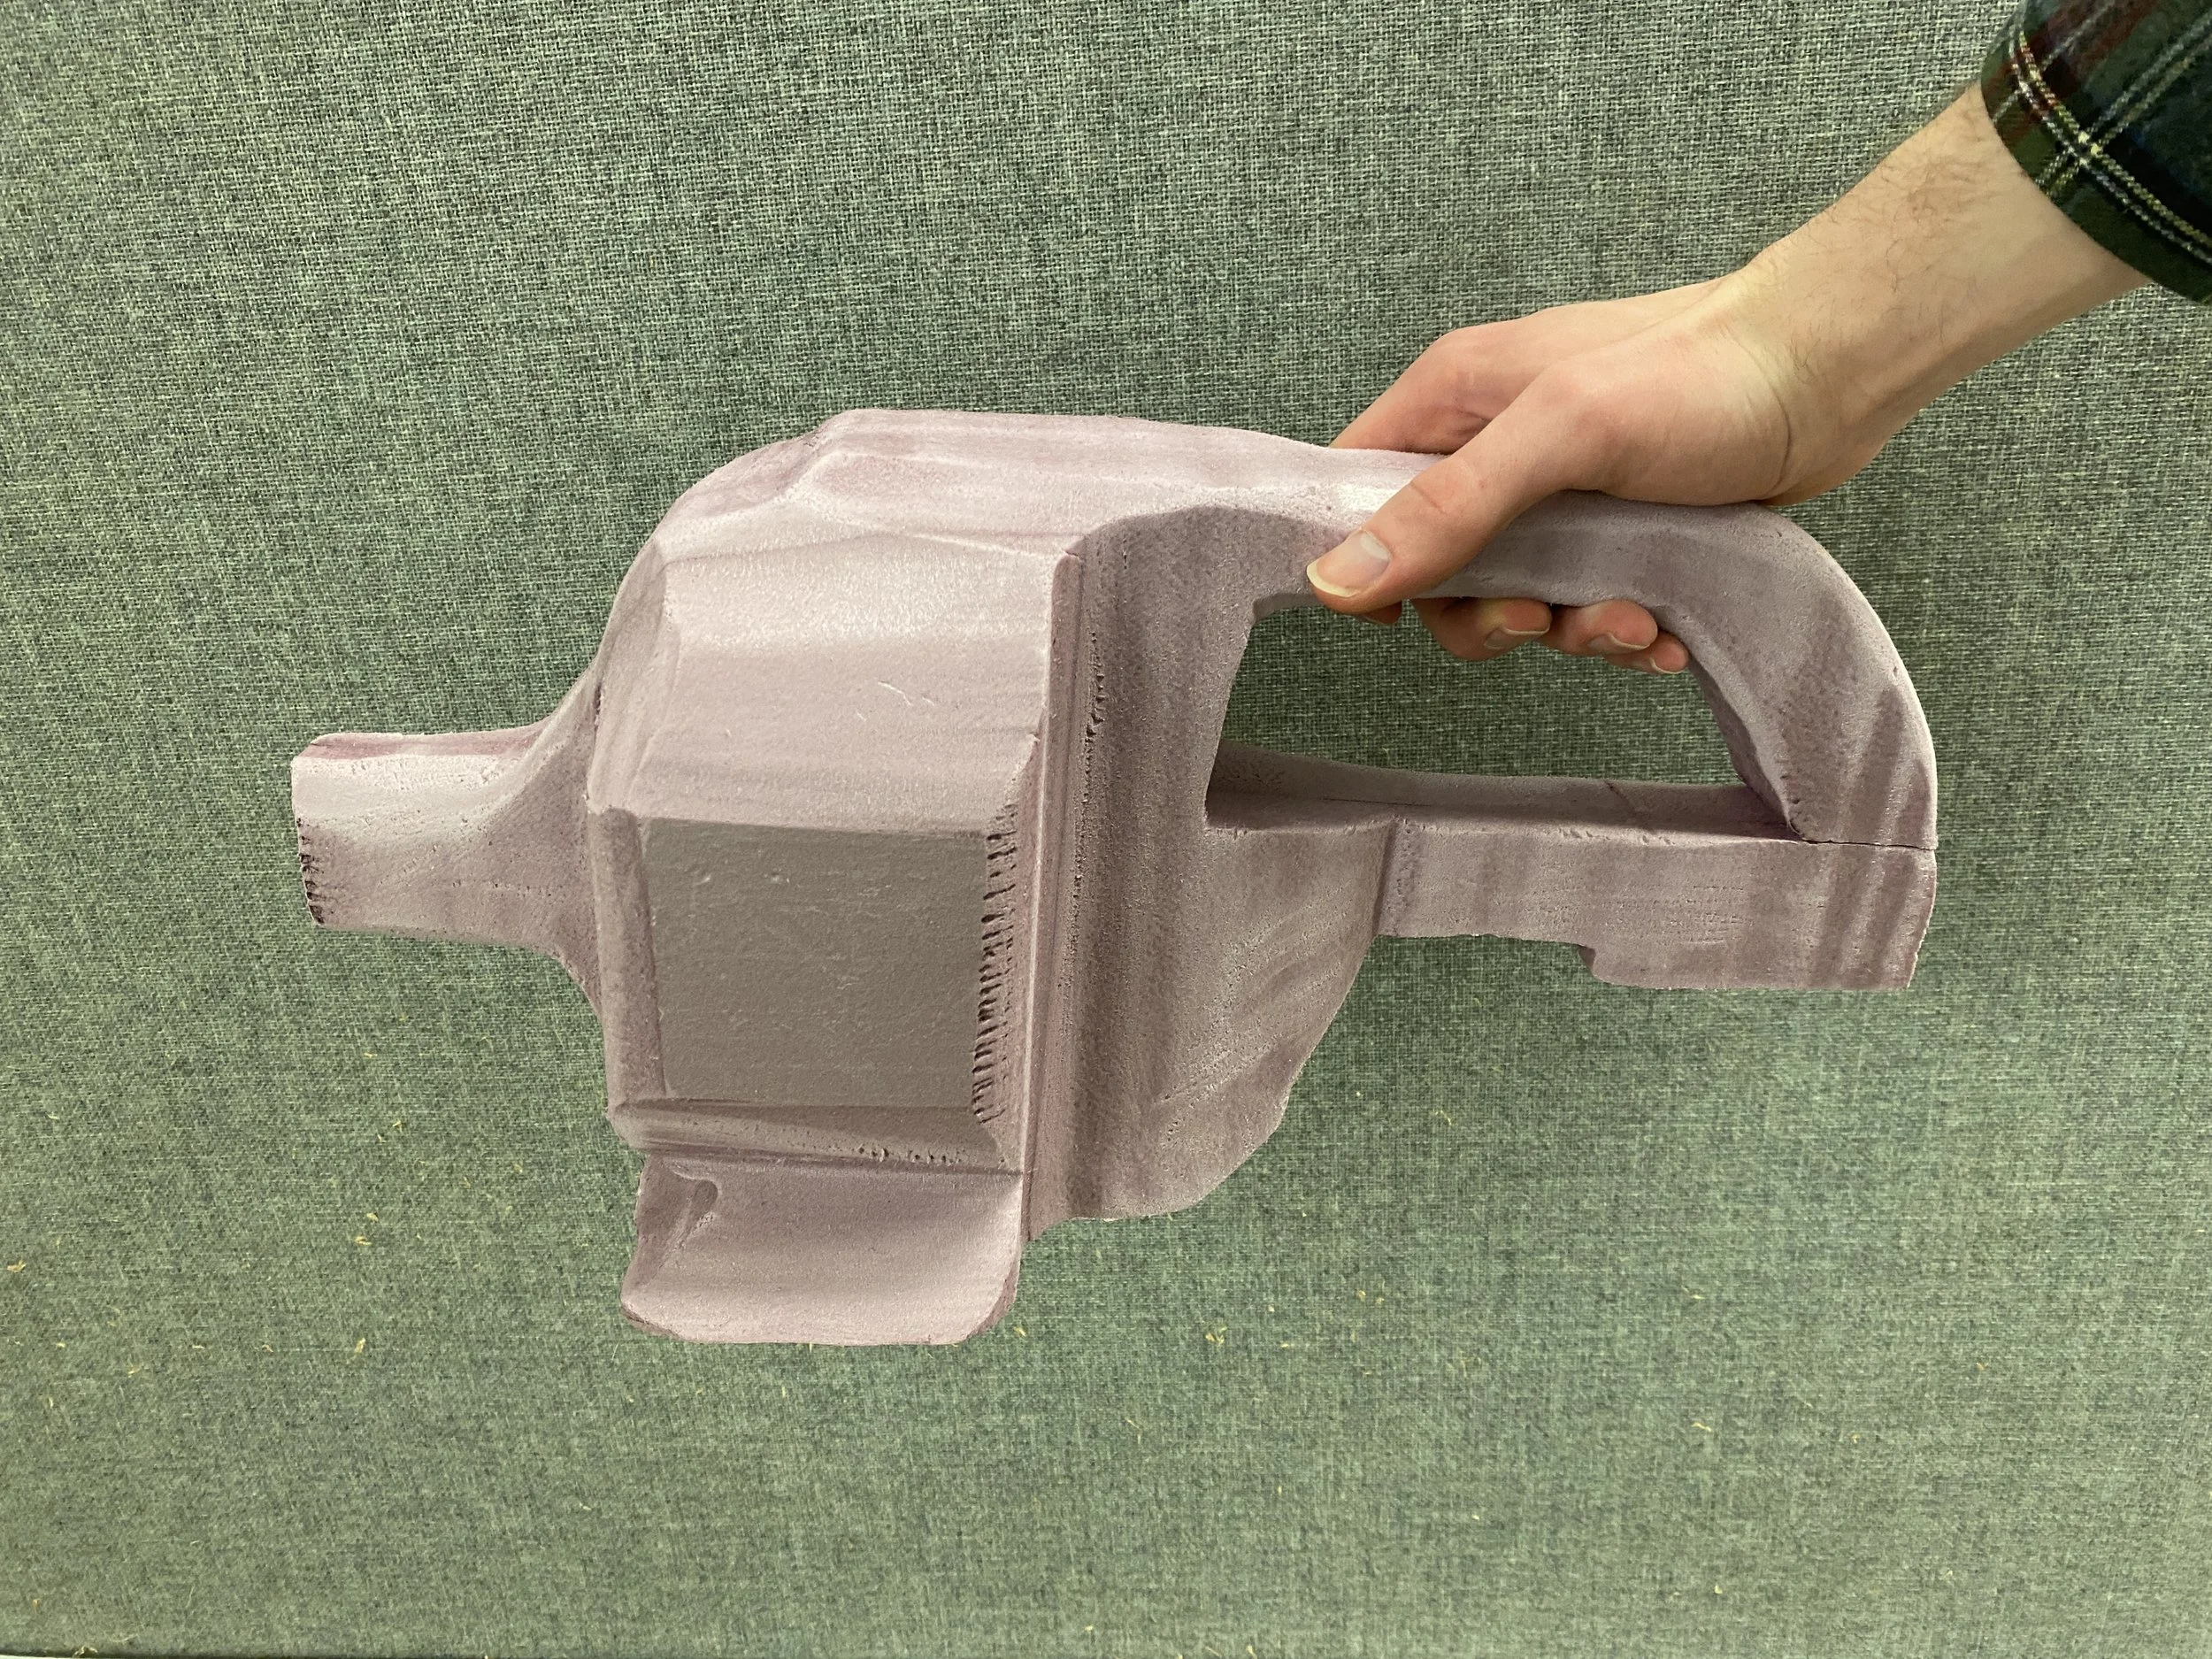
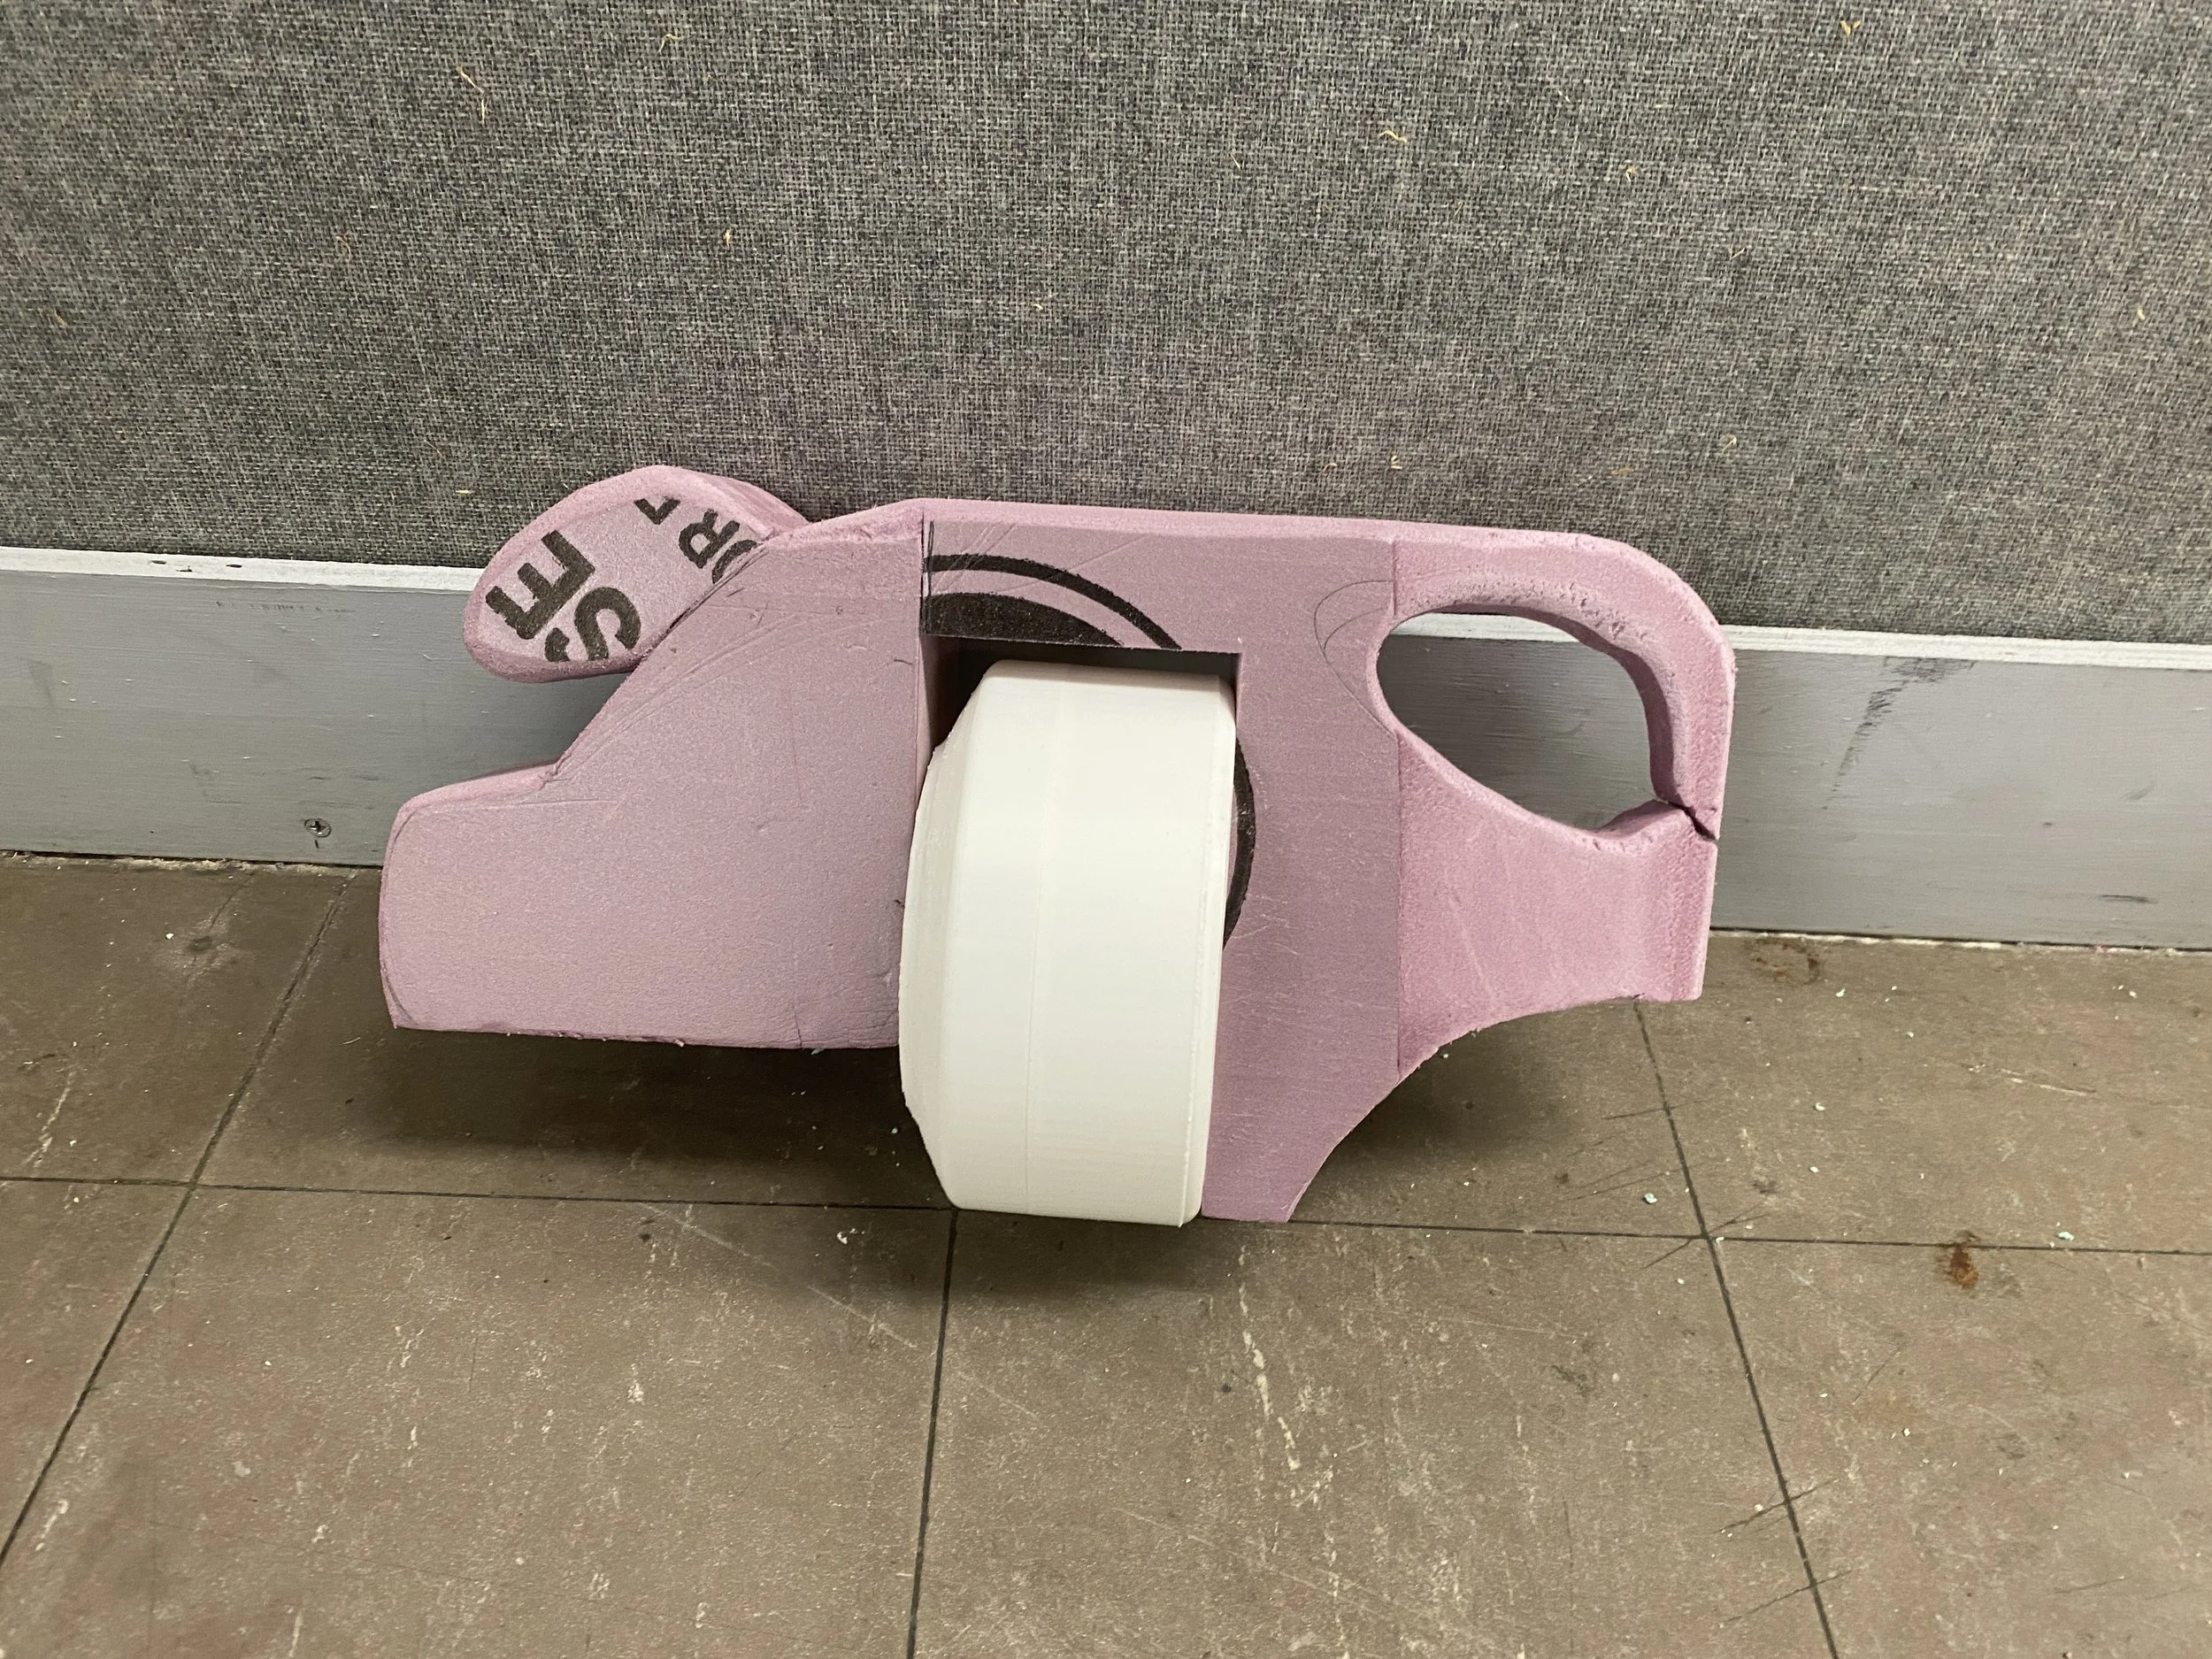
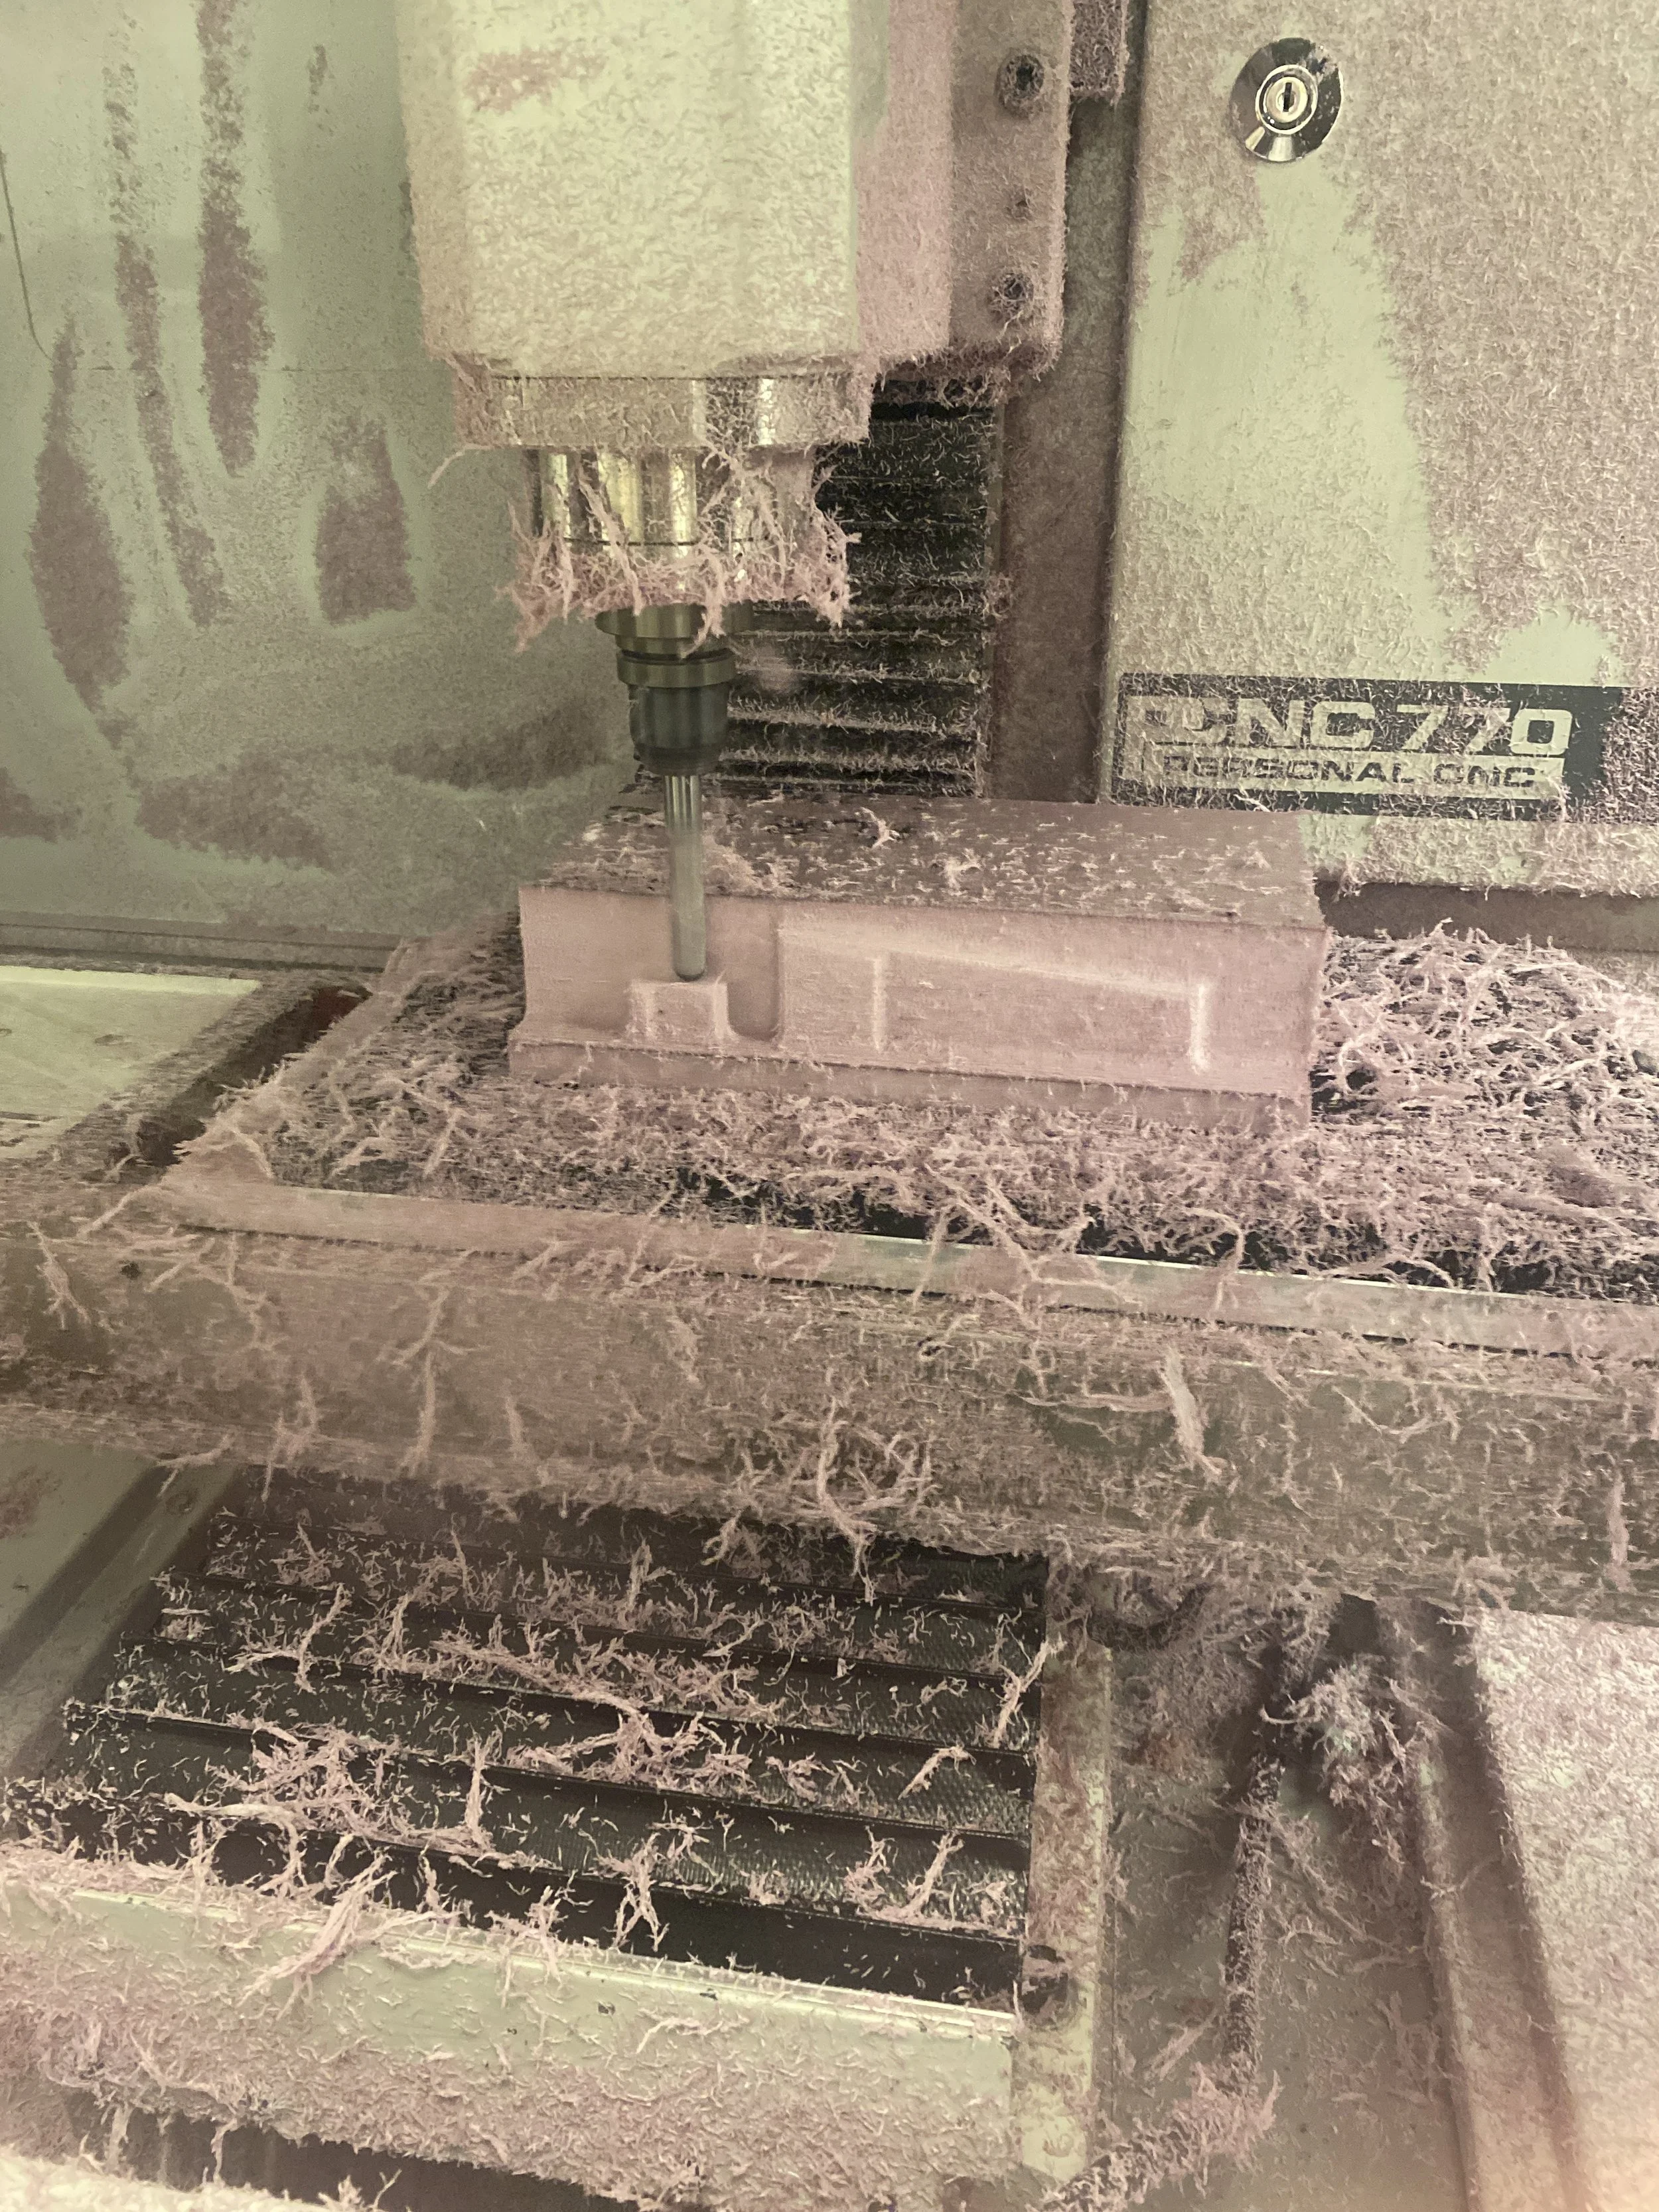
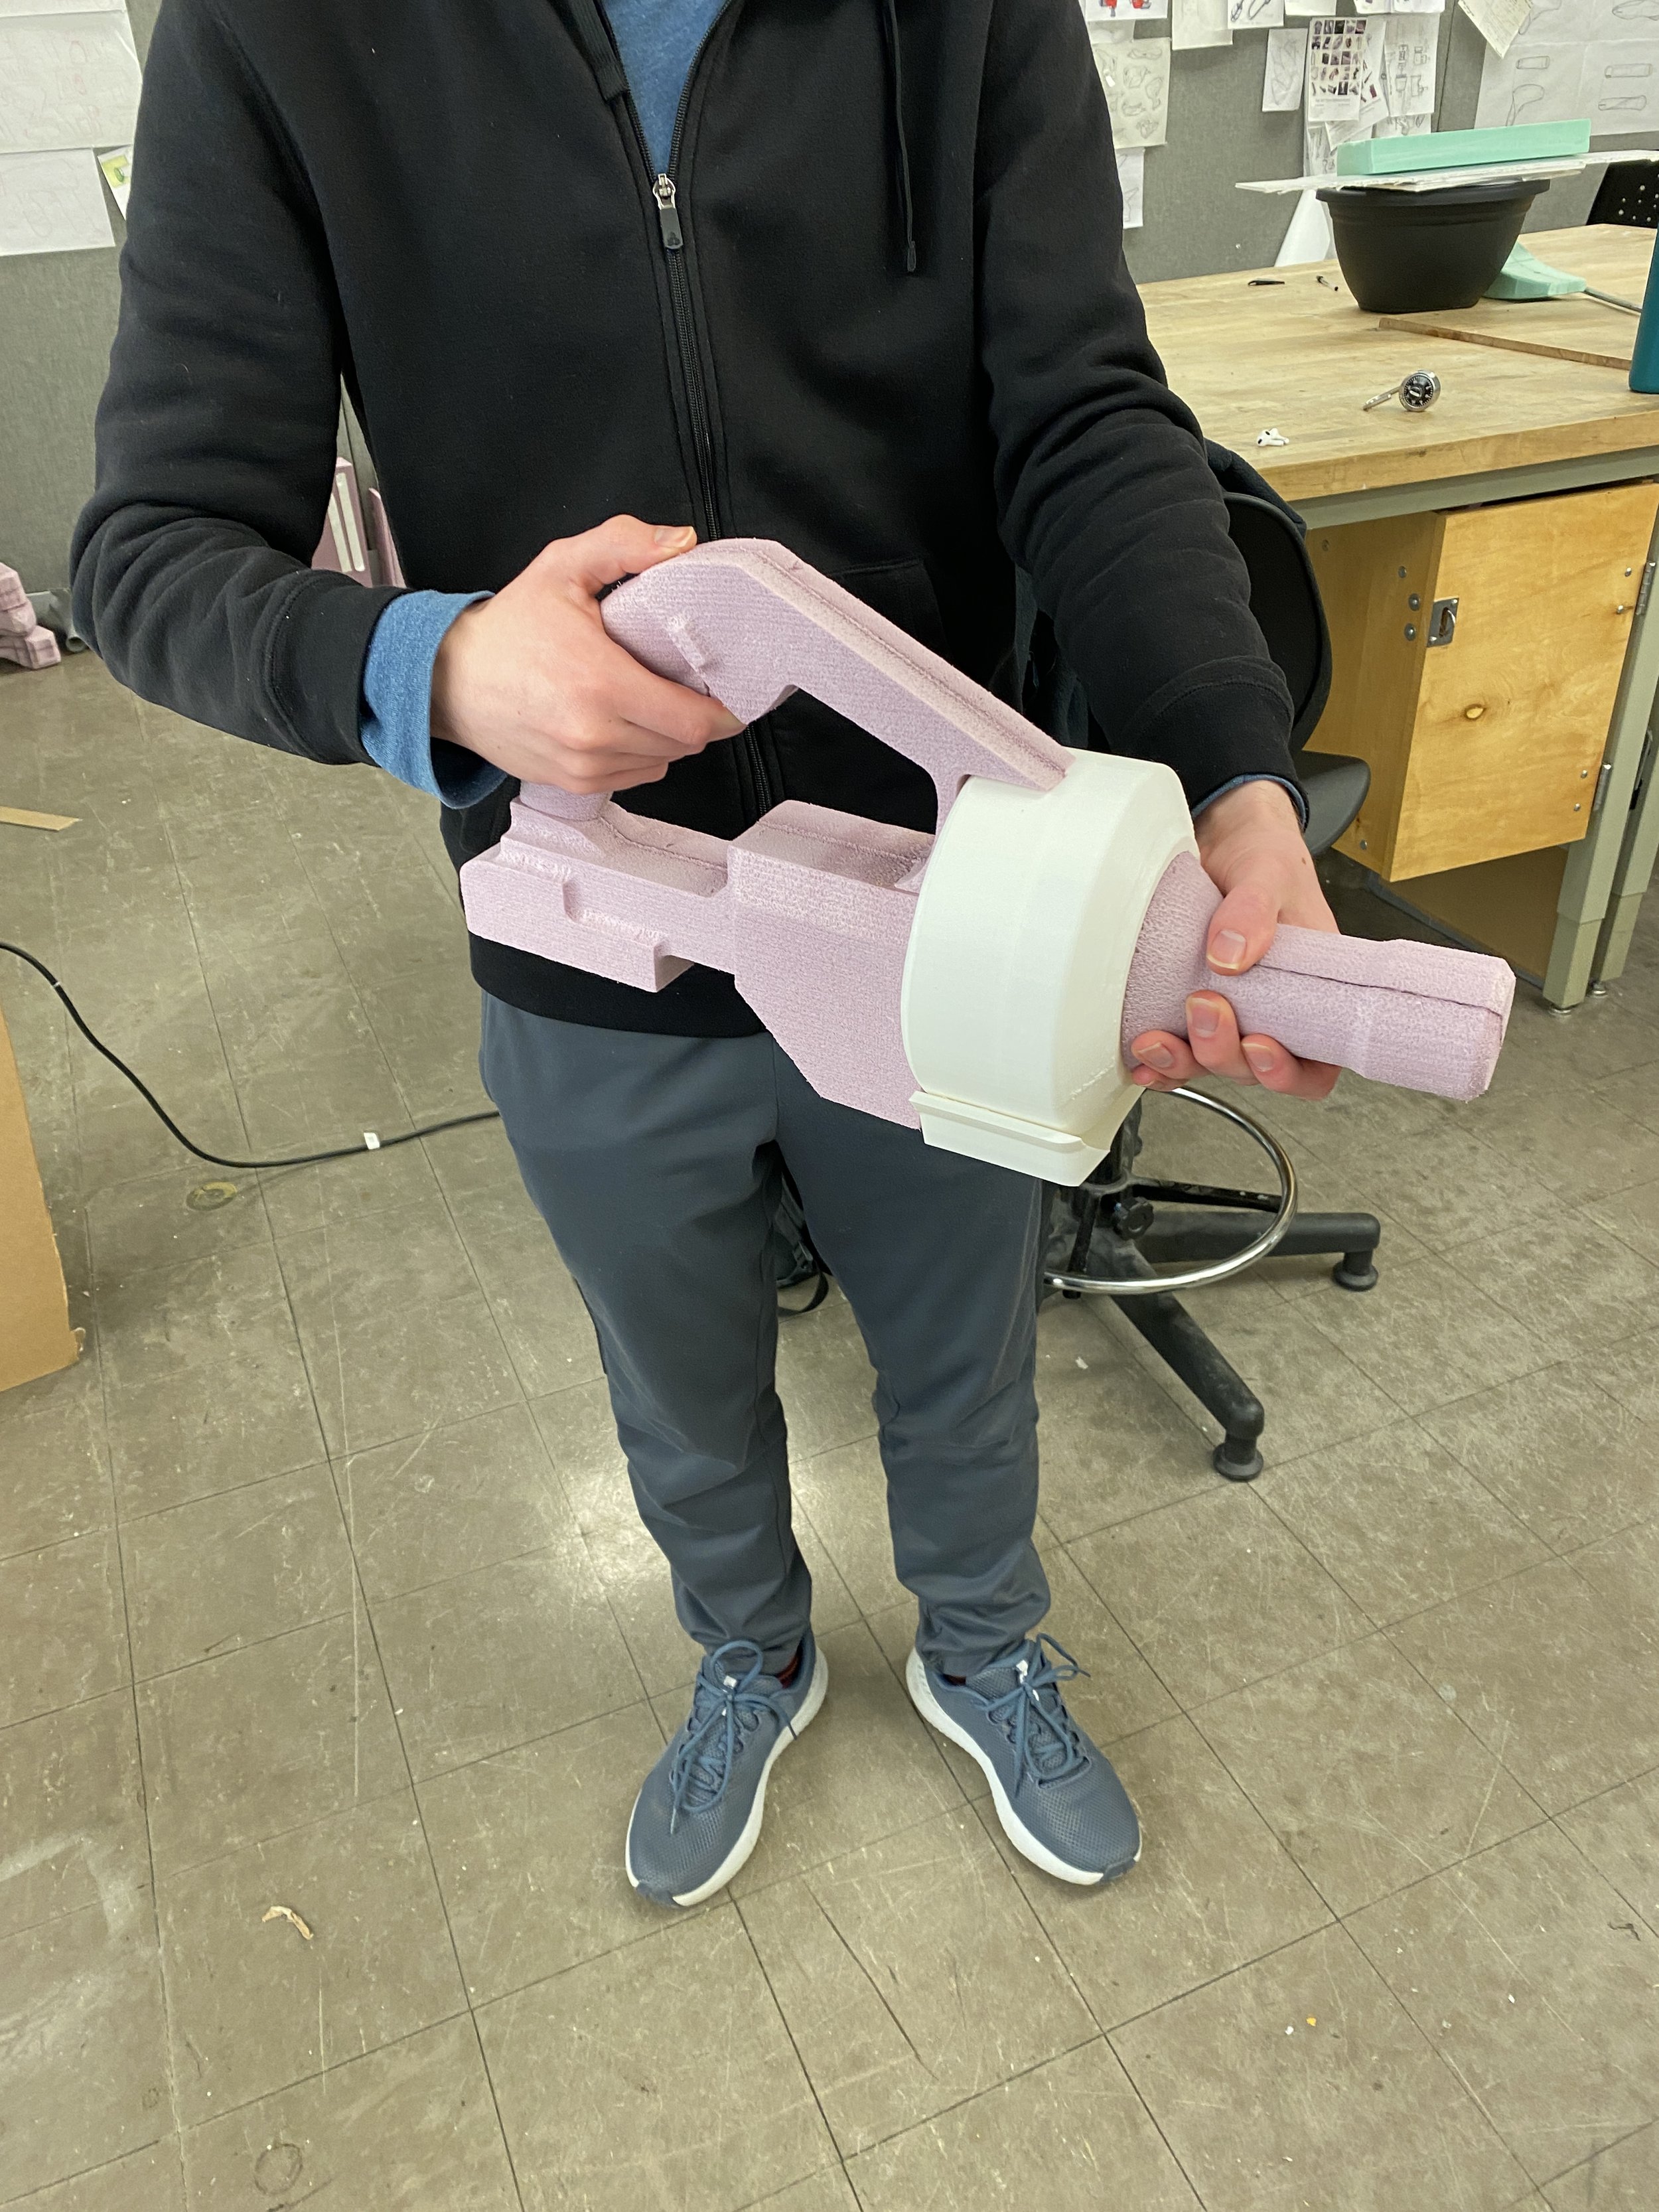
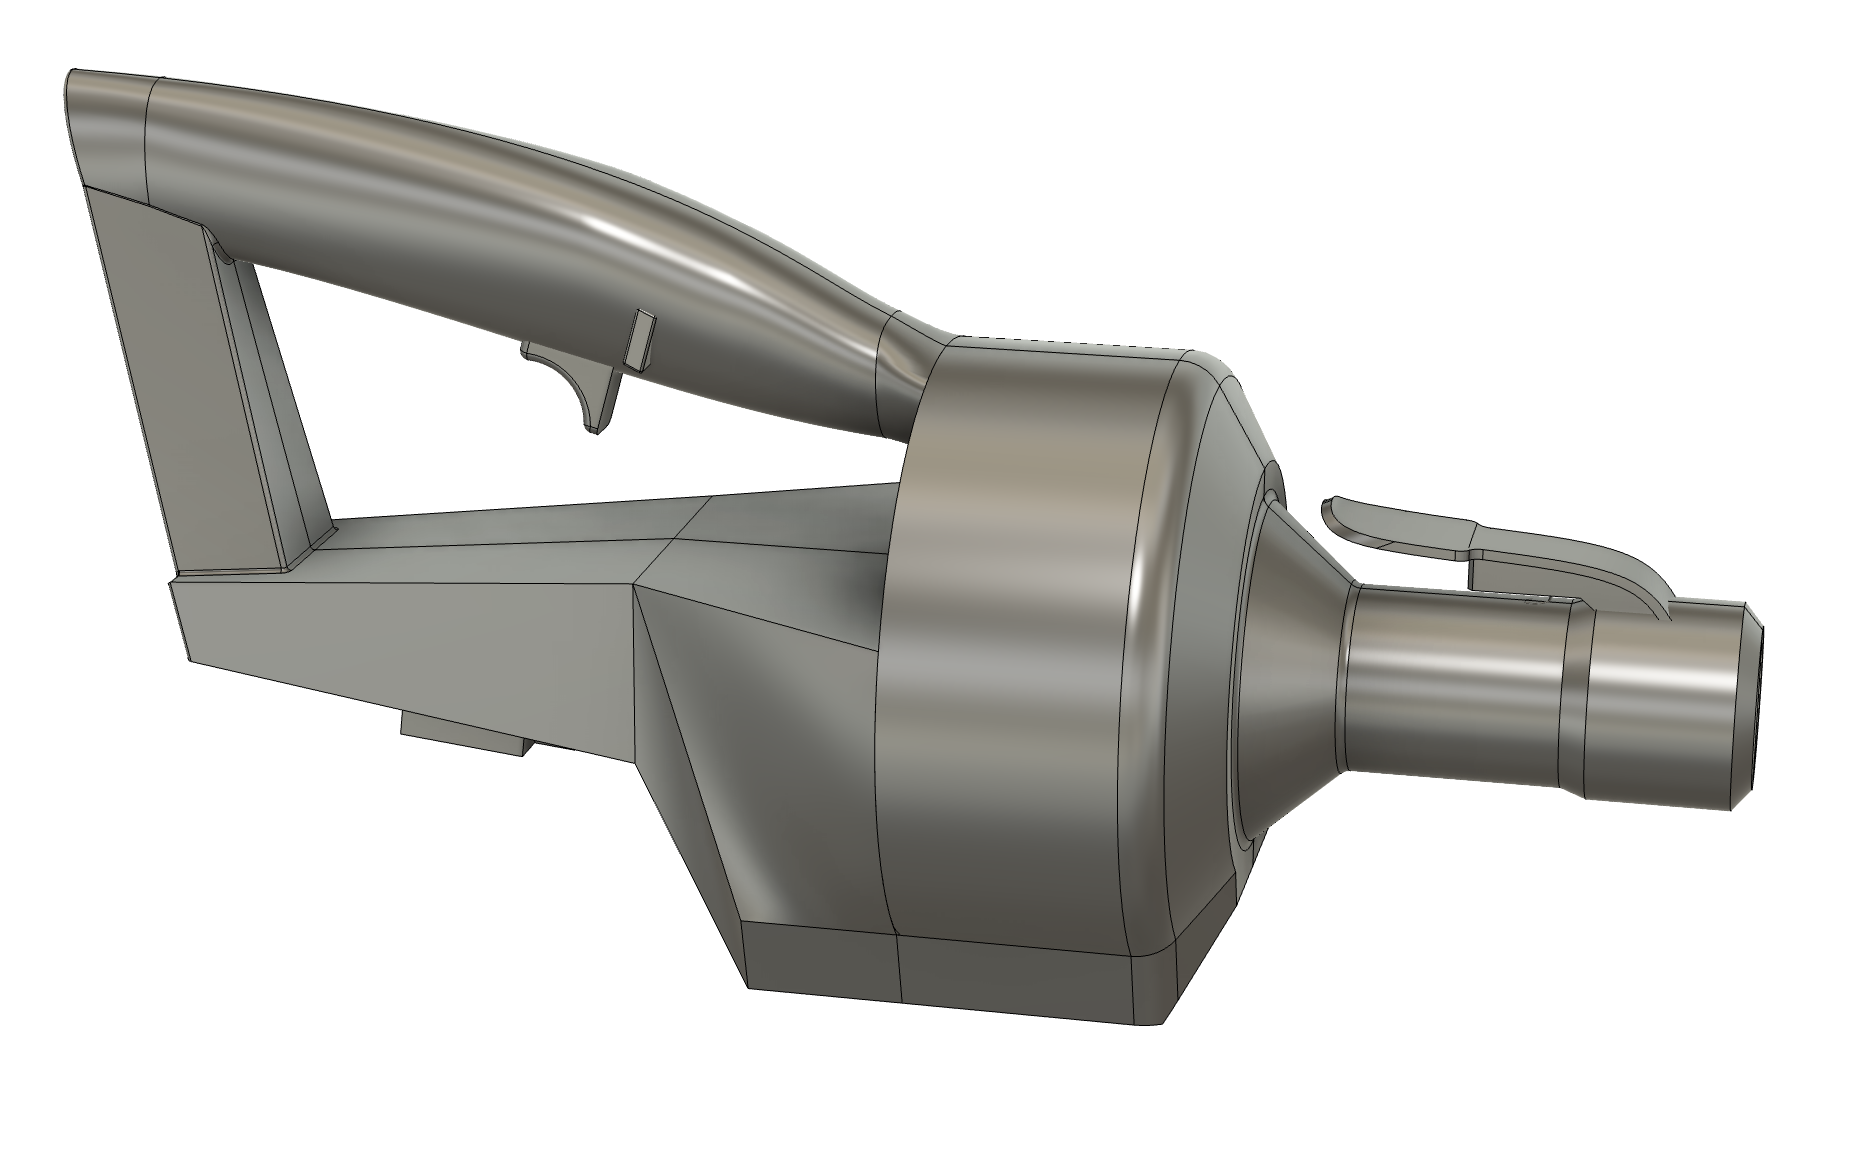
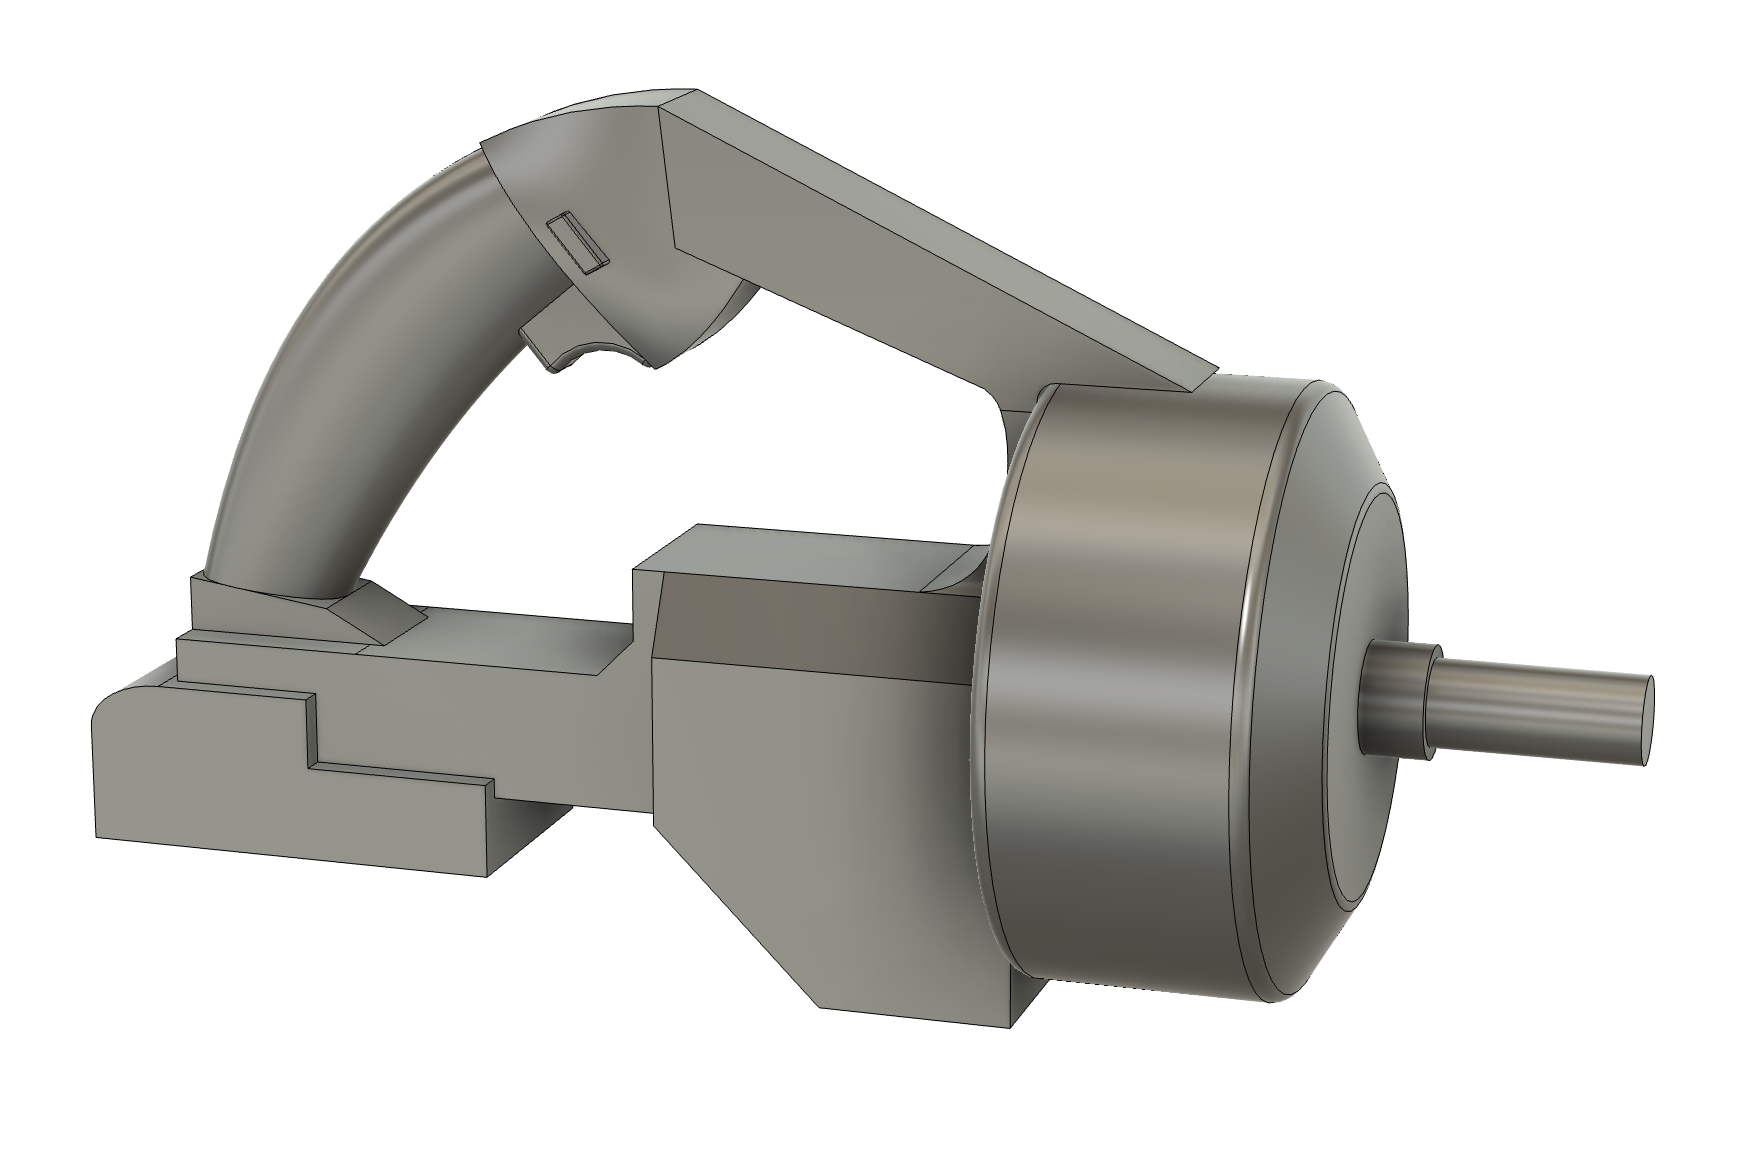
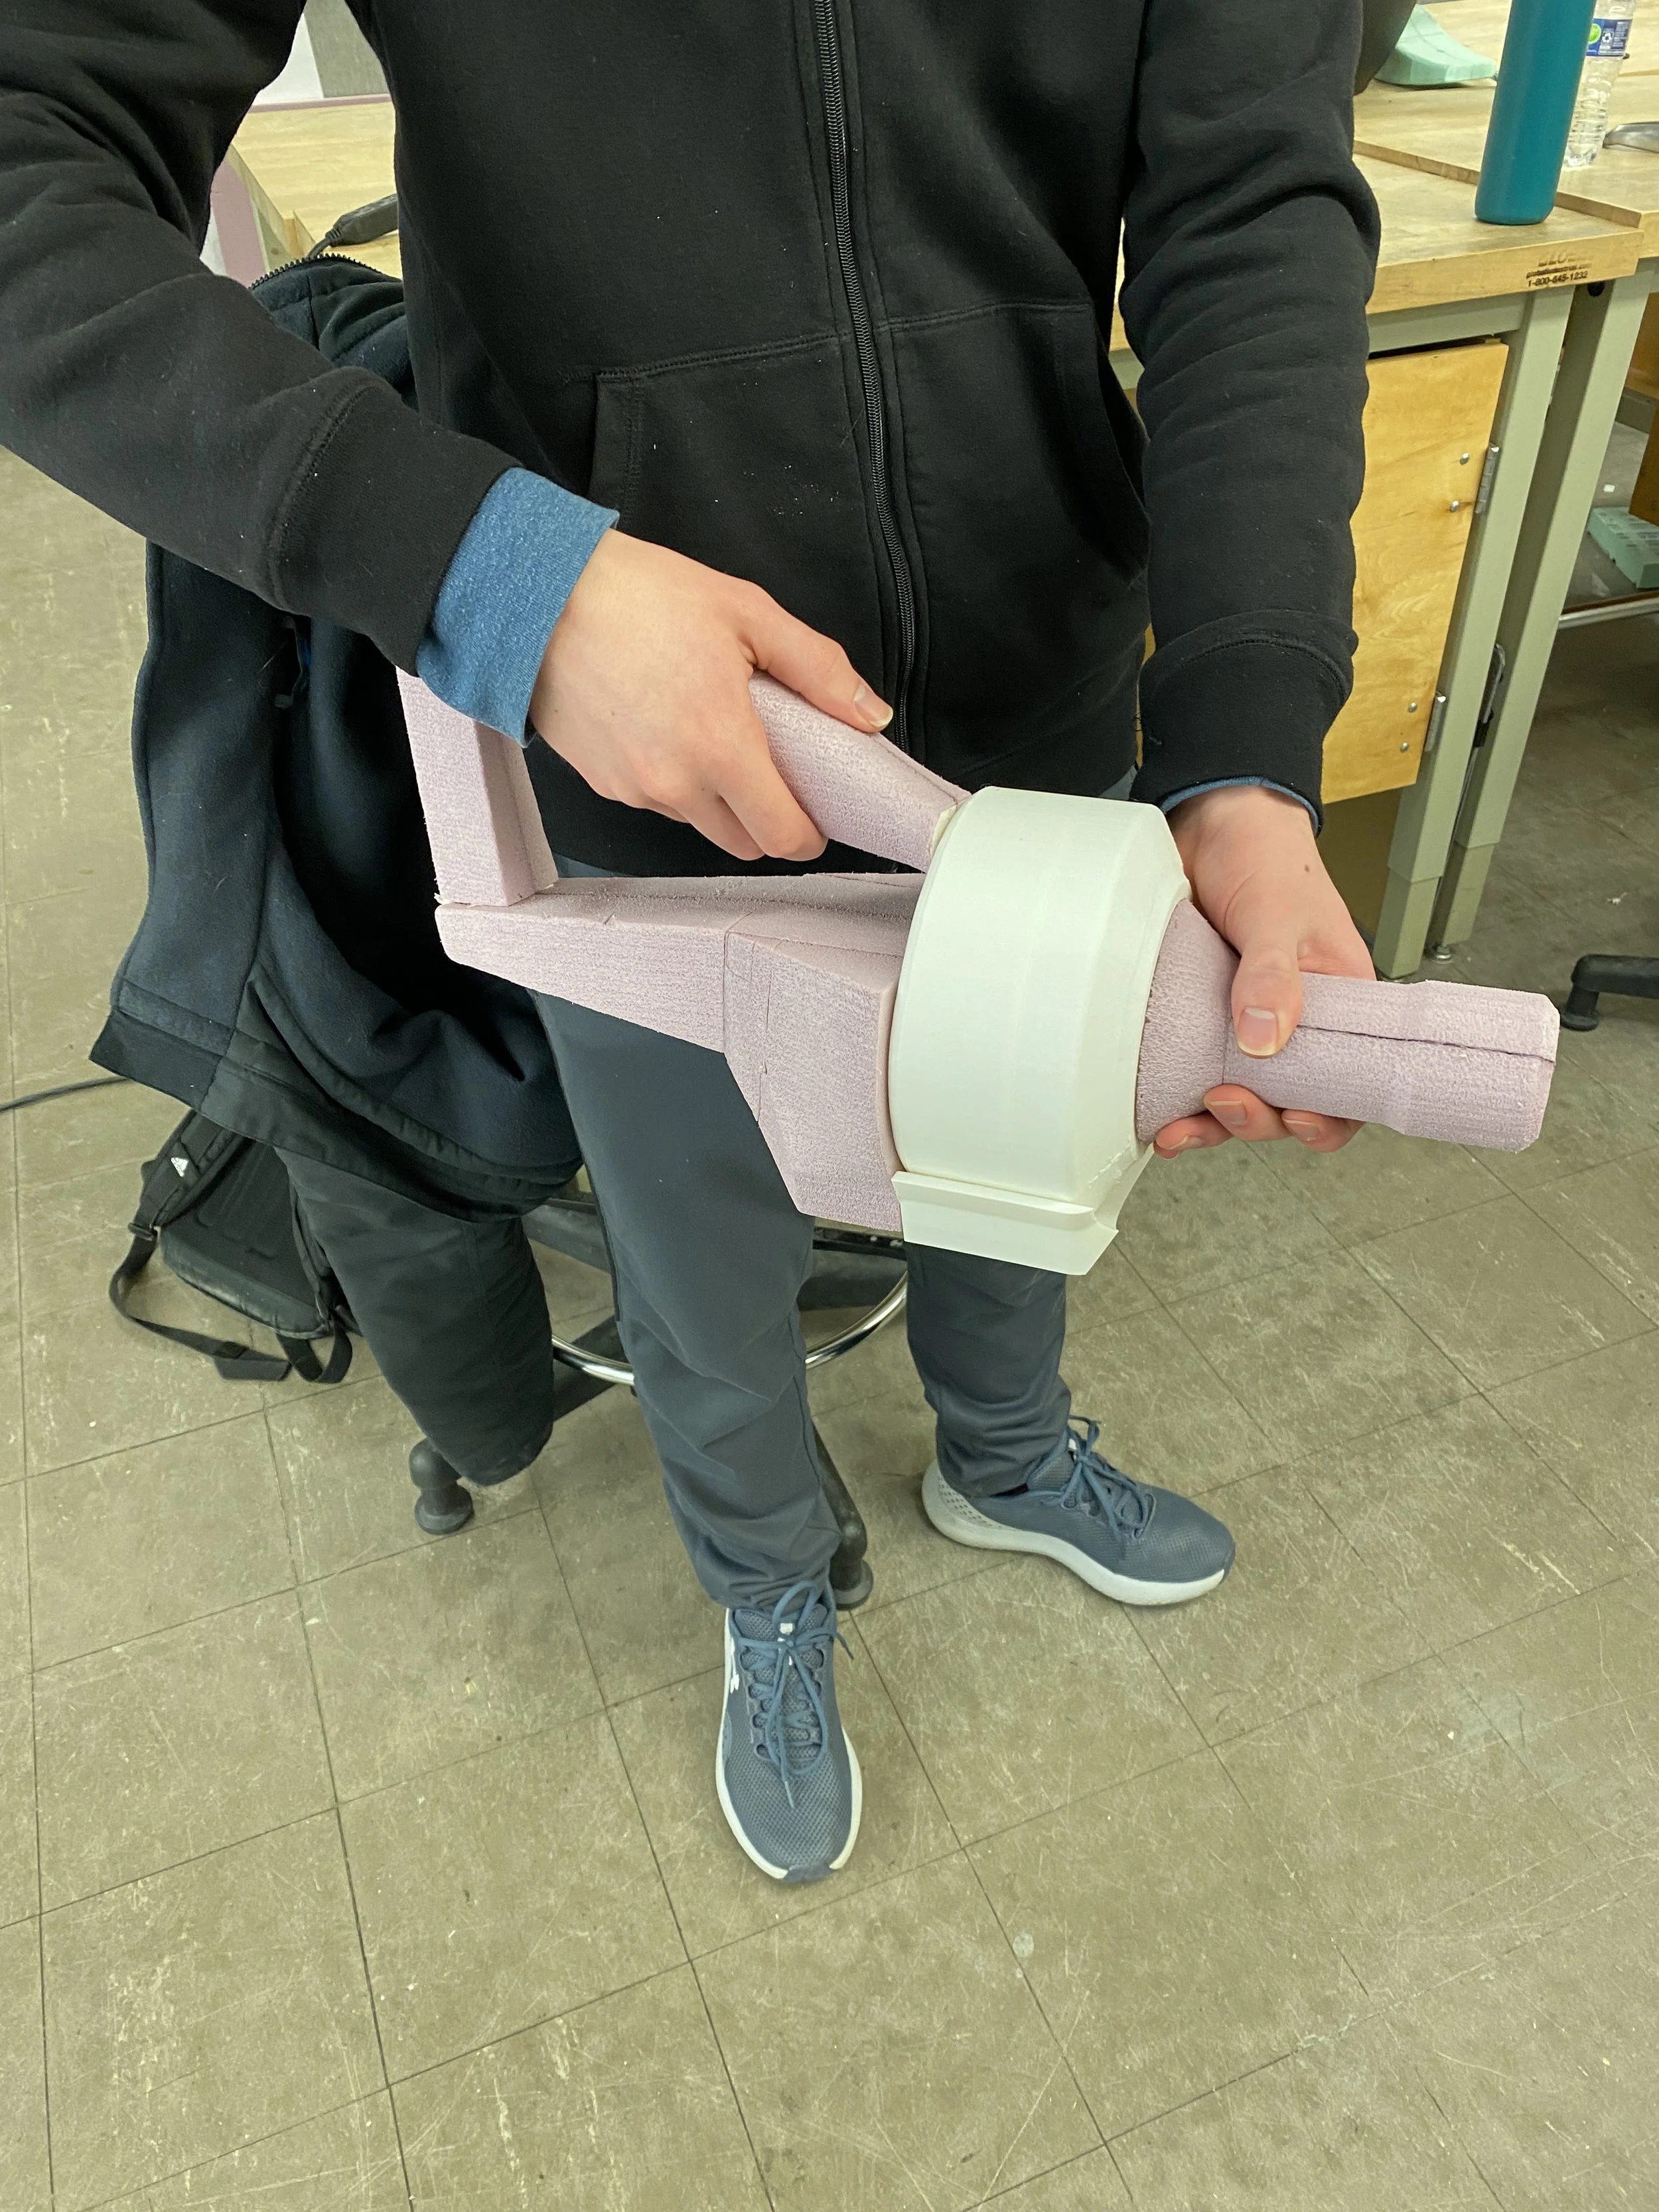
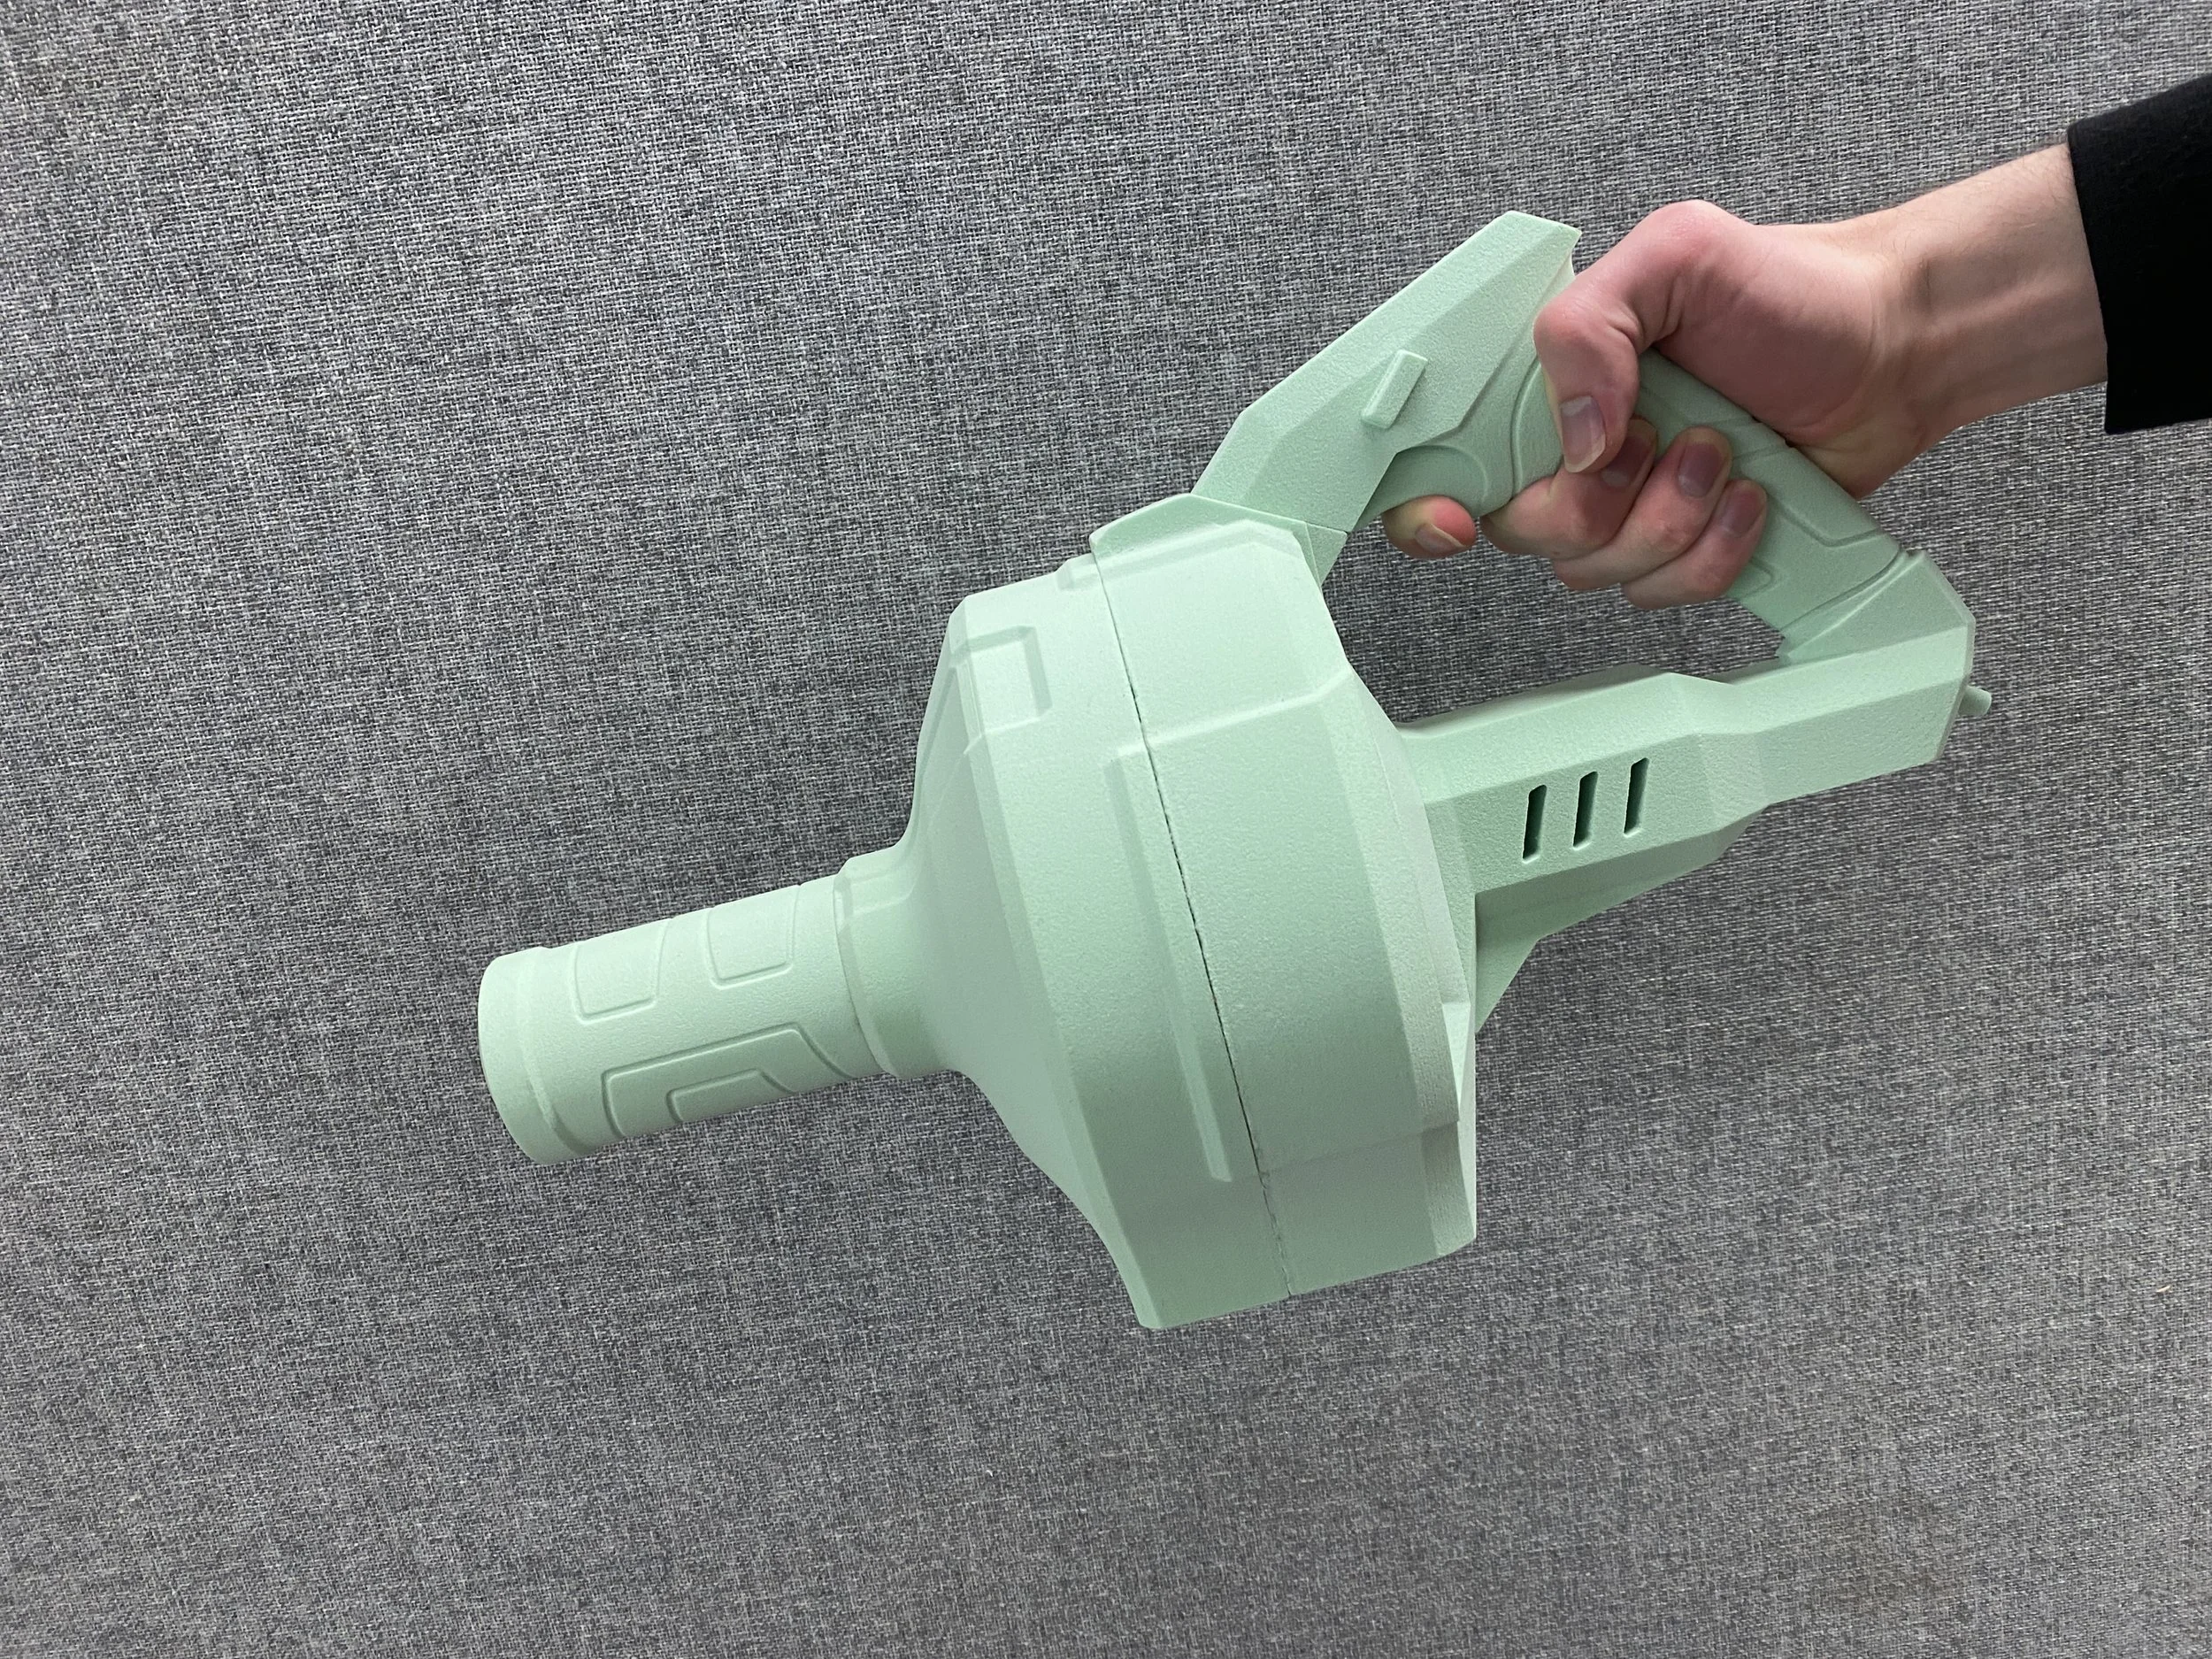
I surface modeled two directions, focusing on the handle position and connection to the barrel. I used a CNC mill to create two foam prototypes, and used a 3D-printed common piece. After reviewing both designs and testing how they hold in context under a sink, I decided to go with an upright handle. 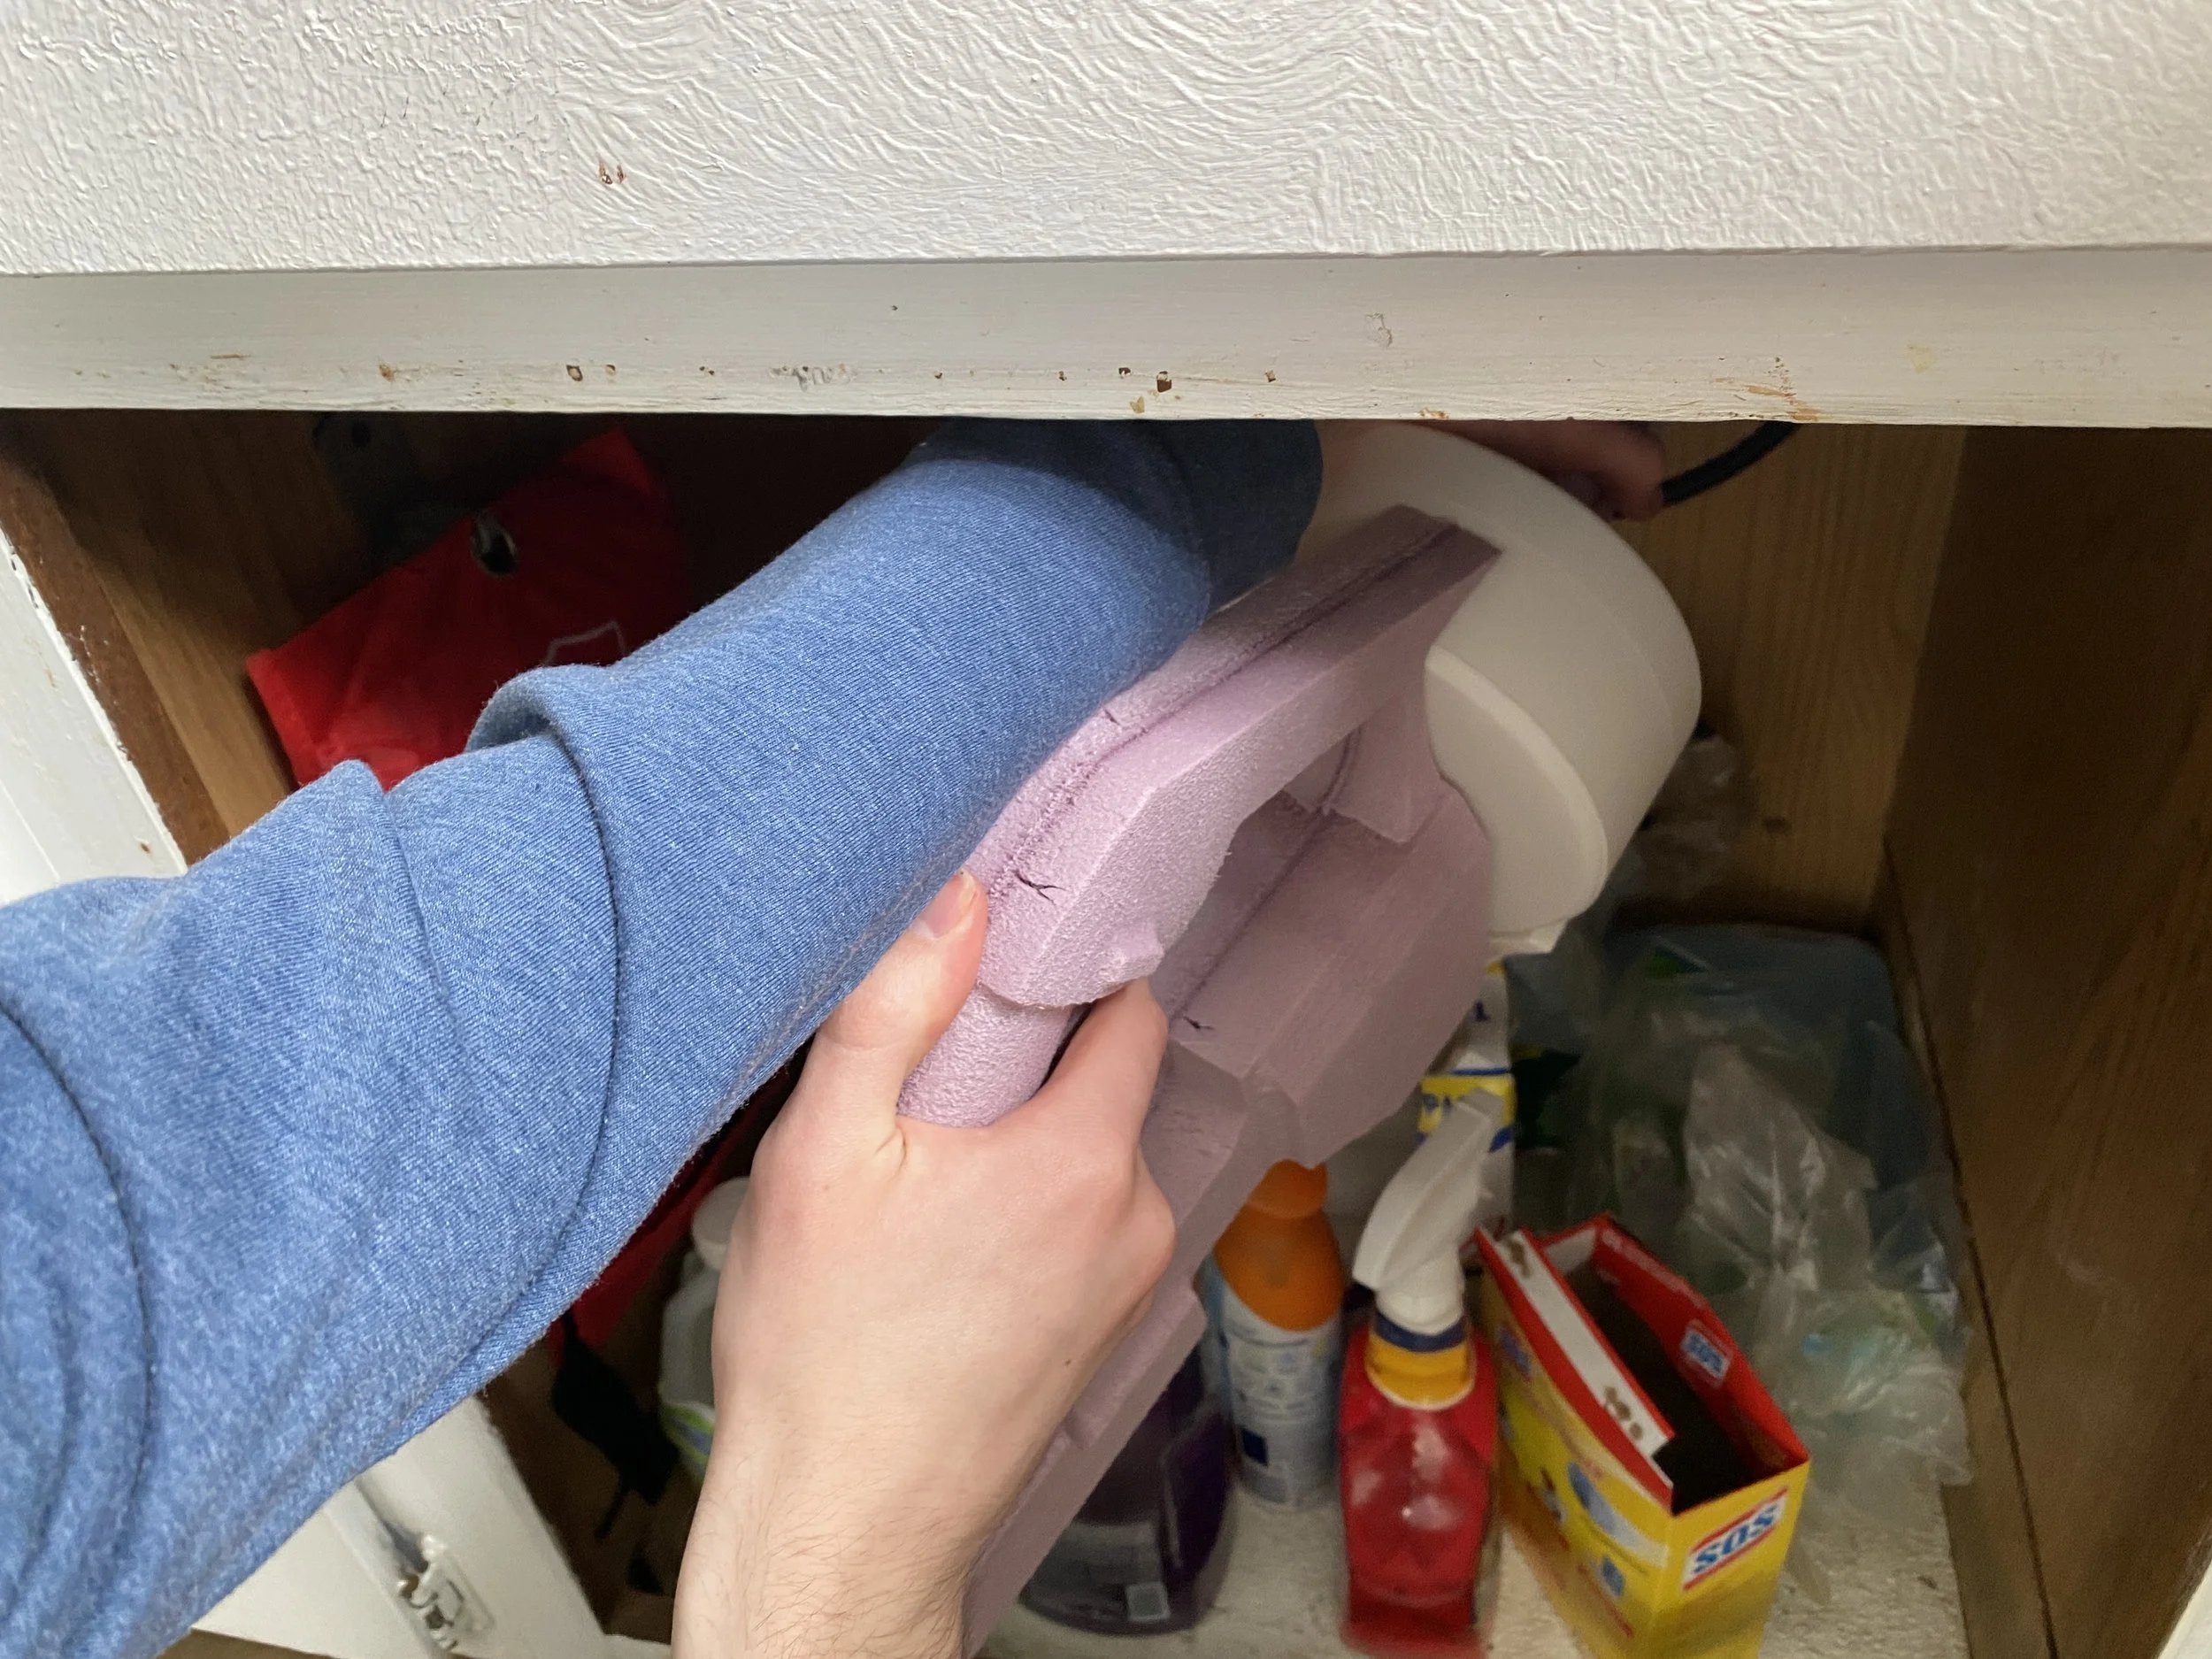
Final CAD
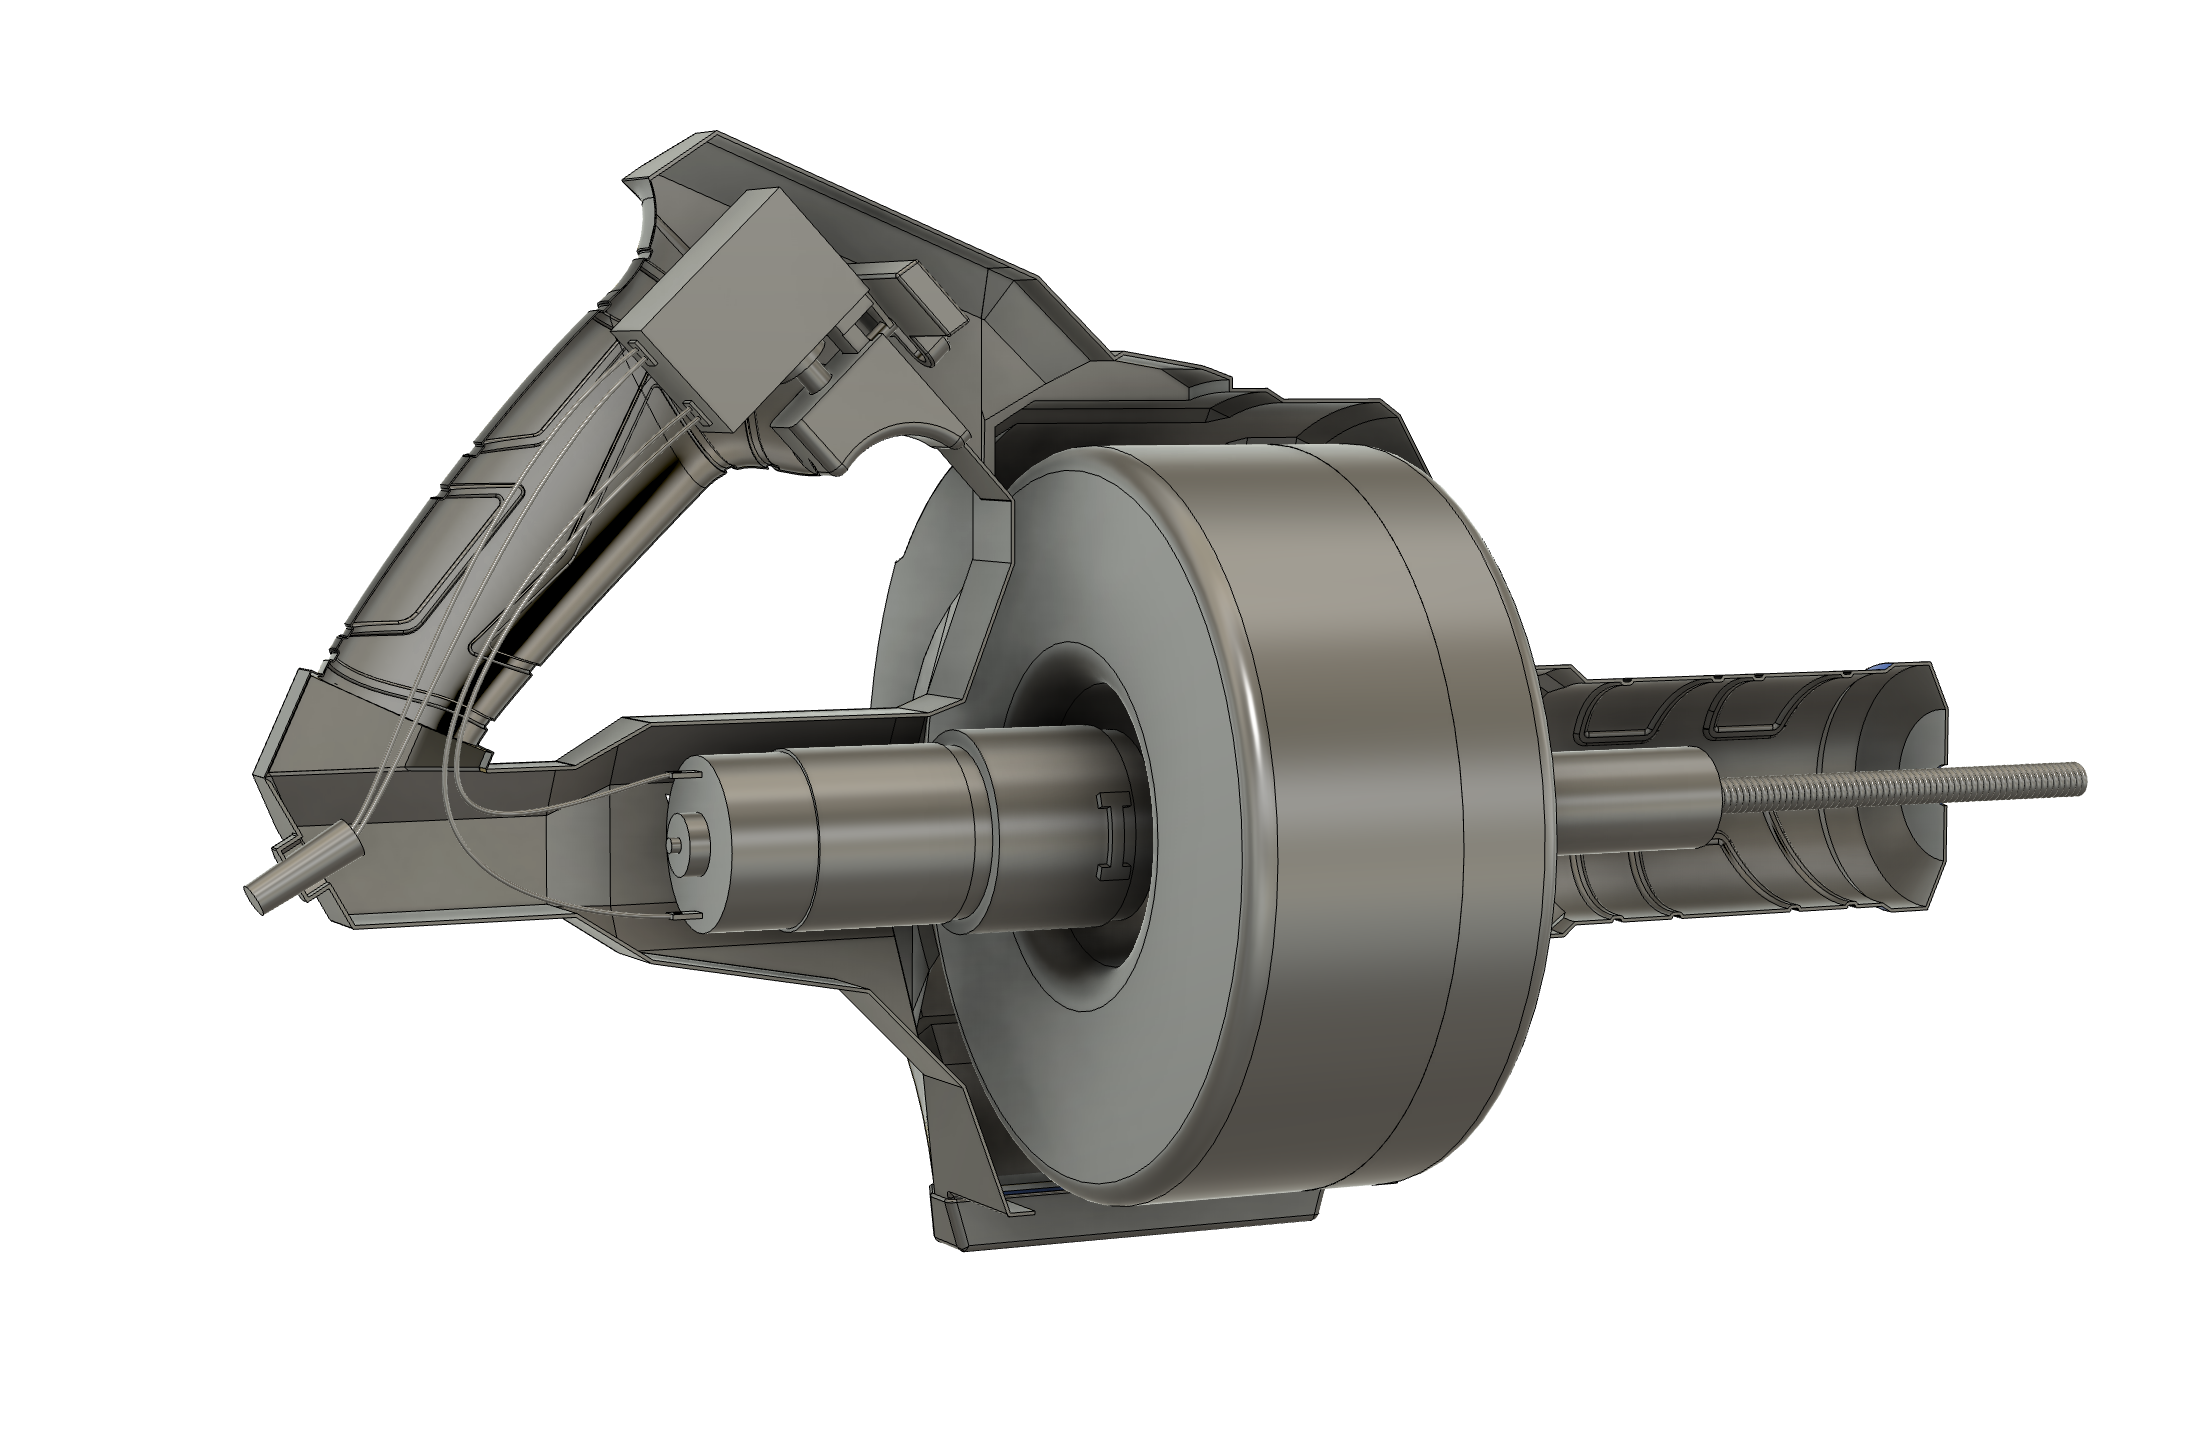
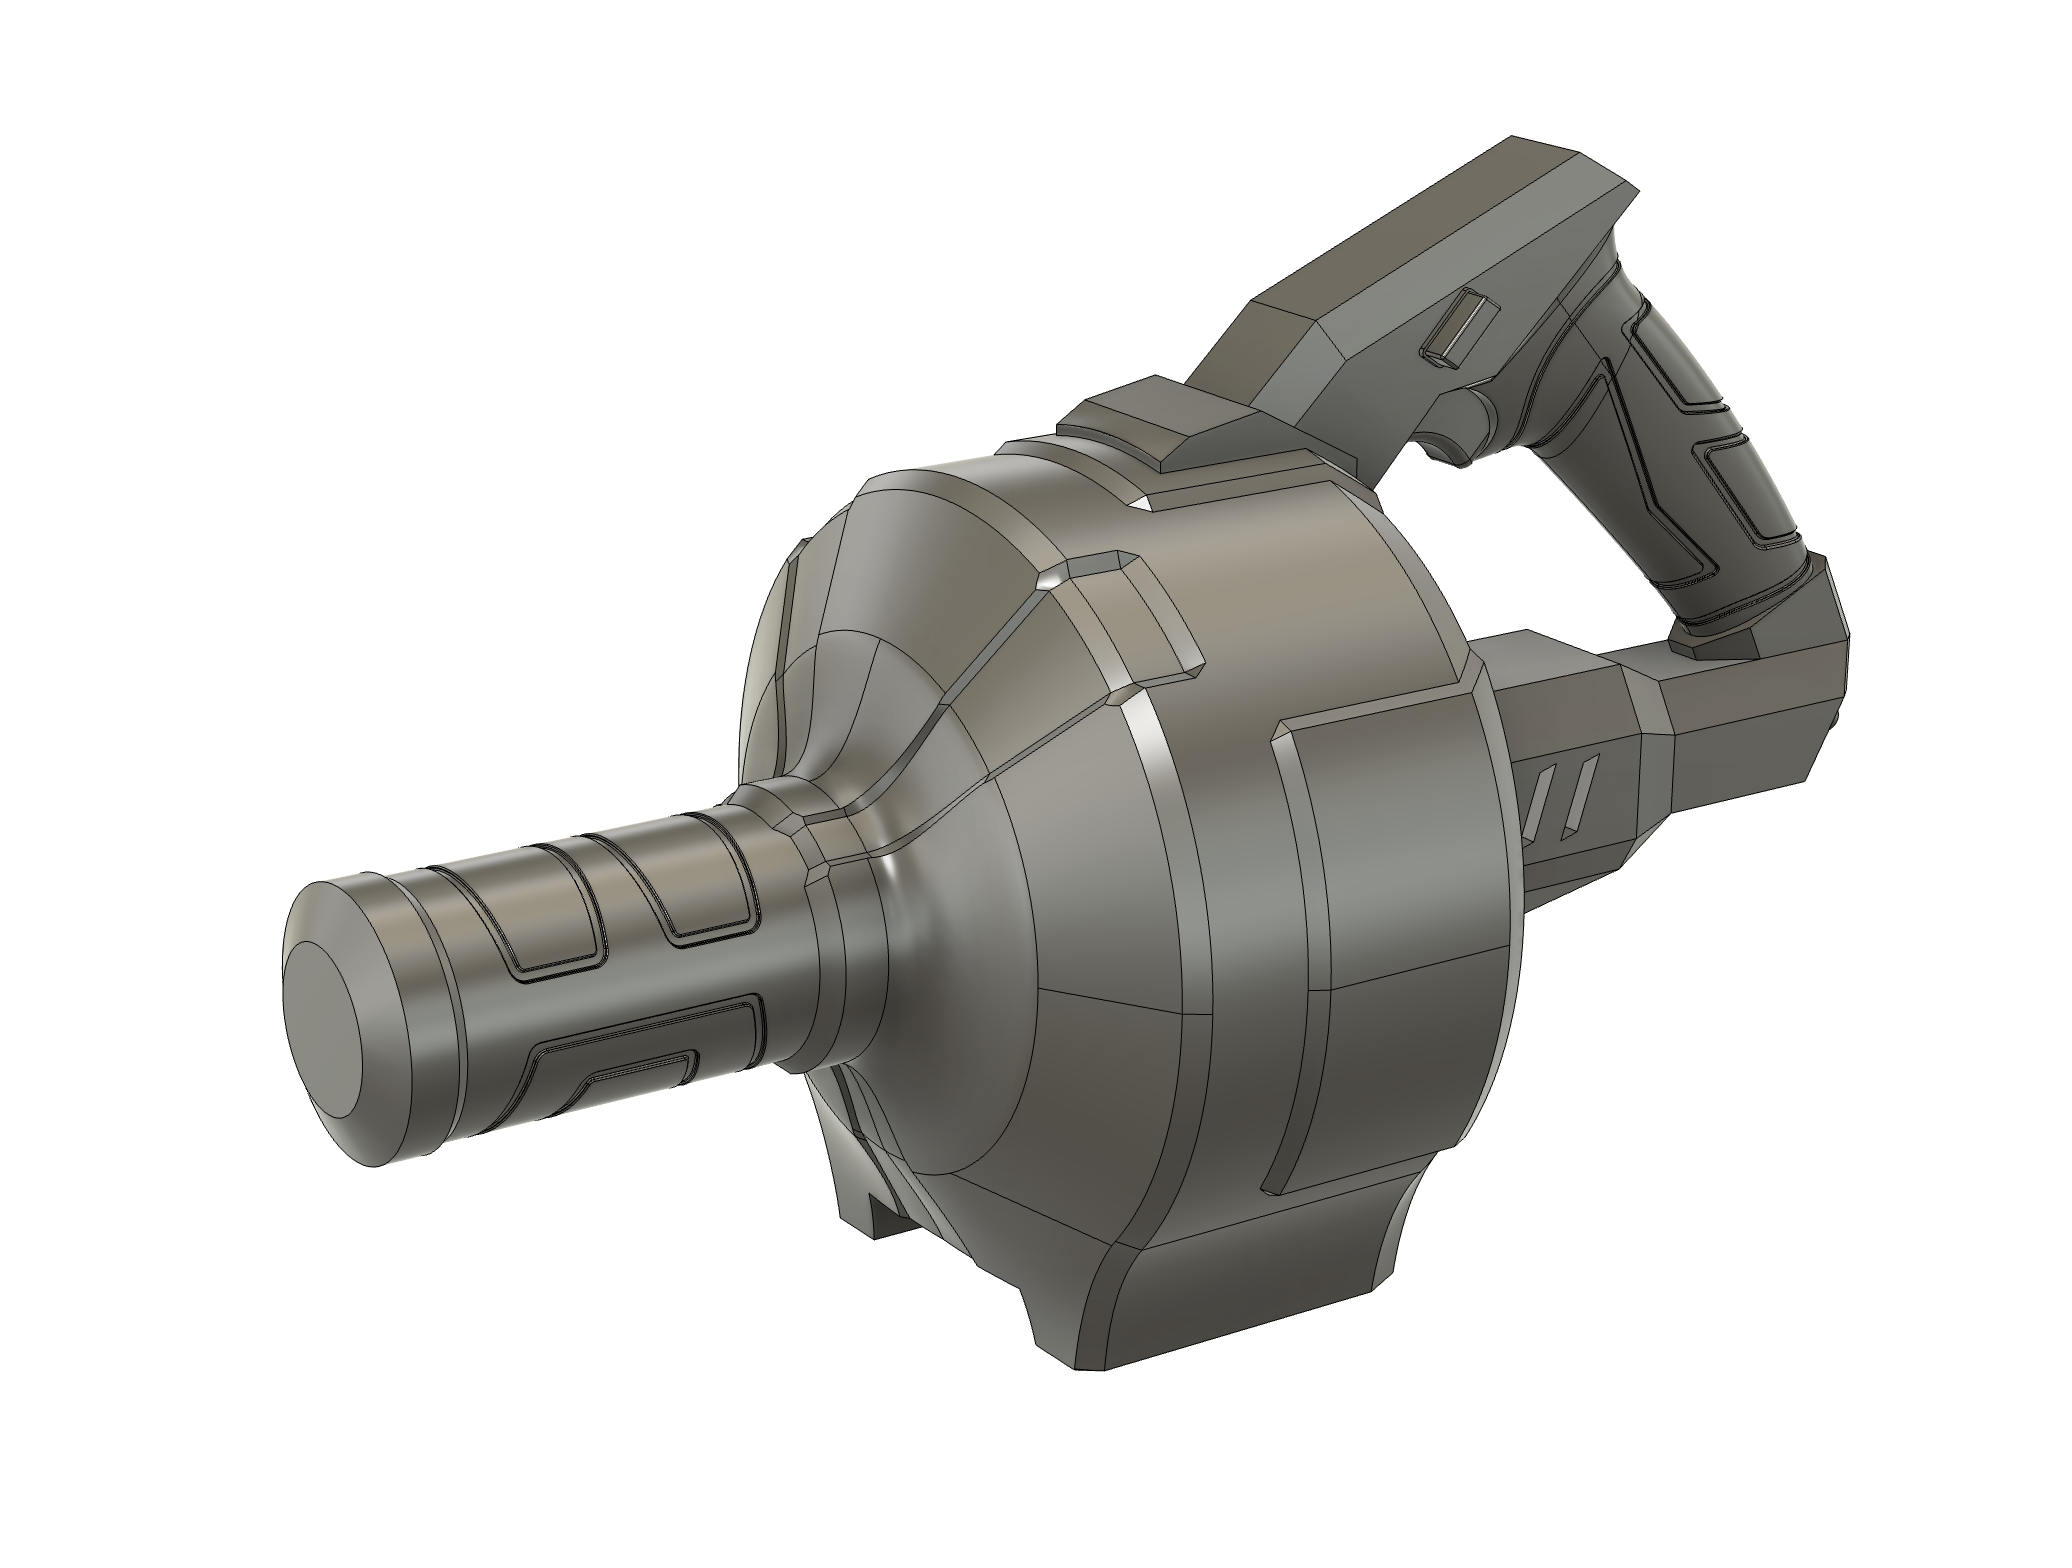
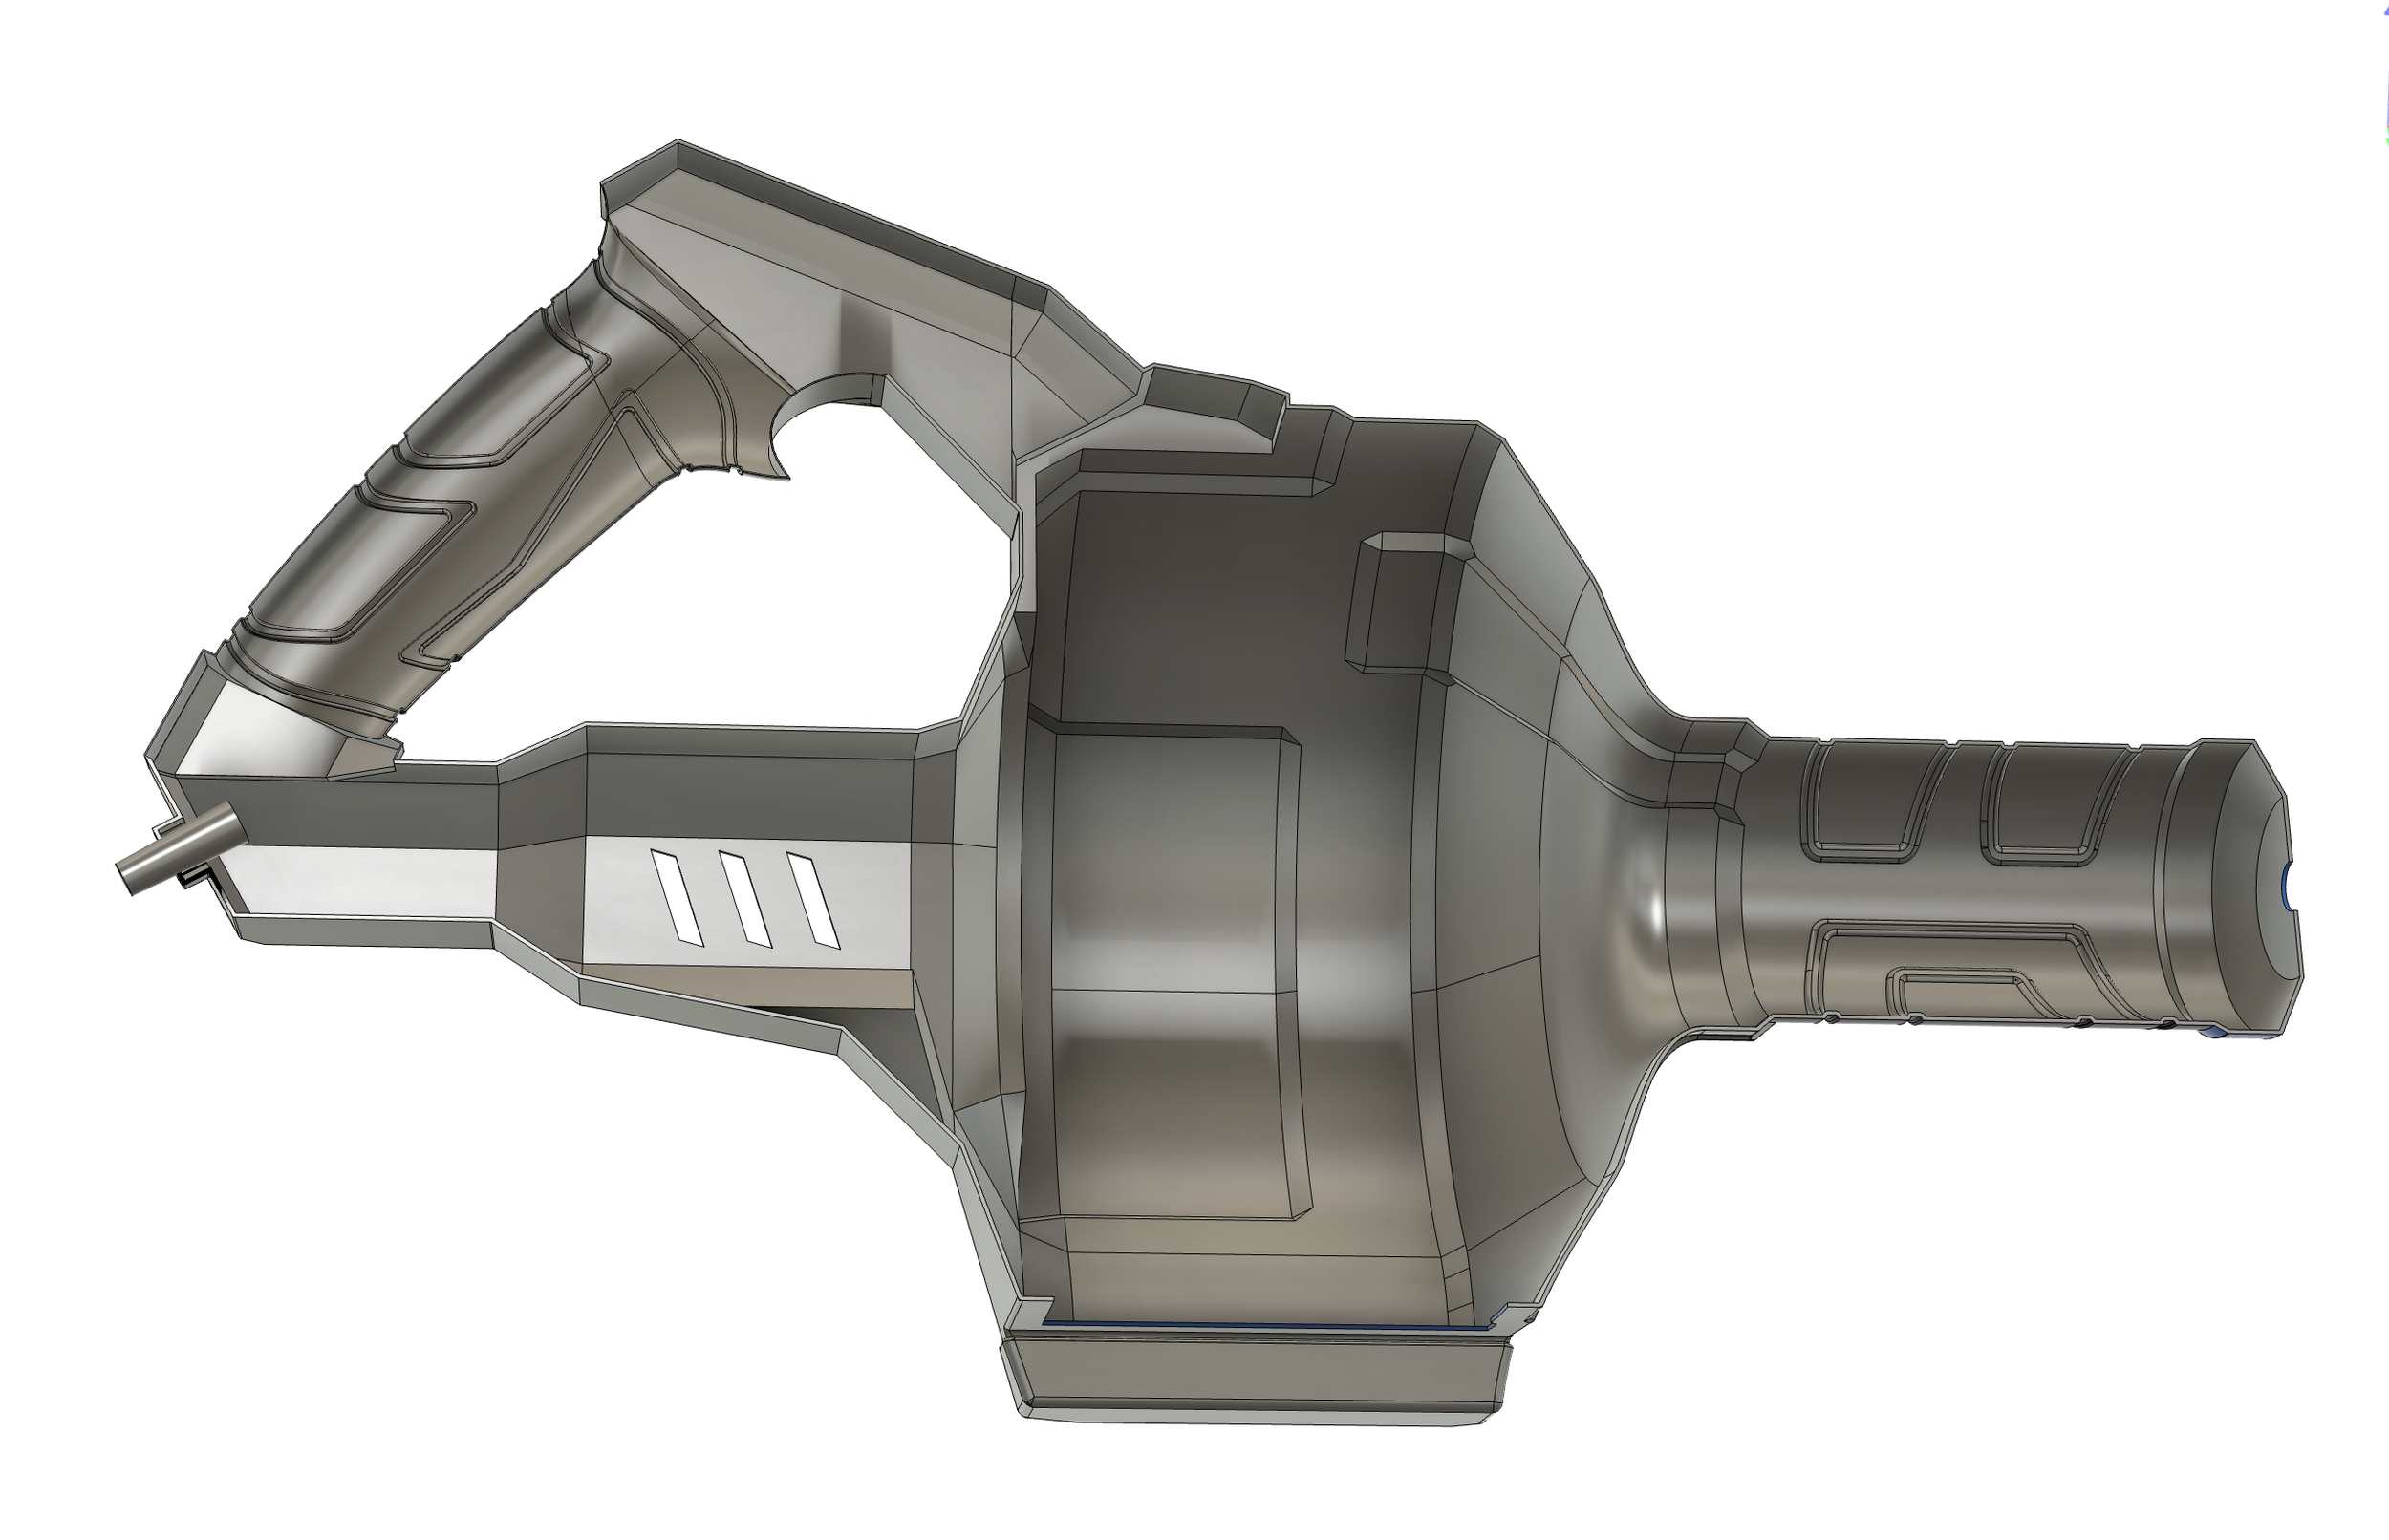
In this CAD phase I finalized the design elements including:
Mechanical componentsA power cordEnclosed shell over the barrelA drain opening in the bottomRubber overmold handles
Final Model Process
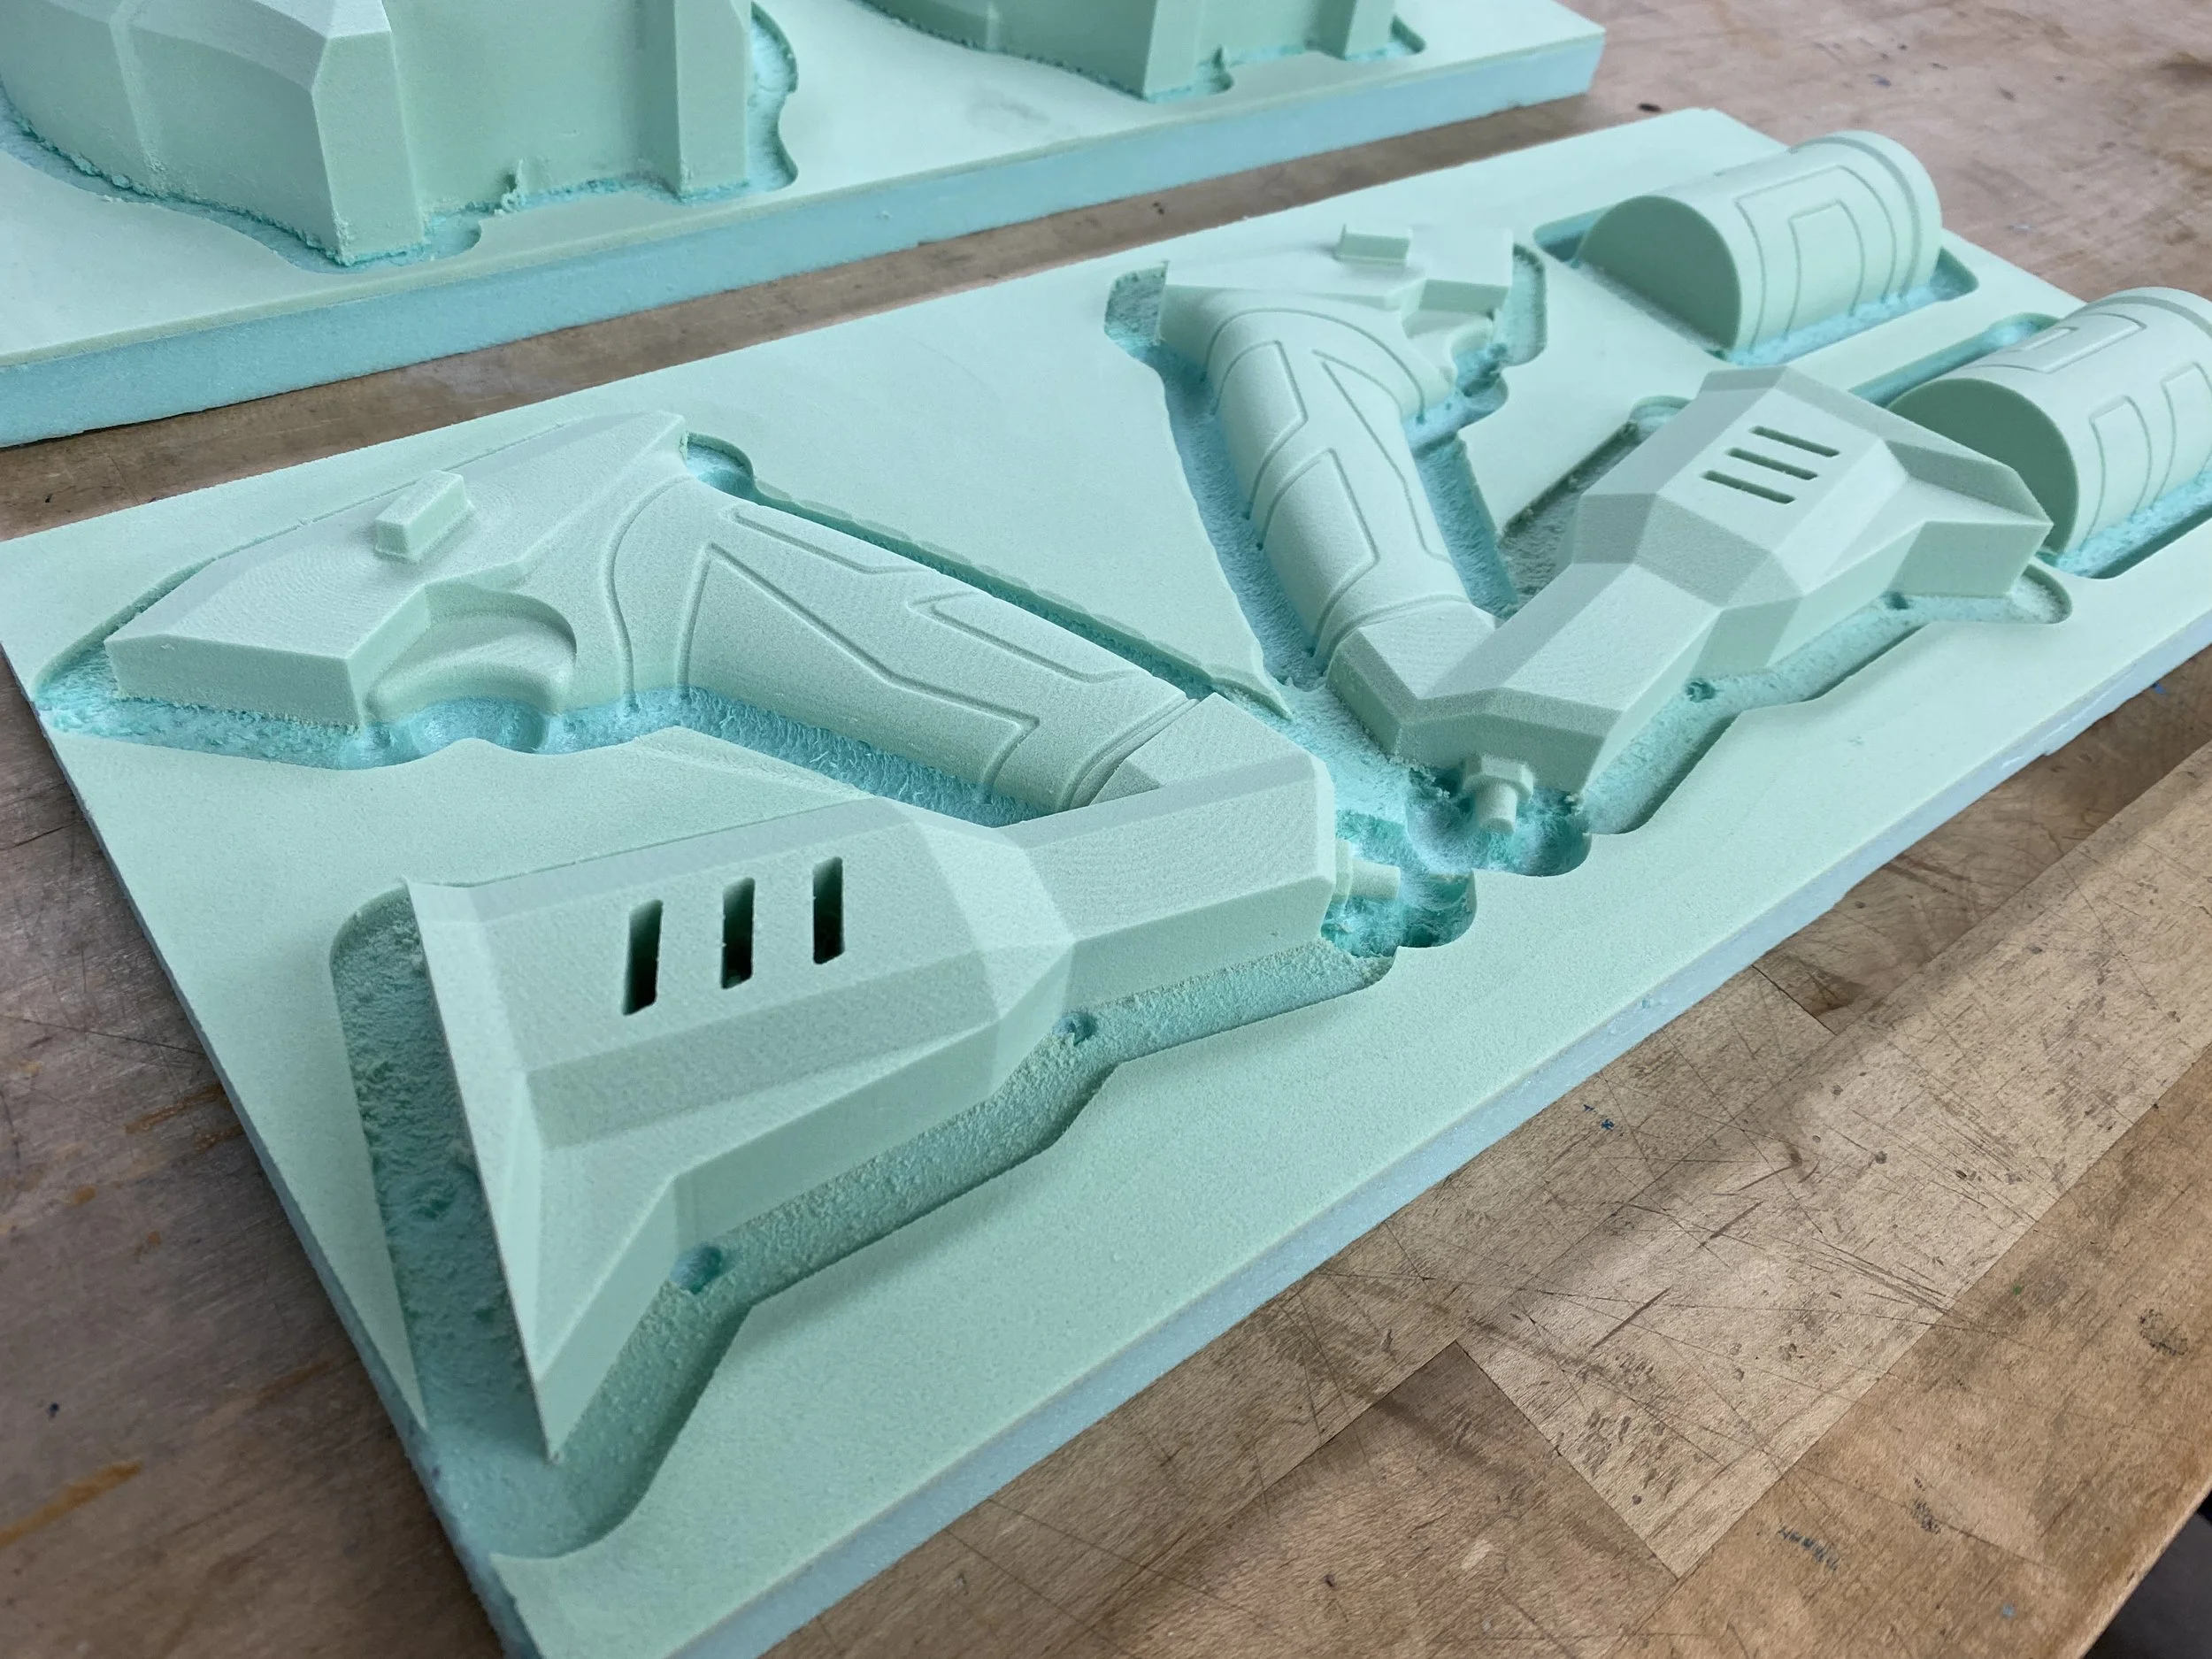
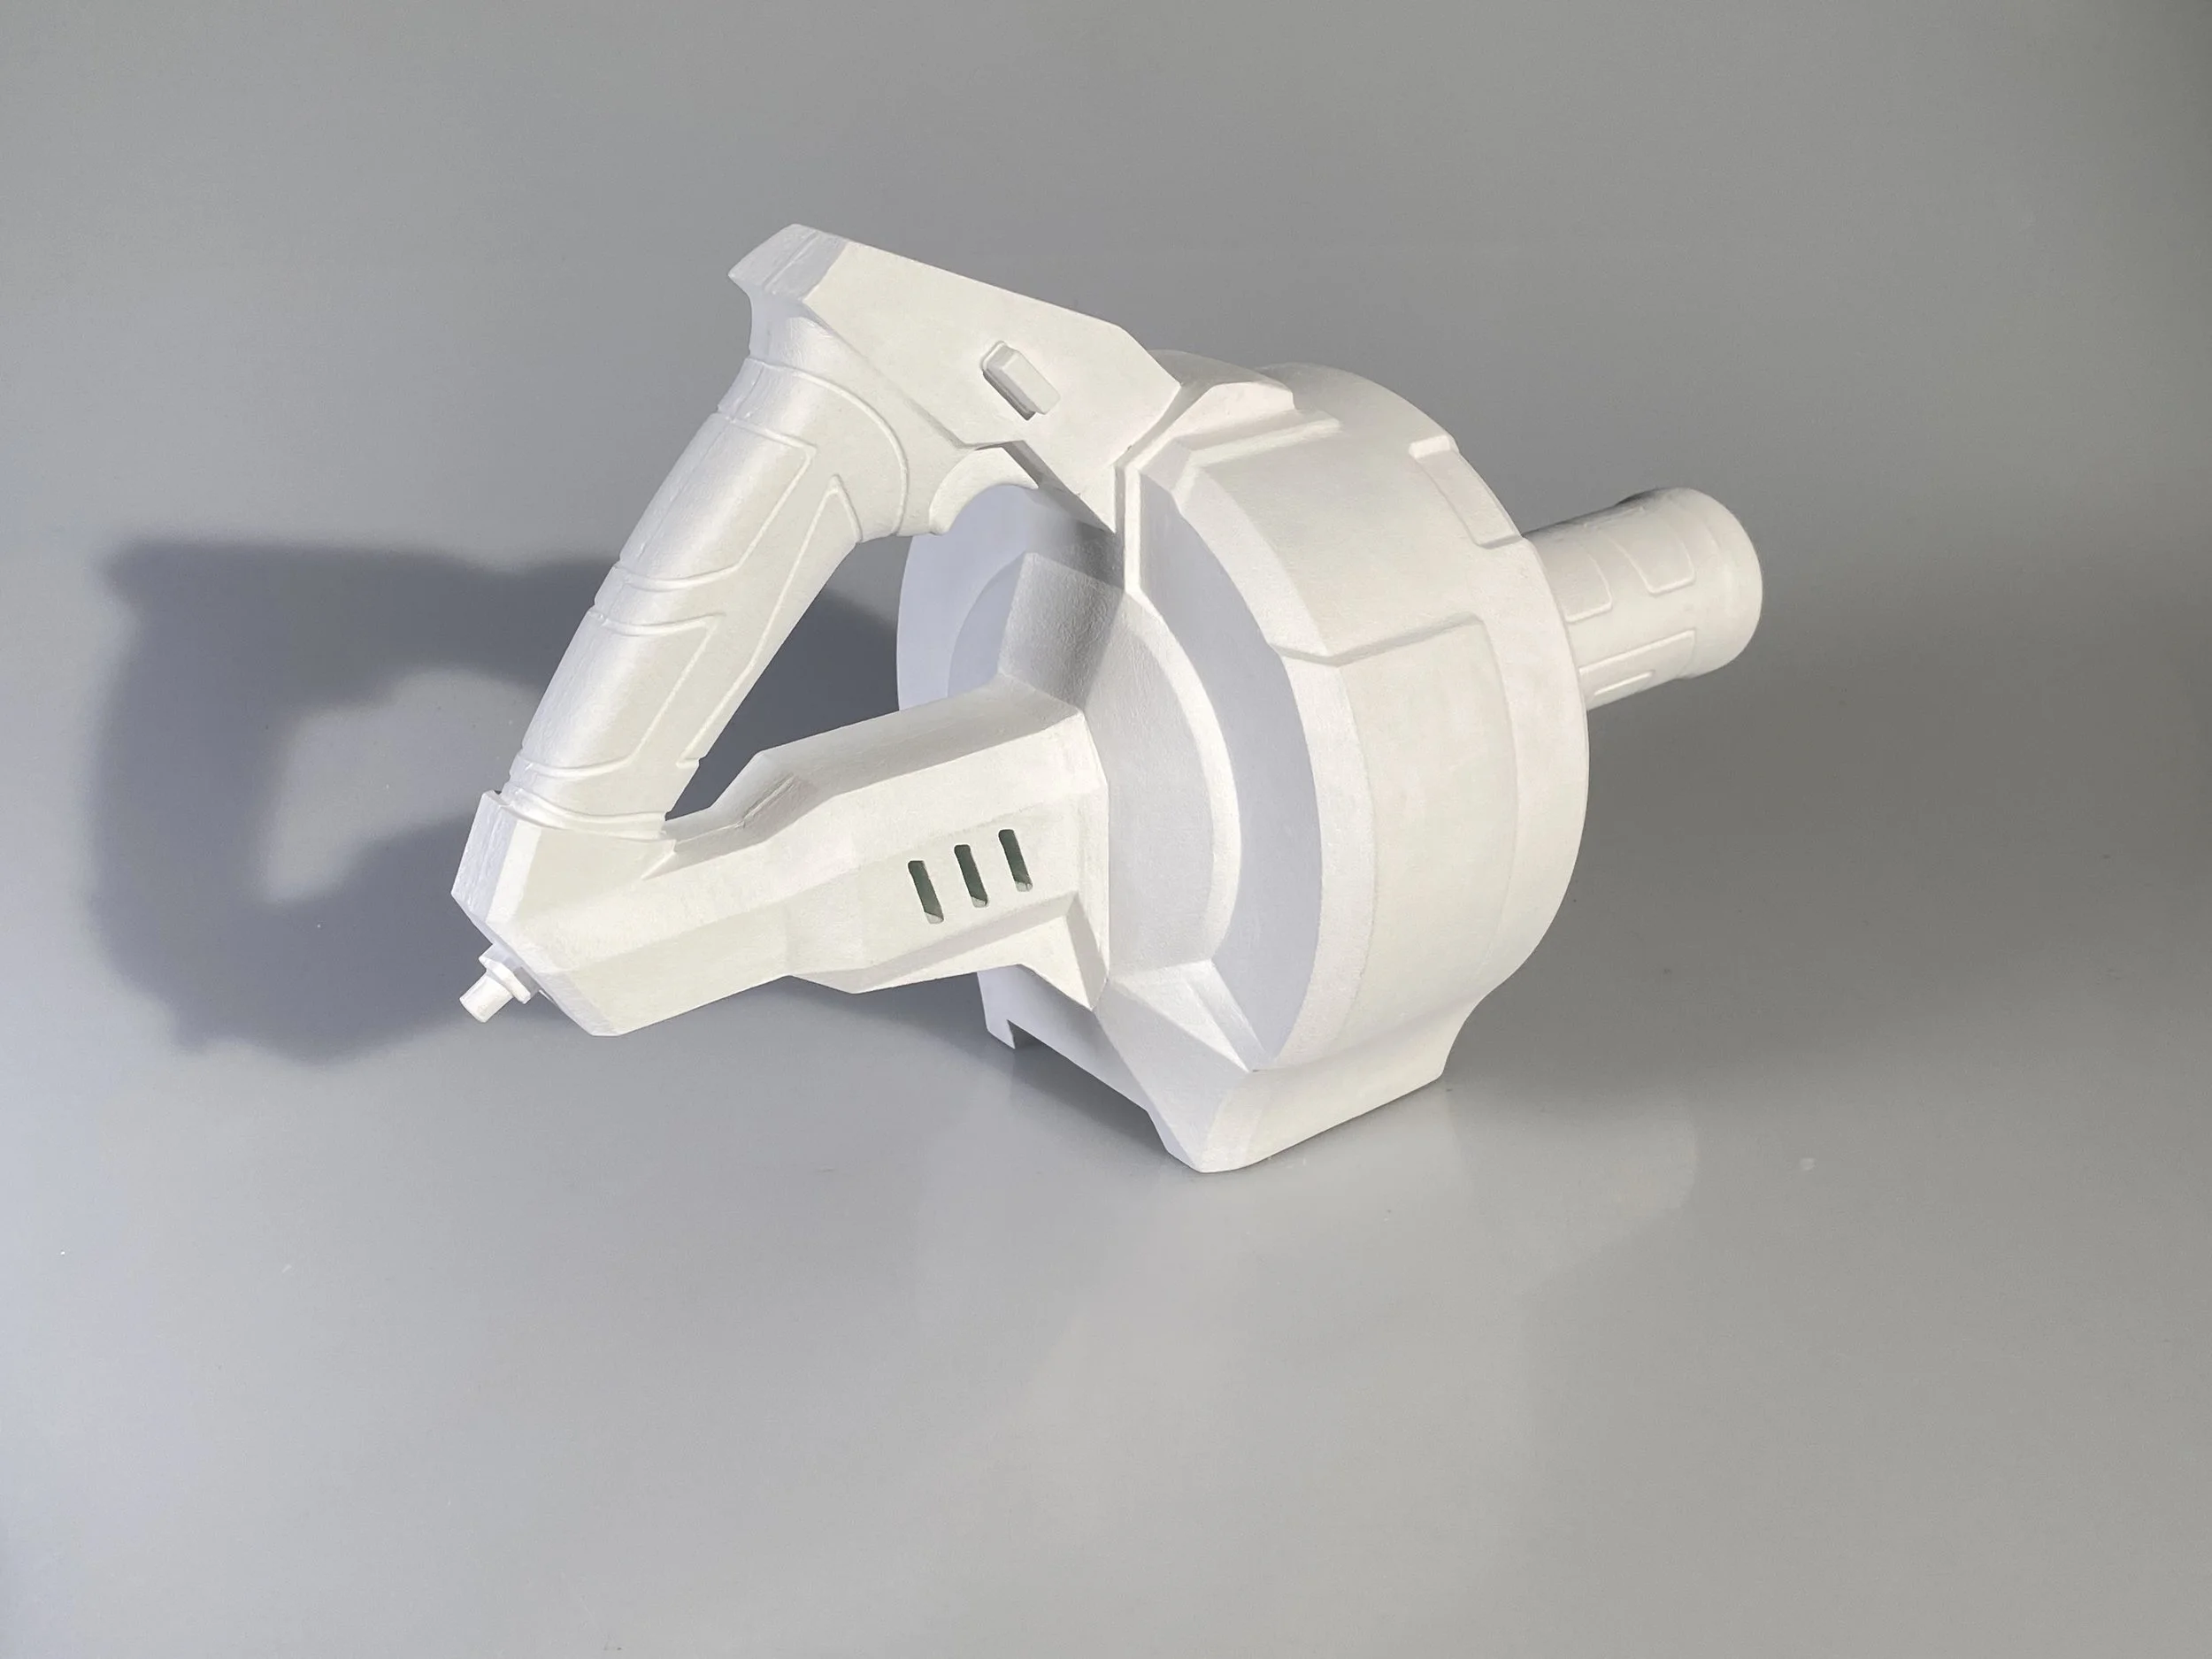
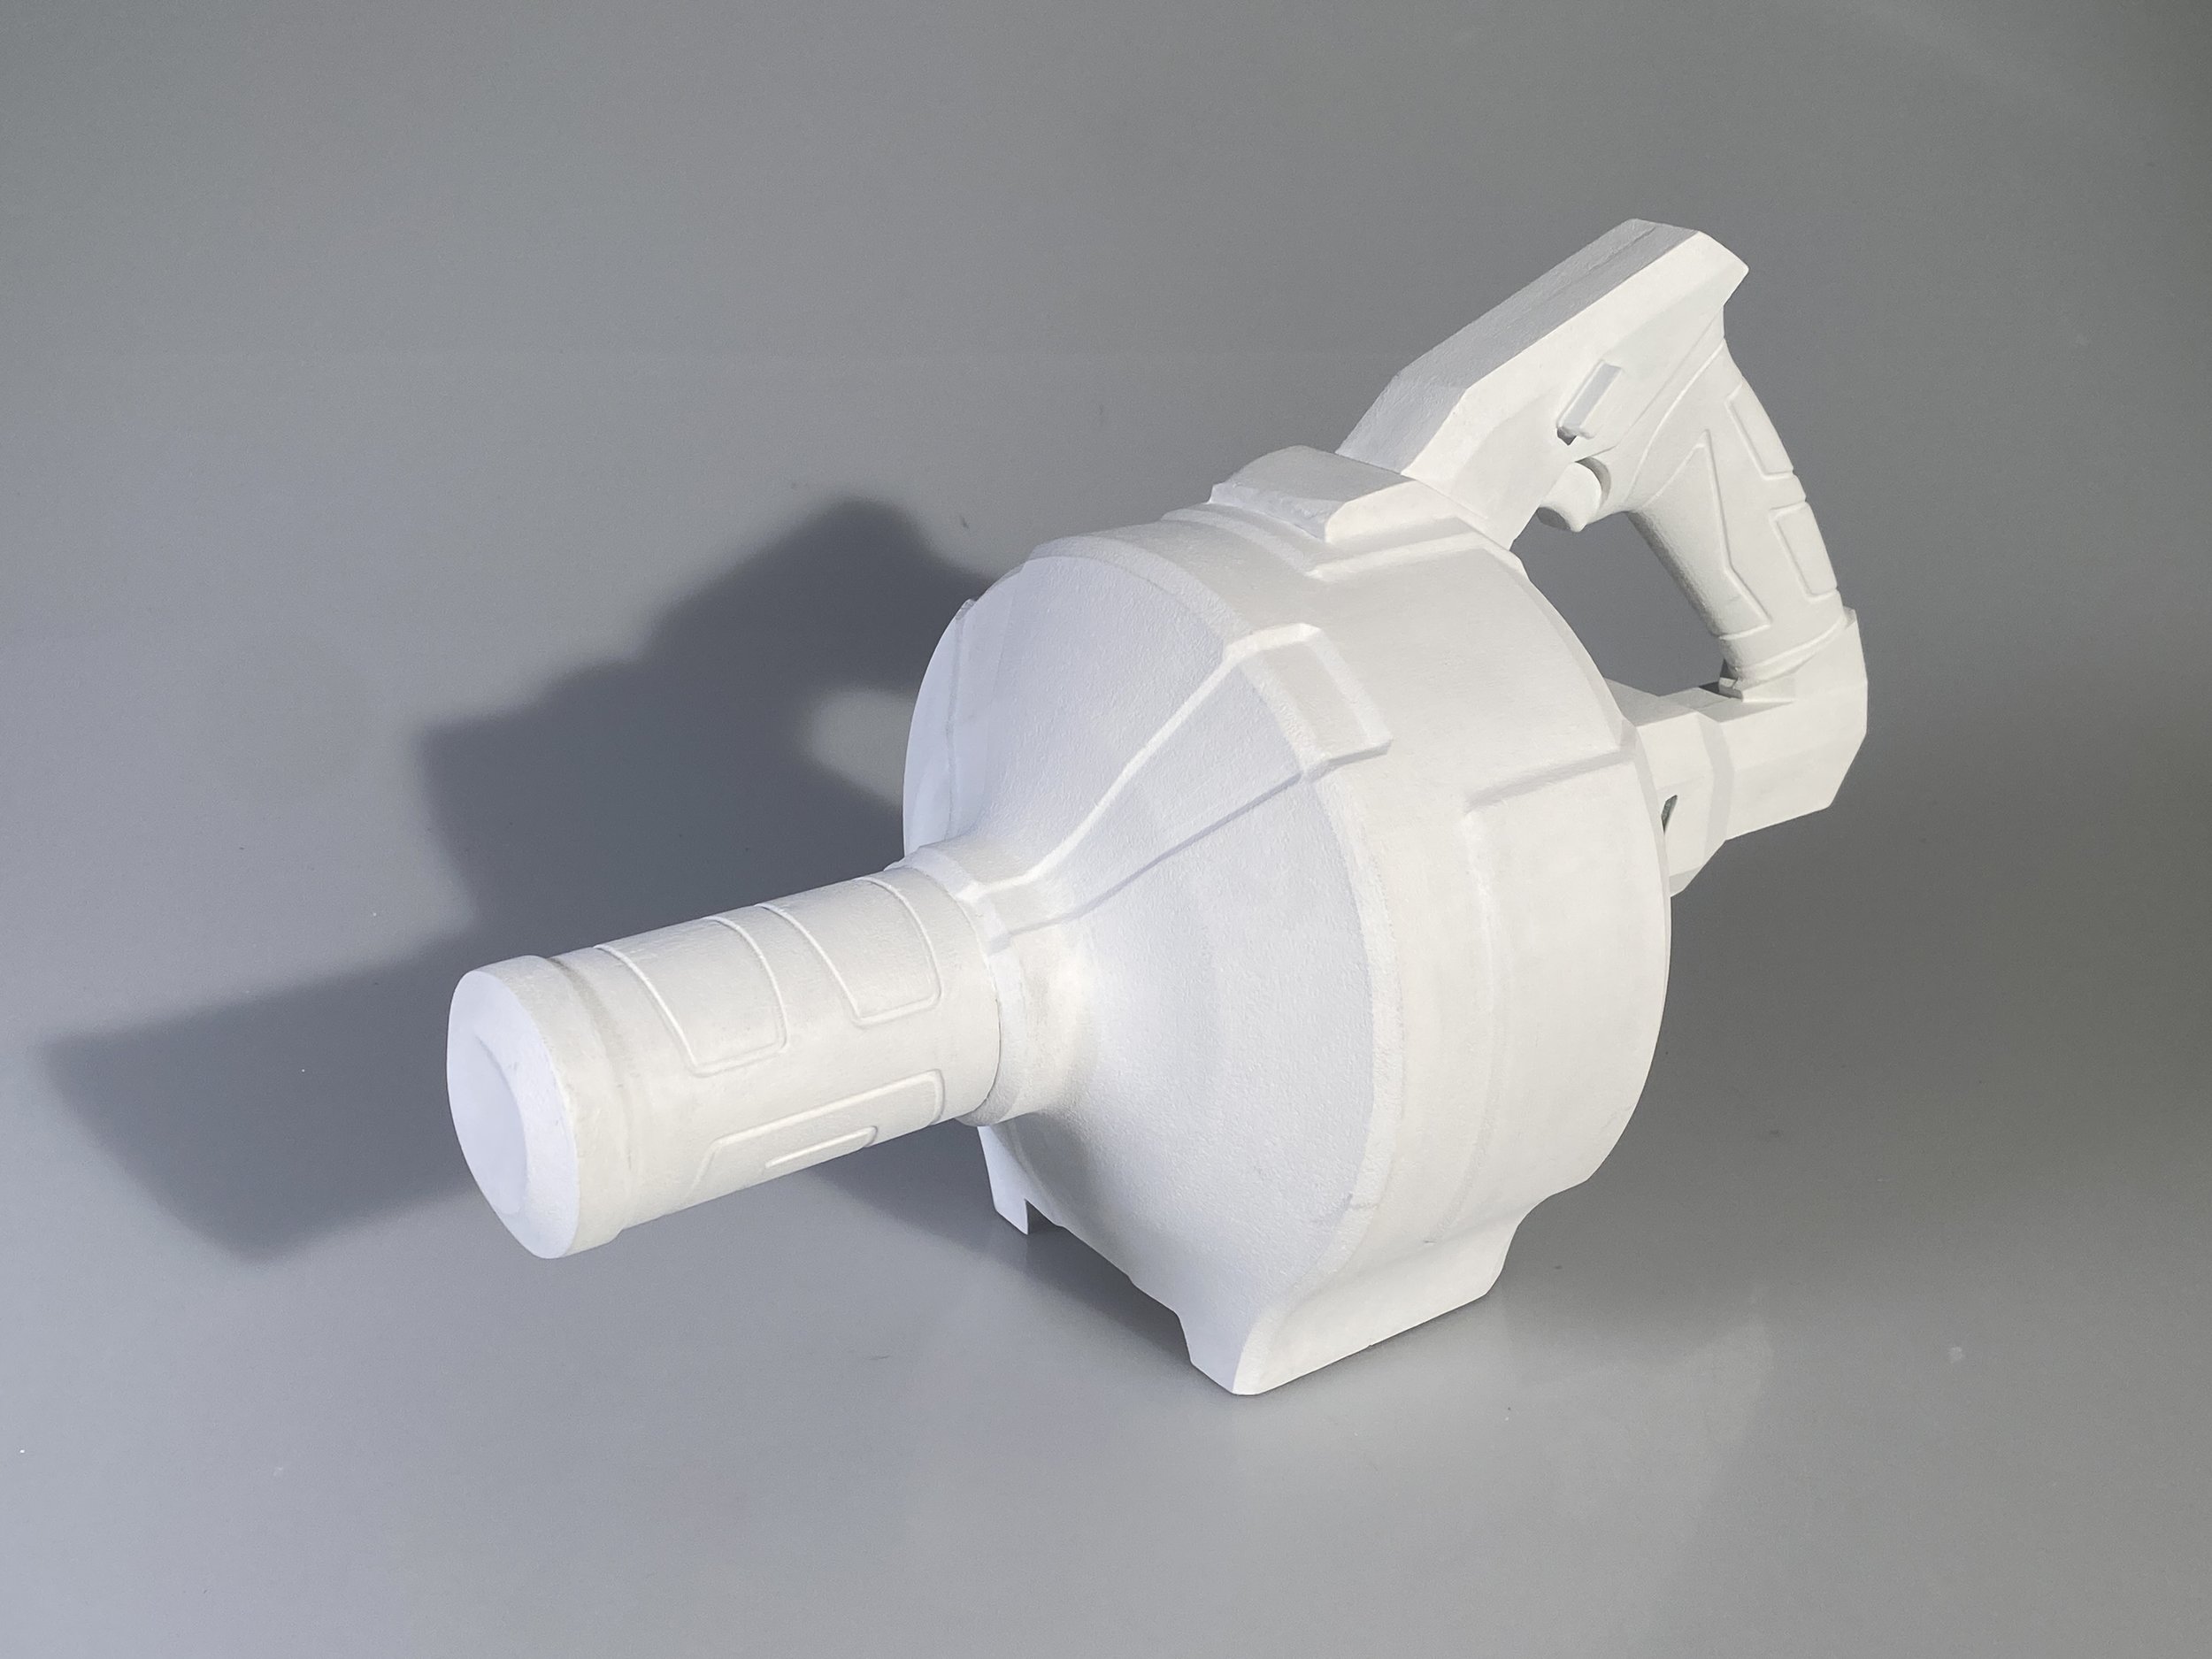
After completely surfacing the final CAD, I sliced it and milled it out of high density foam. I filled in the seams with Bondo Spot Putty and sanded smooth. Finally I painted it white.Final Model

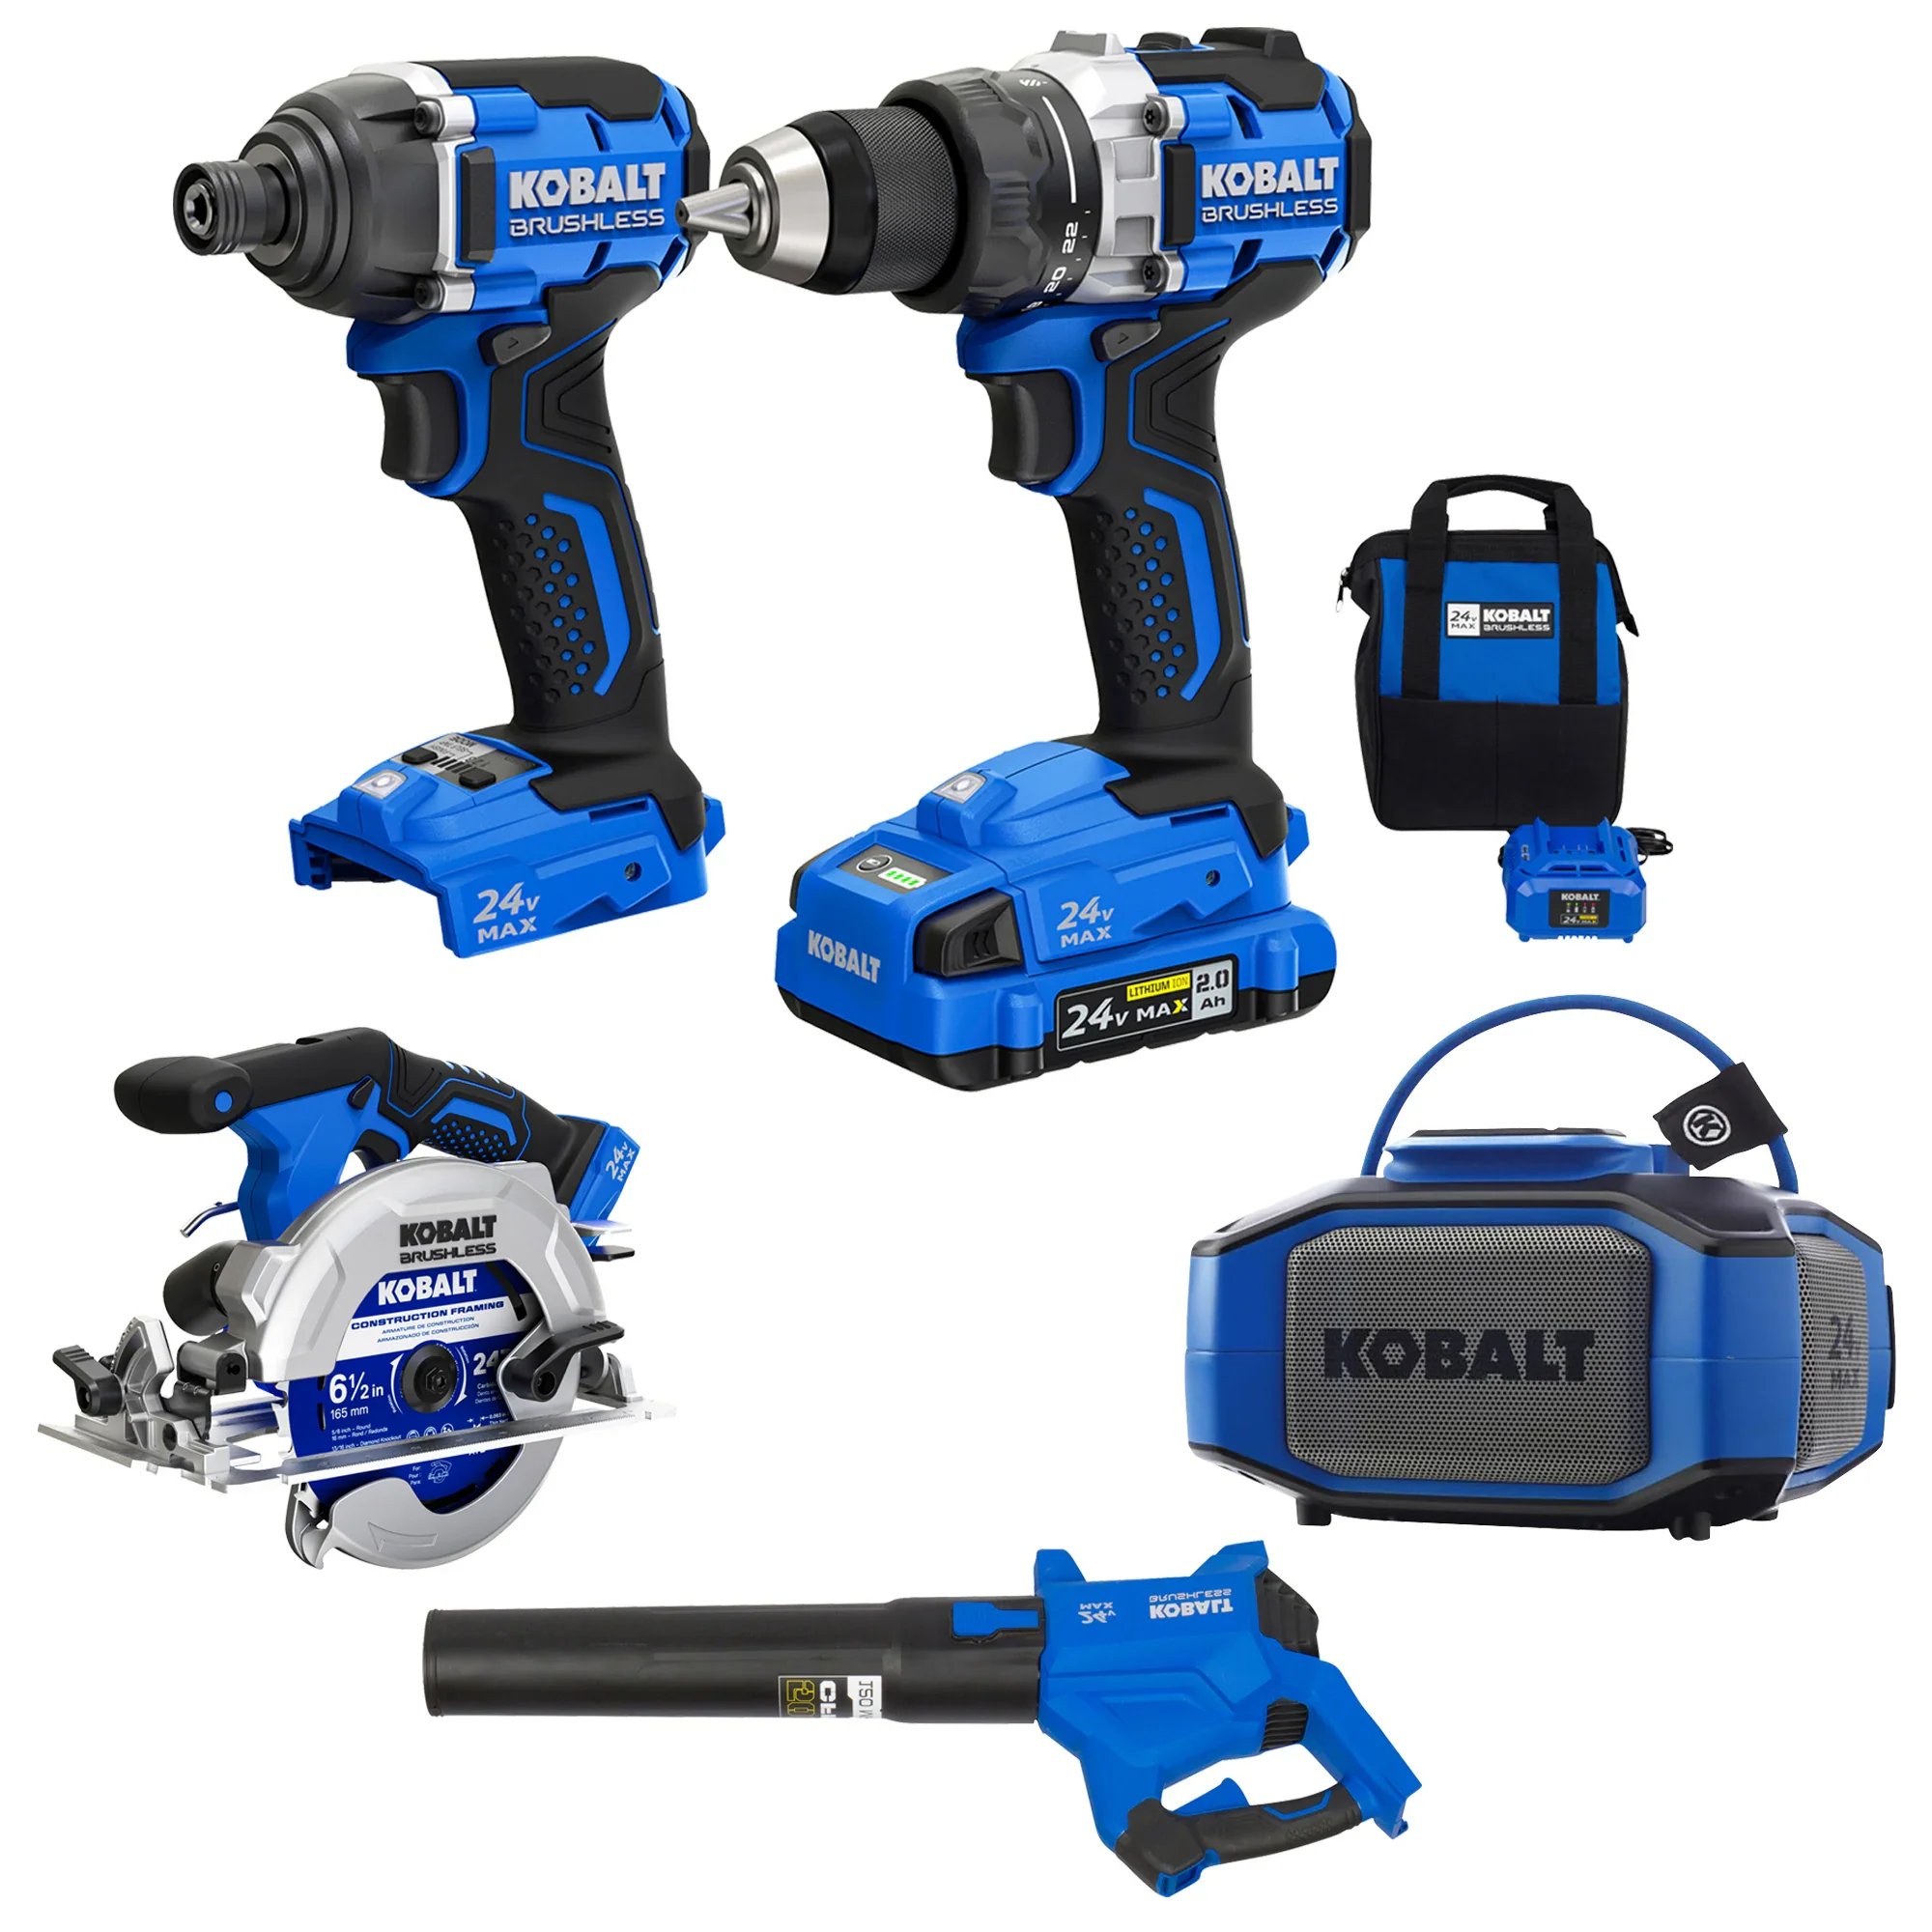
Example tools of the Kobalt line.Branding
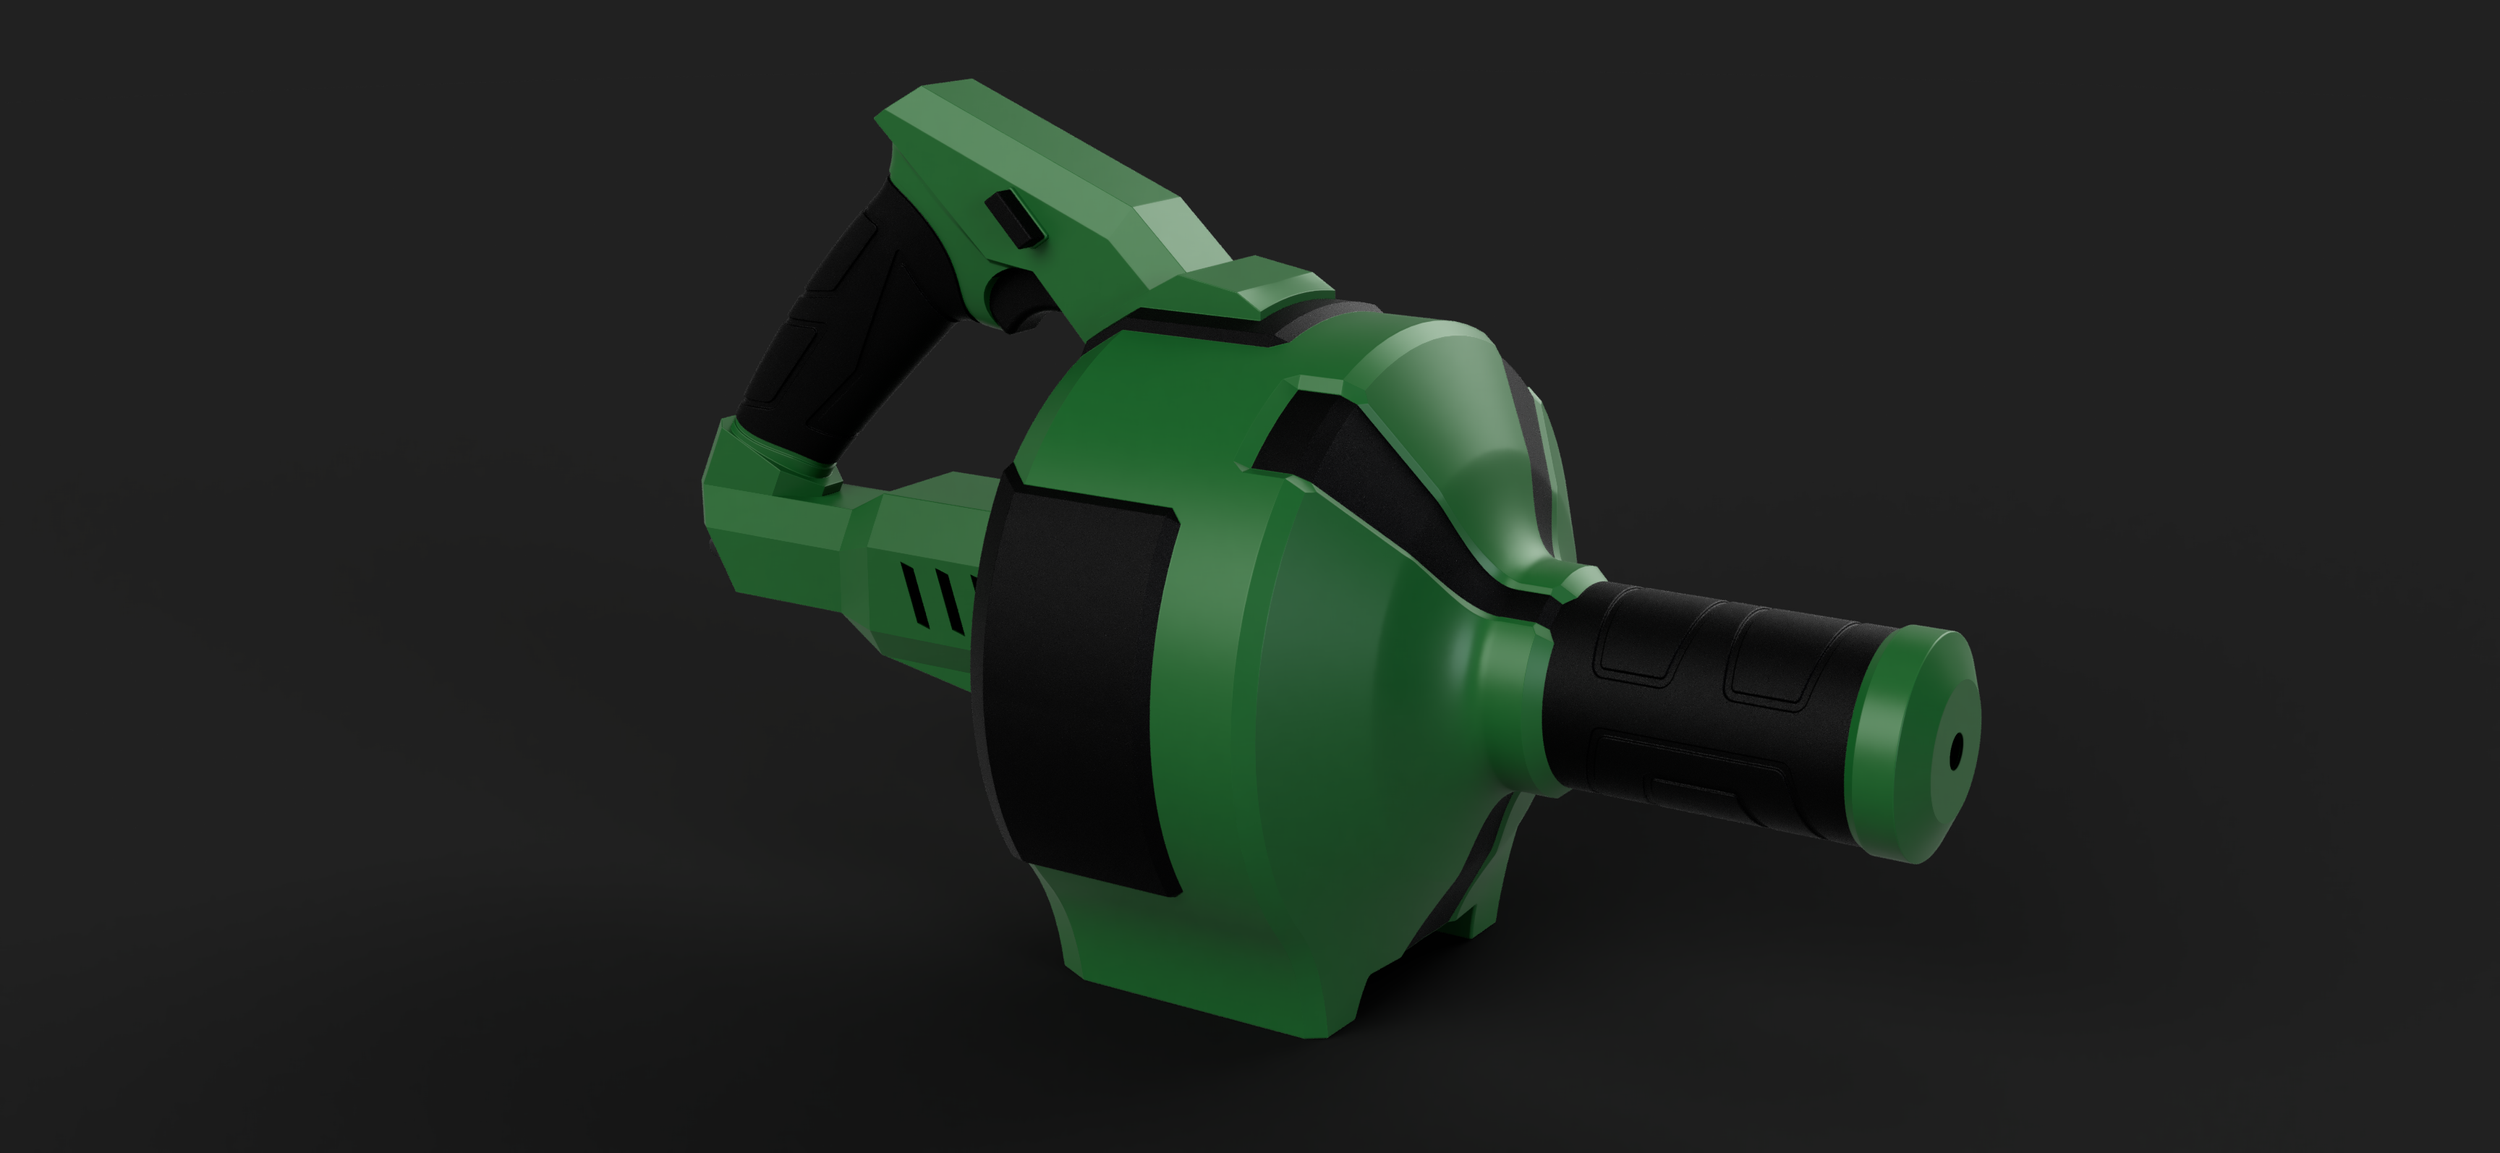
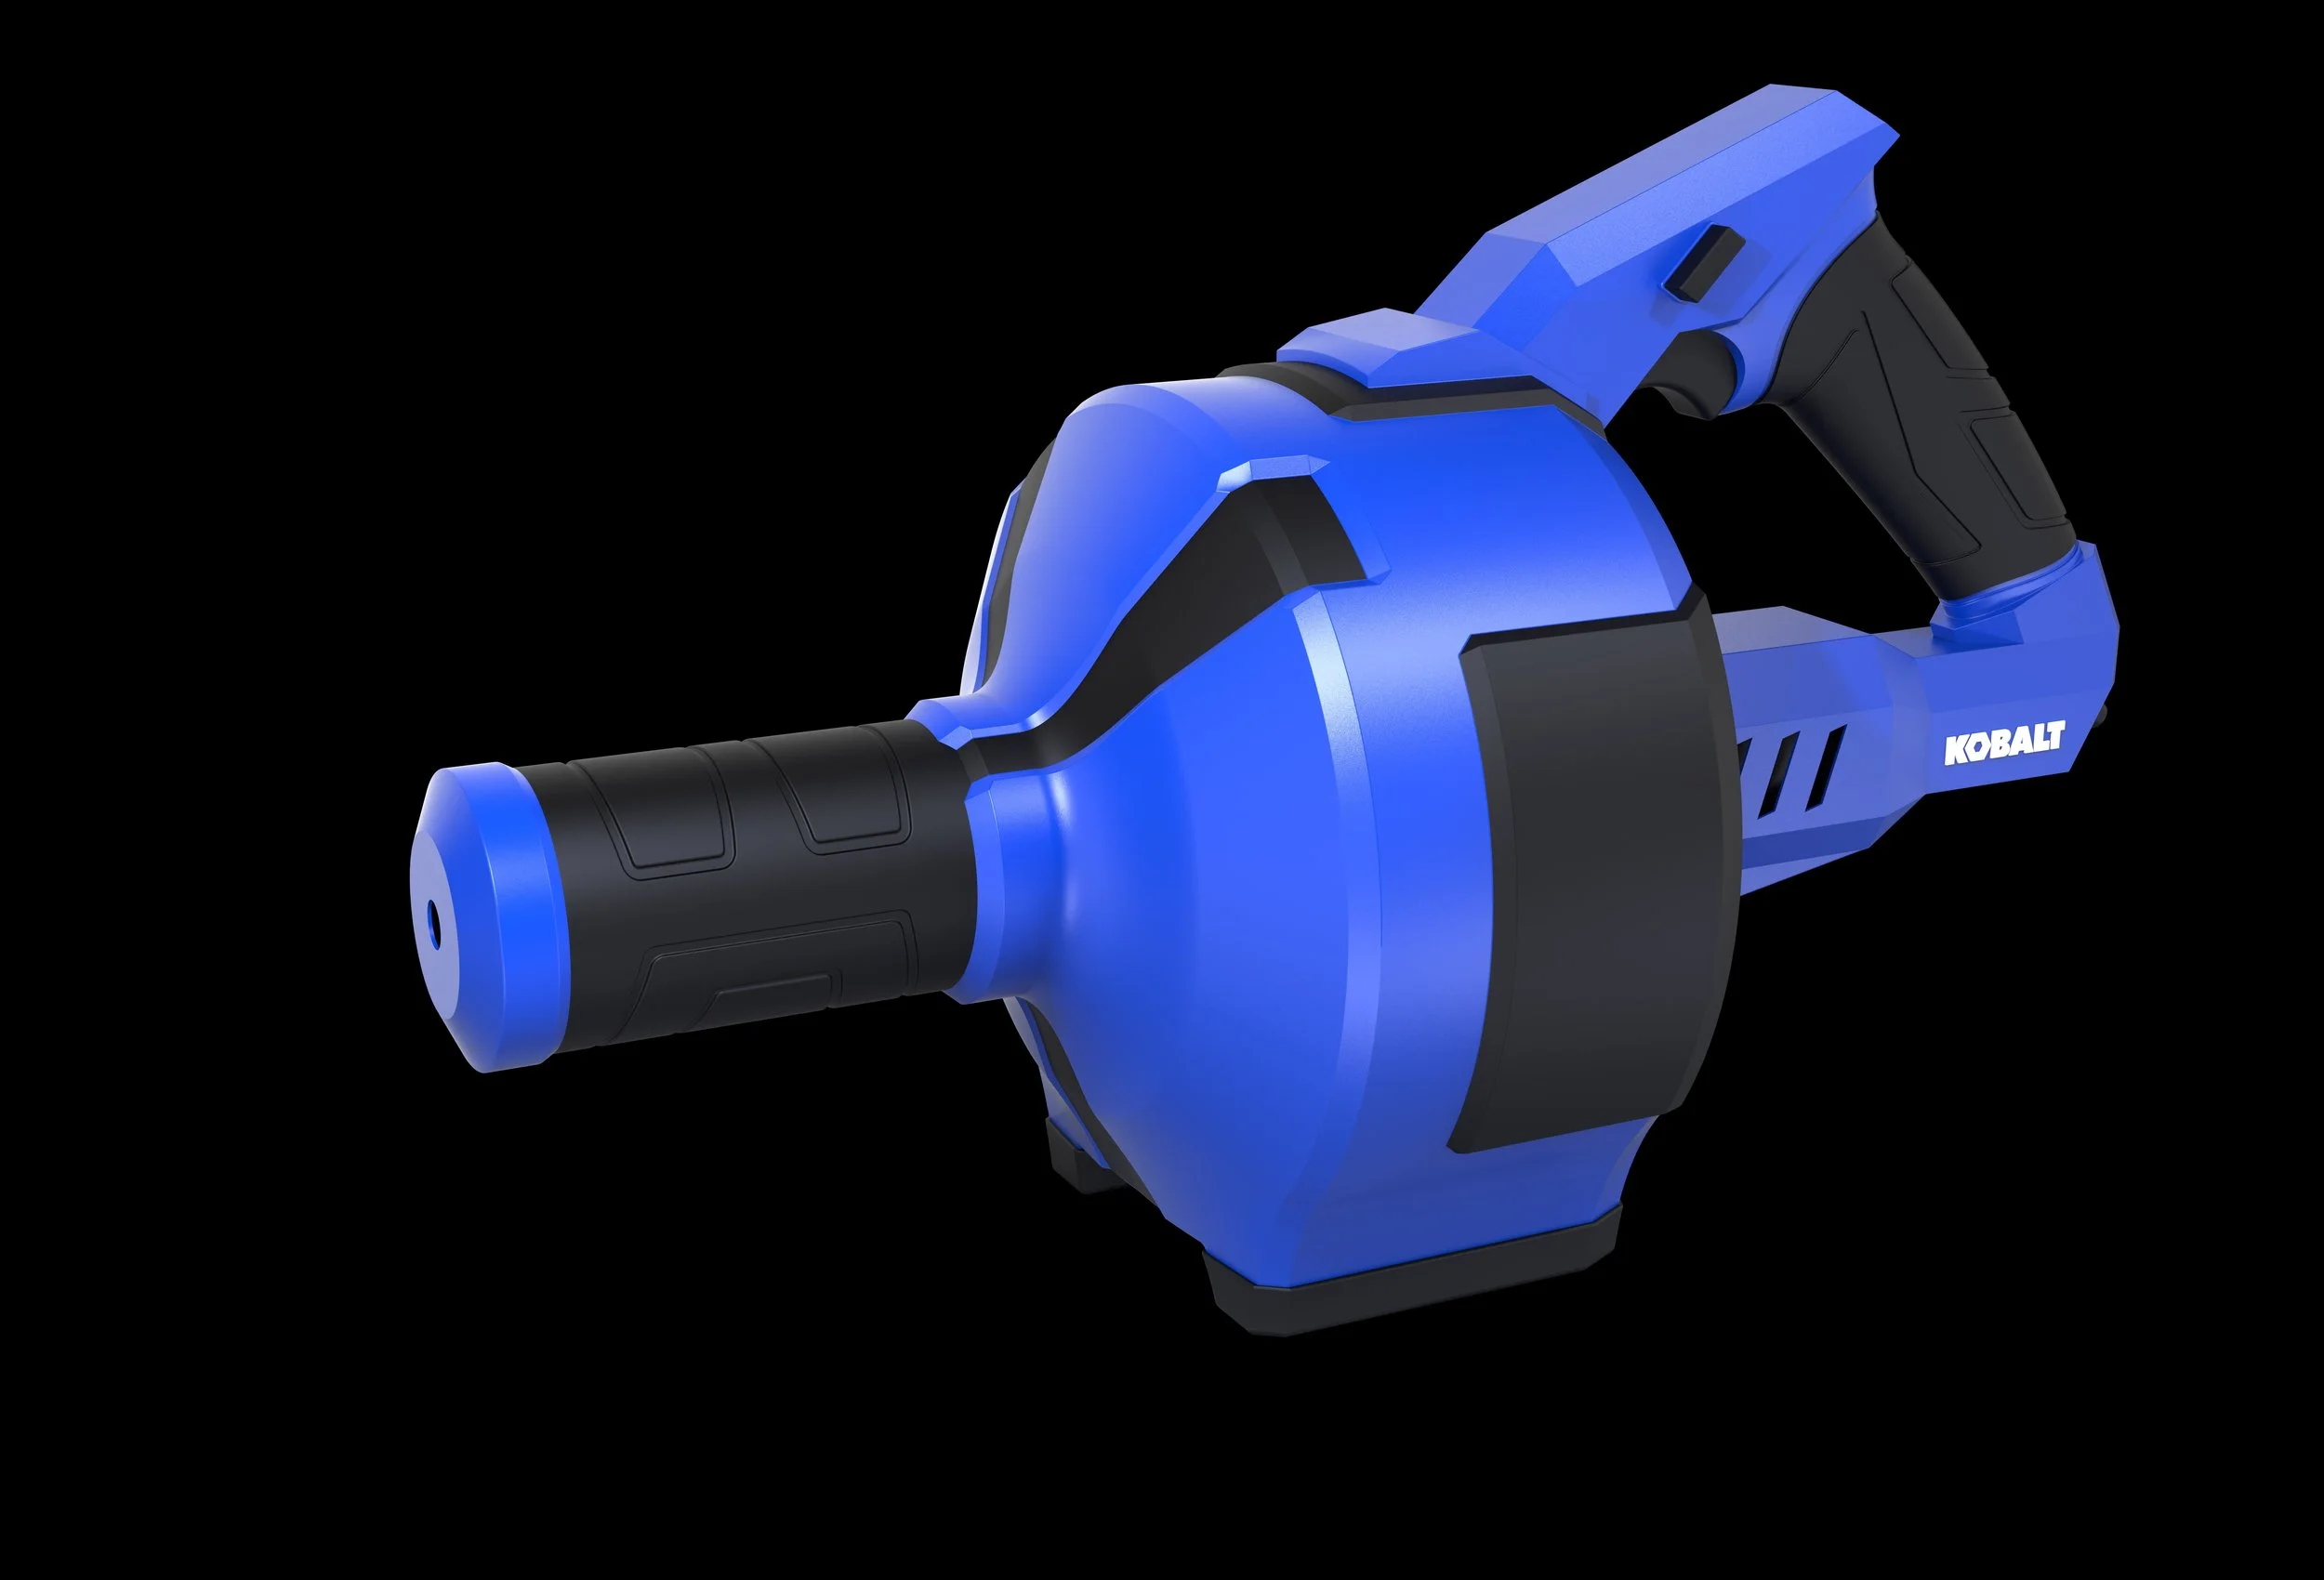
I experimented with different color schemes and brands, before deciding on the Kobalt brand and colors.